Driving the Arm from Code
Write MicroPython that moves servos and watch the 3-D robot in Snakie follow it on the simulated device
By Kevin McAleer, 5 Minutes
Page last updated November 21, 2026

Your code, your robot
This is the lesson everything has been building towards. You’ll write a short MicroPython program, press Run, and the arm in the Build workspace will move. No servos, no board, no wires.
It works because of the bindings from the last lesson. When your code moves the servo on pin 1, Snakie looks up which joint pin 1 drives and turns the shoulder to match.
One servo per joint
Snakie’s instruments module has a helper made for this: servo_on(pin). It gives you a servo on that pin.
import instruments as inst

shoulder = inst.servo_on(1)
shoulder.angle(140)
angle() takes servo degrees: 0 to 180, with 90 in the middle. From the table in the last lesson, 140 on the servo is 50 on the joint.
On a real Pico the same two lines drive a real servo wired to GP1. On the simulated device they move the model. The code doesn’t change.
The wave program
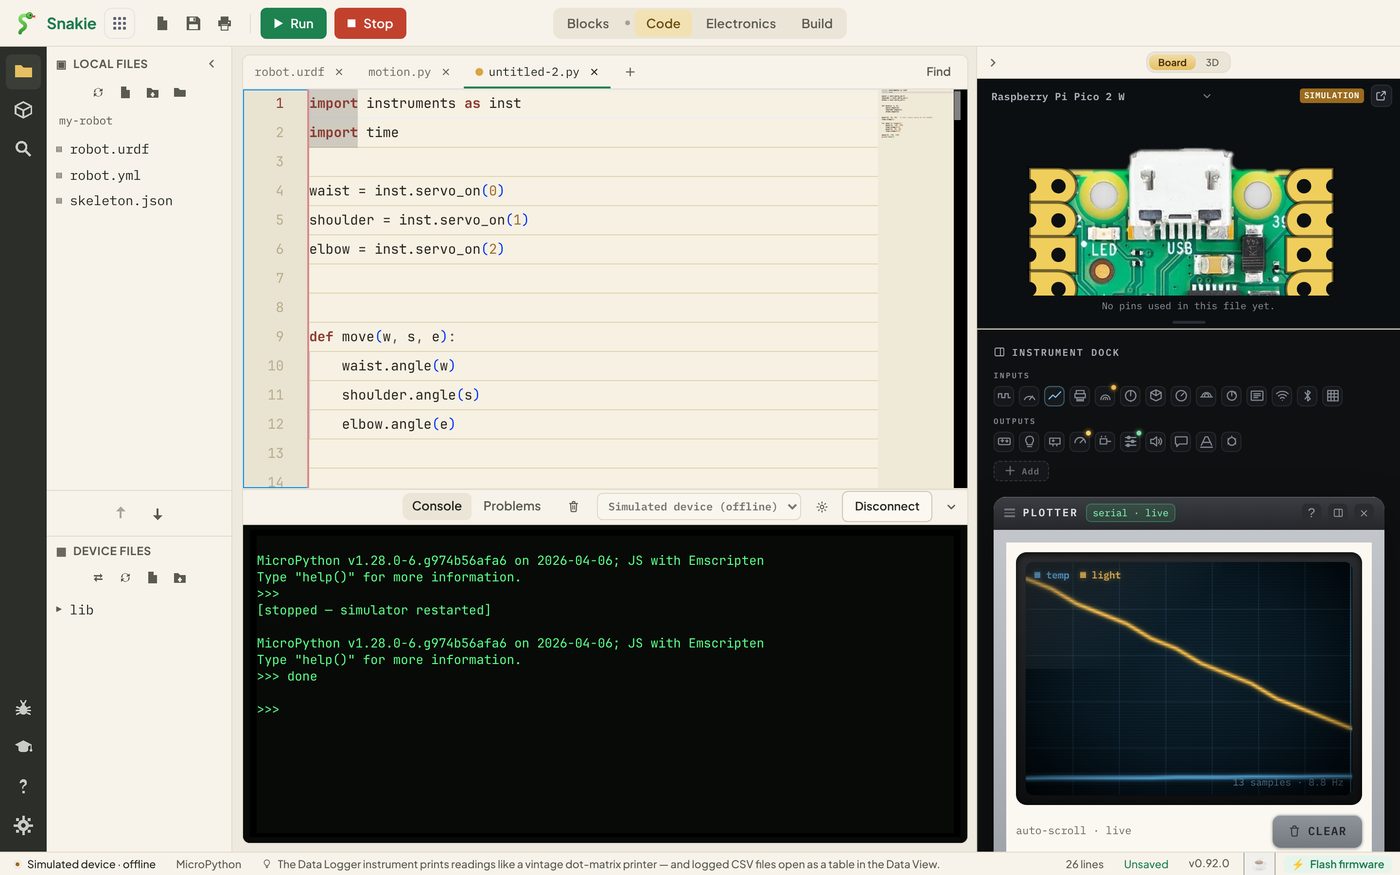
Switch to the Code workspace, make a new file called arm.py and type this in. You can also press Run right here to see what it prints.
The box on this page shows lines such as SNK SERVO 1 140. That’s the message angle() sends: servo on pin 1, go to 140 degrees. The full app hides those lines from the console and uses them to move the robot instead.
Run it
- Check the device menu above the console says Simulated device
- Press Run
- Switch to the Build workspace straight away
The arm snaps to rest, waves three times between two poses, and finishes reaching out. In Animate mode the joint sliders move too, showing each joint’s angle as the code sets it.
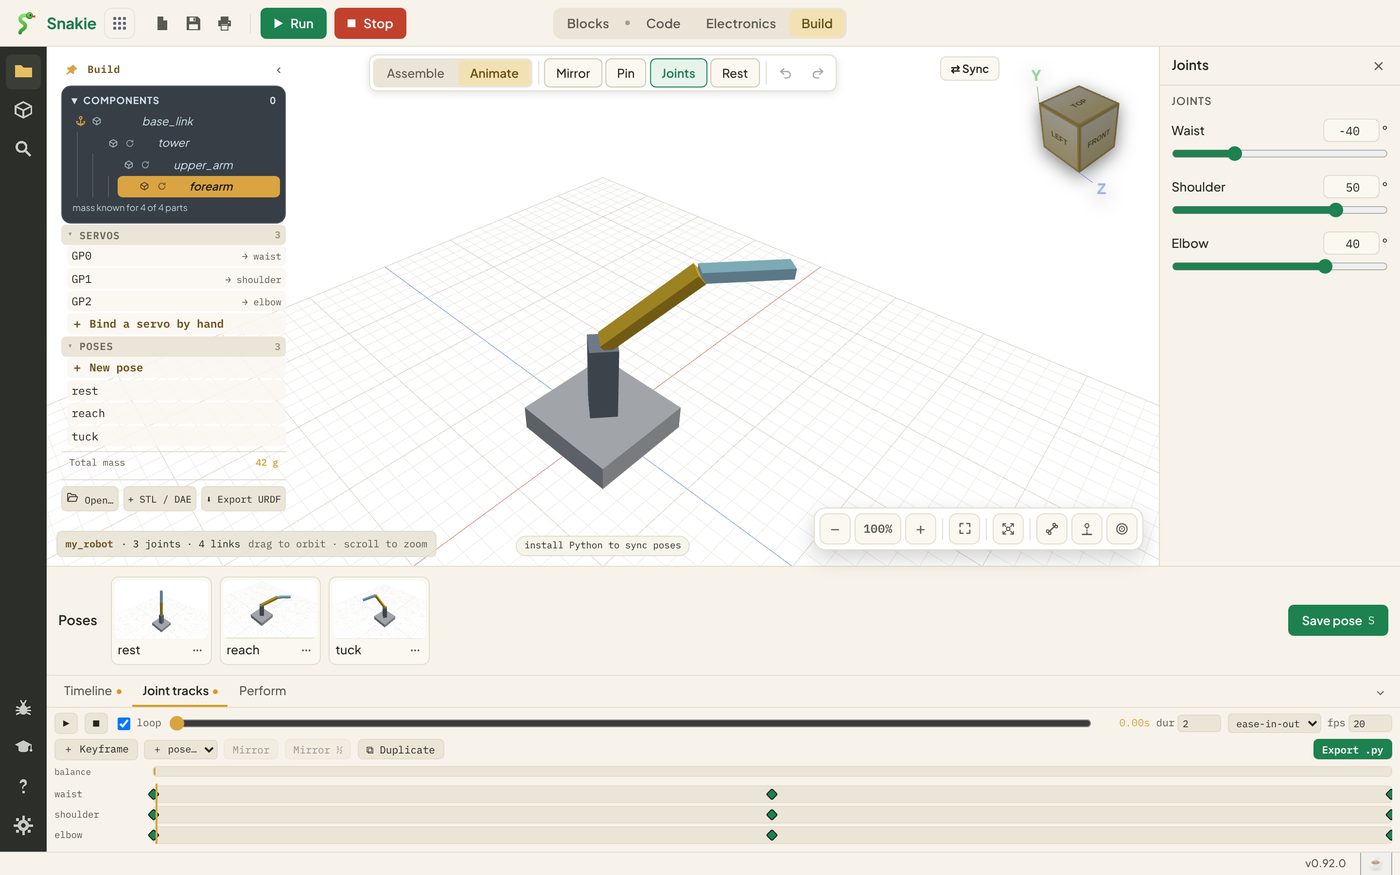
Those two poses are your reach-style and tuck poses written as servo angles. Joint -40, 50, 40 becomes servo 50, 140, 130. Joint -40, -30, -80 becomes 50, 60, 10.
Think in joint angles
Adding 90 in your head gets old quickly. Let the program do it.
Run it and you get the servo angles for each of the poses you saved in lesson 7. Combine the two programs and you can write go("reach") in your code.
Why snapping isn’t great
Our program jumps from one pose to the next. A real servo would lurch, and a heavy arm might topple. Smooth motion means sending lots of small steps, each a little further than the last.
You could write that loop yourself, and it’s a good exercise. Snakie can also write it for you from the motion you’ve already built, which is the next lesson.
Try it Yourself
- Run
arm.pyand watch the arm in the Build workspace - Change the sleep times to
0.2. What happens to the wave? - Add a fourth pose to
POSESand print its servo angles - Write a
go(name)function that looks up a pose, converts it and moves all three servos
Common Issues
Problem: The code runs but the arm doesn’t move. Solution: Check the Servos list in the Build panel. Each pin your code uses needs a joint. Why: Snakie can only move a joint if a servo pin is bound to it.
Problem: The wrong joint moves. Solution: Match the pin numbers in your code to the bindings: 0 waist, 1 shoulder, 2 elbow. Why: The pin number is the only link between a servo in code and a joint in the model.
Problem: ImportError: no module named instruments on a real board.
Solution: Let Snakie install it when it offers, as covered in Snakie Instruments.
Why: The simulated device has the module built in. A real board needs a copy in its lib folder.
Check your understanding
Quick quiz 1 of 3
How does Snakie know which joint to turn when your code moves a servo?
Quick quiz 2 of 3
What does angle() expect?
Quick quiz 3 of 3
Why do real robots move in lots of small steps?
You can use the arrows ← → on your keyboard to navigate between lessons.
Comments