Mass, Balance and Measuring
Give each part a mass in Snakie, find the robot's centre of mass and check sizes with the measure, skeleton and exploded views
By Kevin McAleer, 5 Minutes
Page last updated November 21, 2026

Will it fall over?
An arm that reaches out too far tips its base. It’s much nicer to find that out on screen than on your desk. Snakie can work out where your robot’s weight sits, as long as it knows how heavy each part is.
Under the Components list there’s a line that says mass known for 0 of 4 parts. Let’s fix that.
Give each part a mass
Select a part and click its Edit properties pencil. The Mass section has two ways to answer.
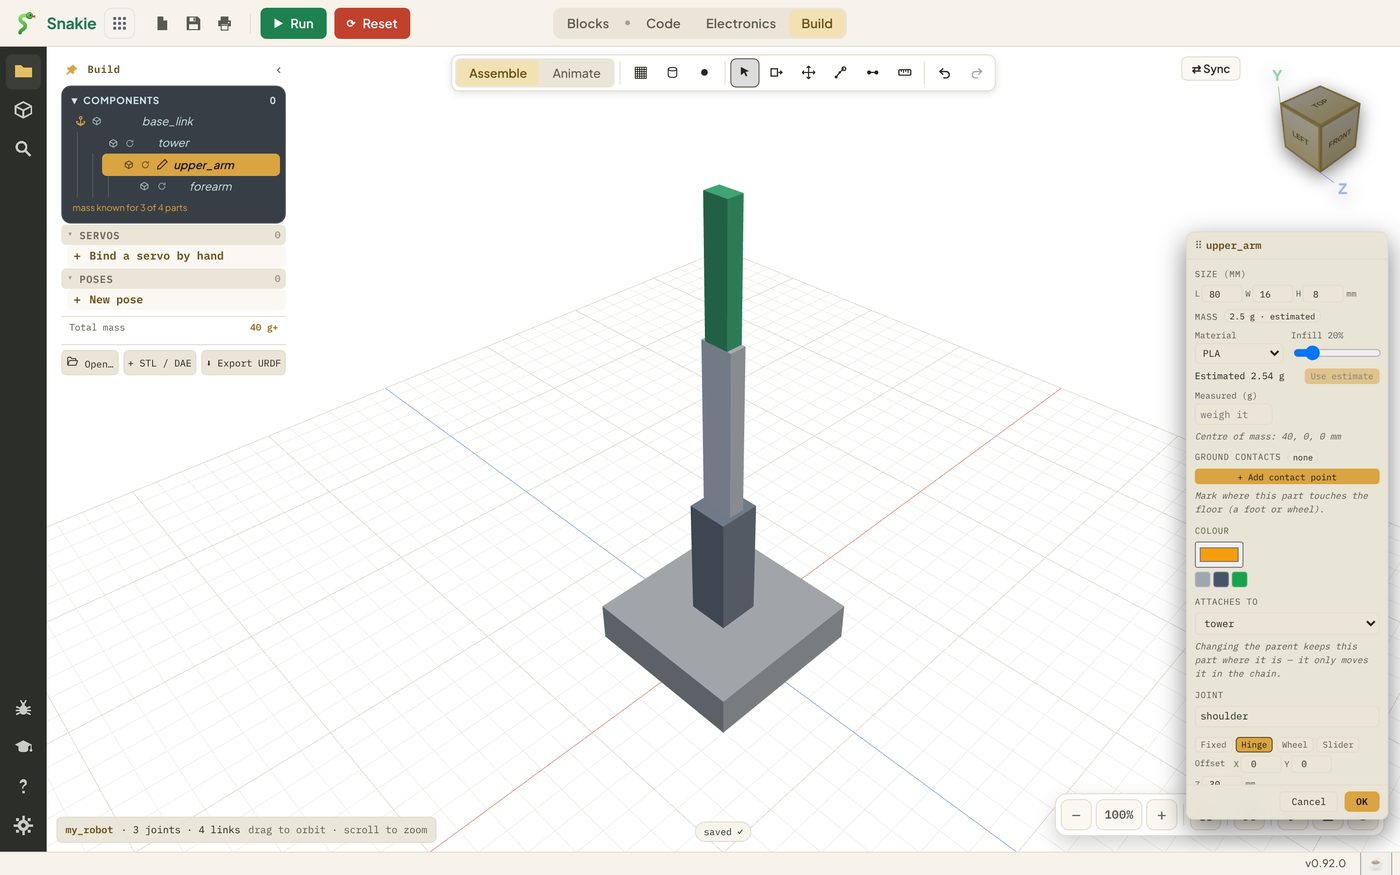
- Use estimate: Snakie works out the mass from the part’s size, a Material (PLA, PETG, ABS or Resin) and an Infill percentage. That’s how a 3-D printed part is described, so the guess is a good one
- Measured (g): type what the kitchen scales say. A real measurement always beats an estimate
Click Use estimate on all four parts. The line under the list changes to mass known for 4 of 4 parts, and a Total mass appears. Ours comes to 42 g.
Snakie only uses the parts you’ve weighed. It leaves the others out instead of guessing, which is why it’s worth doing them all.
See the centre of mass
Click Balance in the bottom right of the view.
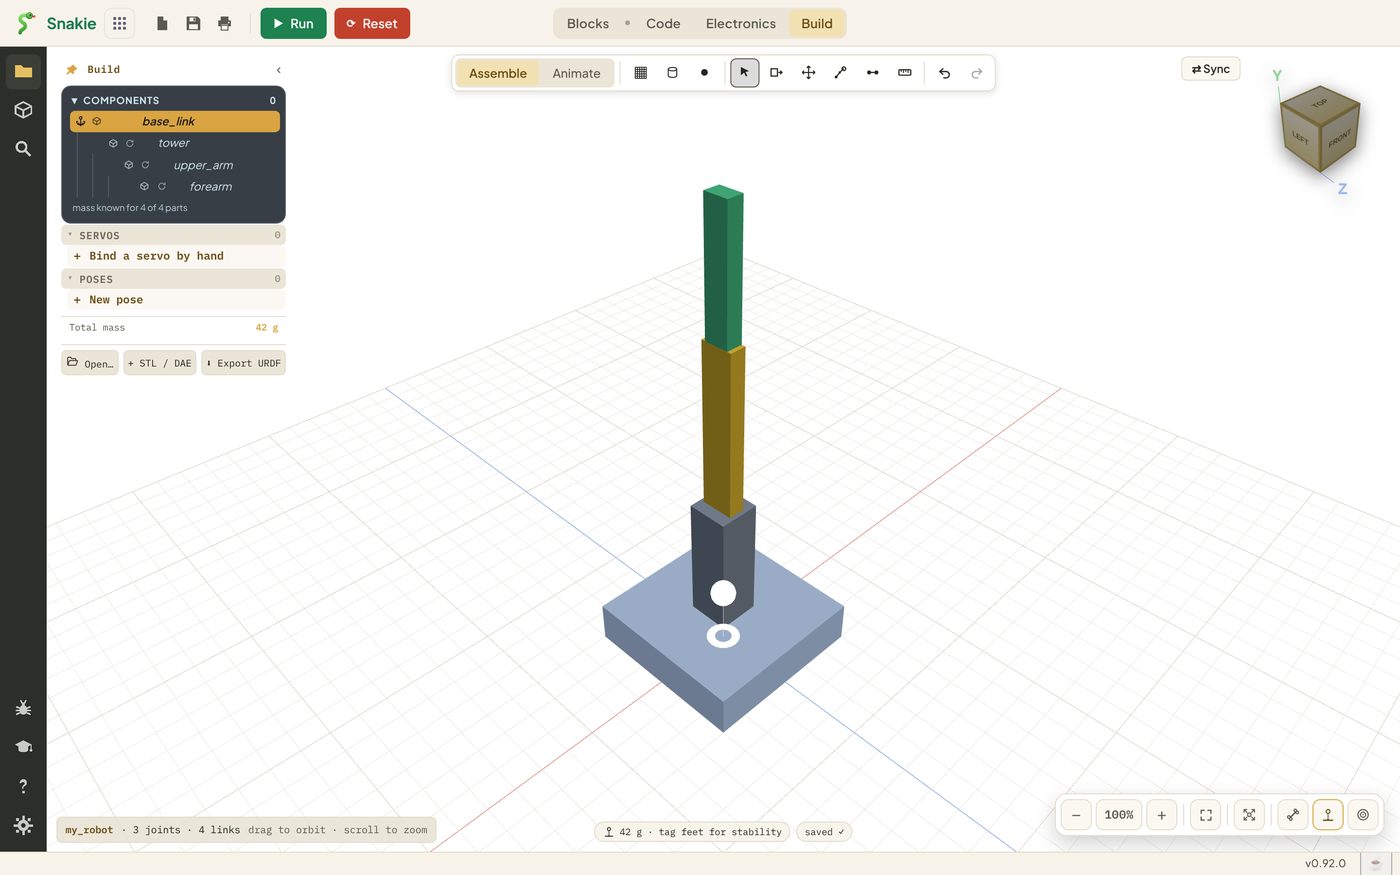
Two markers appear:
- A white ball at the centre of mass: the single point where the robot’s weight acts
- A ring on the floor directly underneath it
The rule for standing up is simple. If the ring is inside the robot’s footprint, it stands. If the ring wanders outside, it falls.
Tell Snakie where the feet are
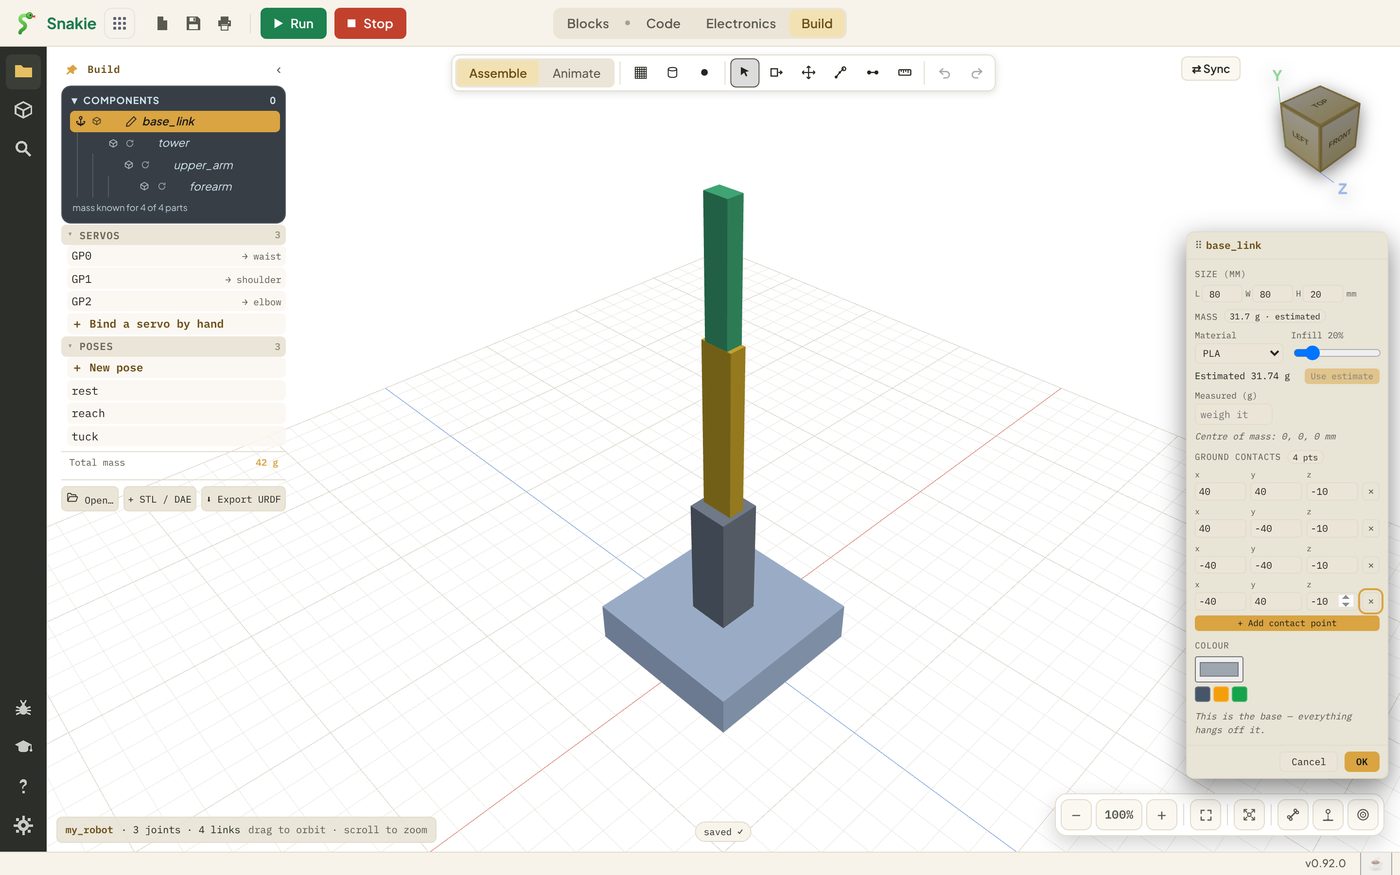
Snakie doesn’t know which bits of your robot touch the floor until you say so. That’s what Ground contacts in the properties panel are for.
- Open the properties of
base_link - Click + Add contact point. A row of x, y and z boxes appears
- Add four points, one for each bottom corner of the base: x and y of
40or-40, and z of-10
With the contacts in place, Snakie draws the support area on the floor and the chip changes from “tag feet for stability” to stable, with the distance the balance point has to spare before the robot tips.
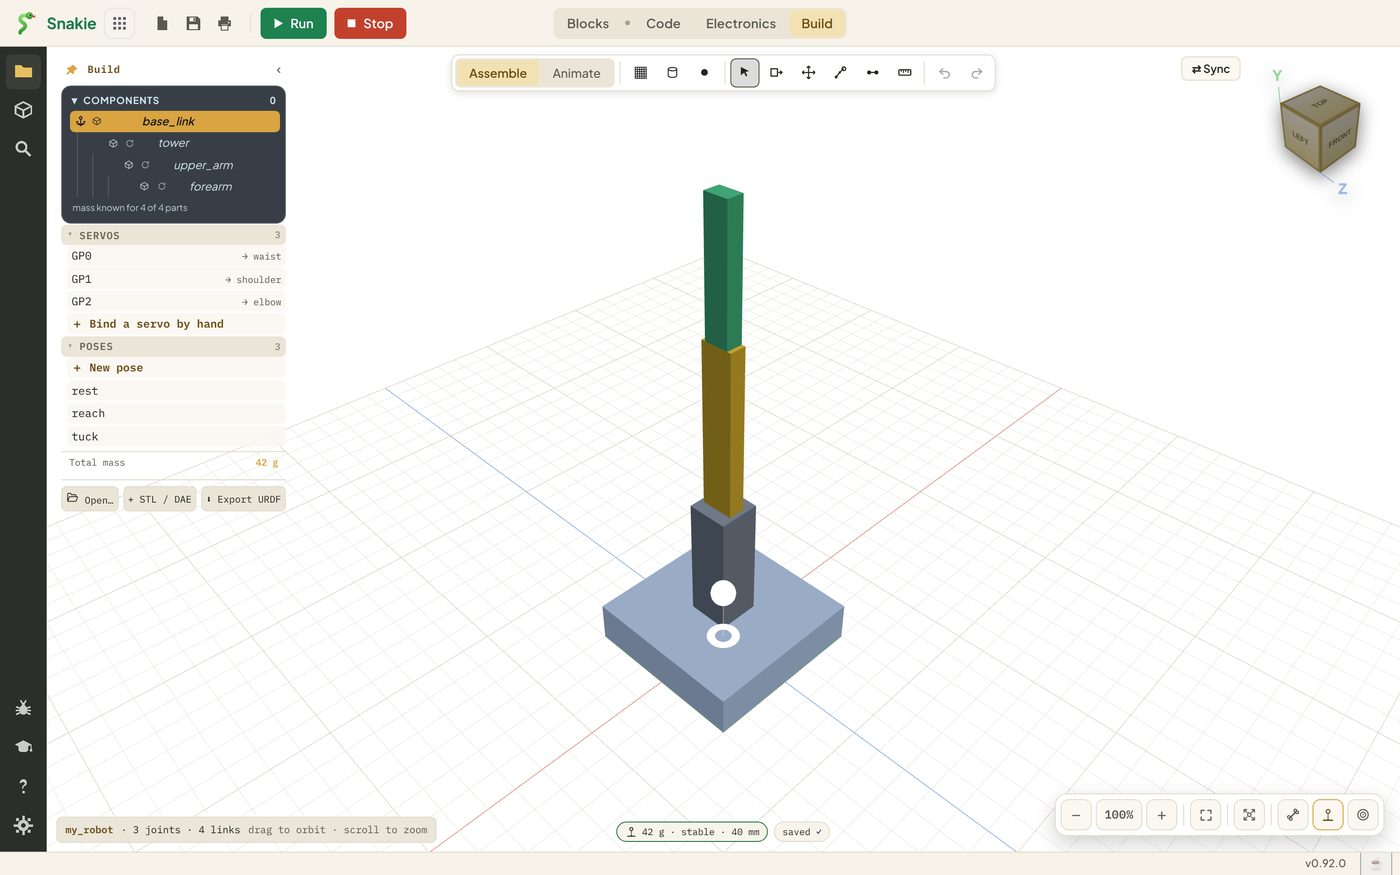
The numbers are measured from the middle of the part. The base is 80 mm square and 20 mm thick, so its bottom corners are 40 mm out and 10 mm down.
For a walking robot you’d tag each foot. For a rover, each wheel.
Three more ways to look
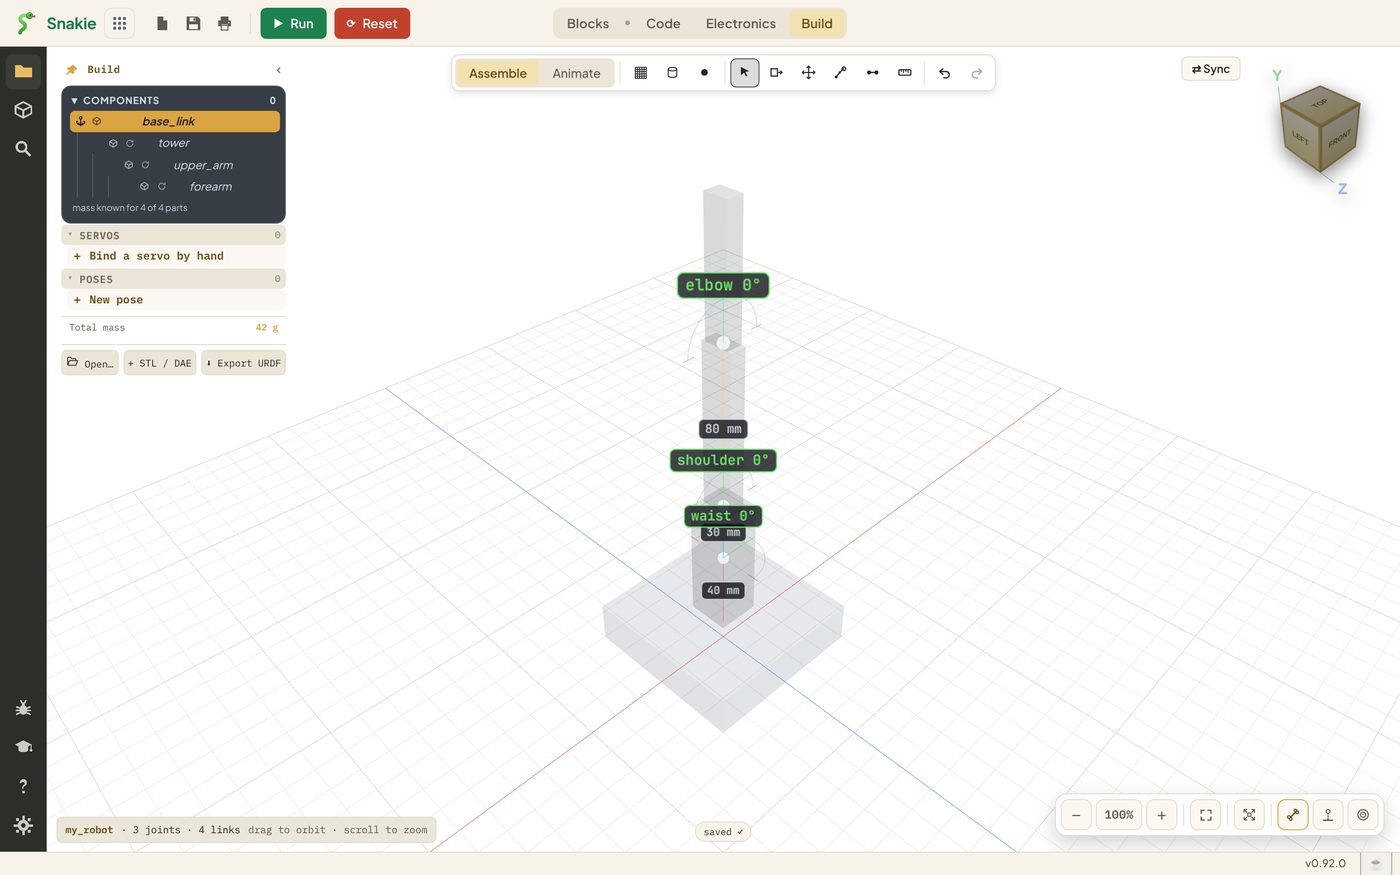
Bone Mode fades the blocks and shows the skeleton: each joint’s name and angle, and the length of each bone between joints.
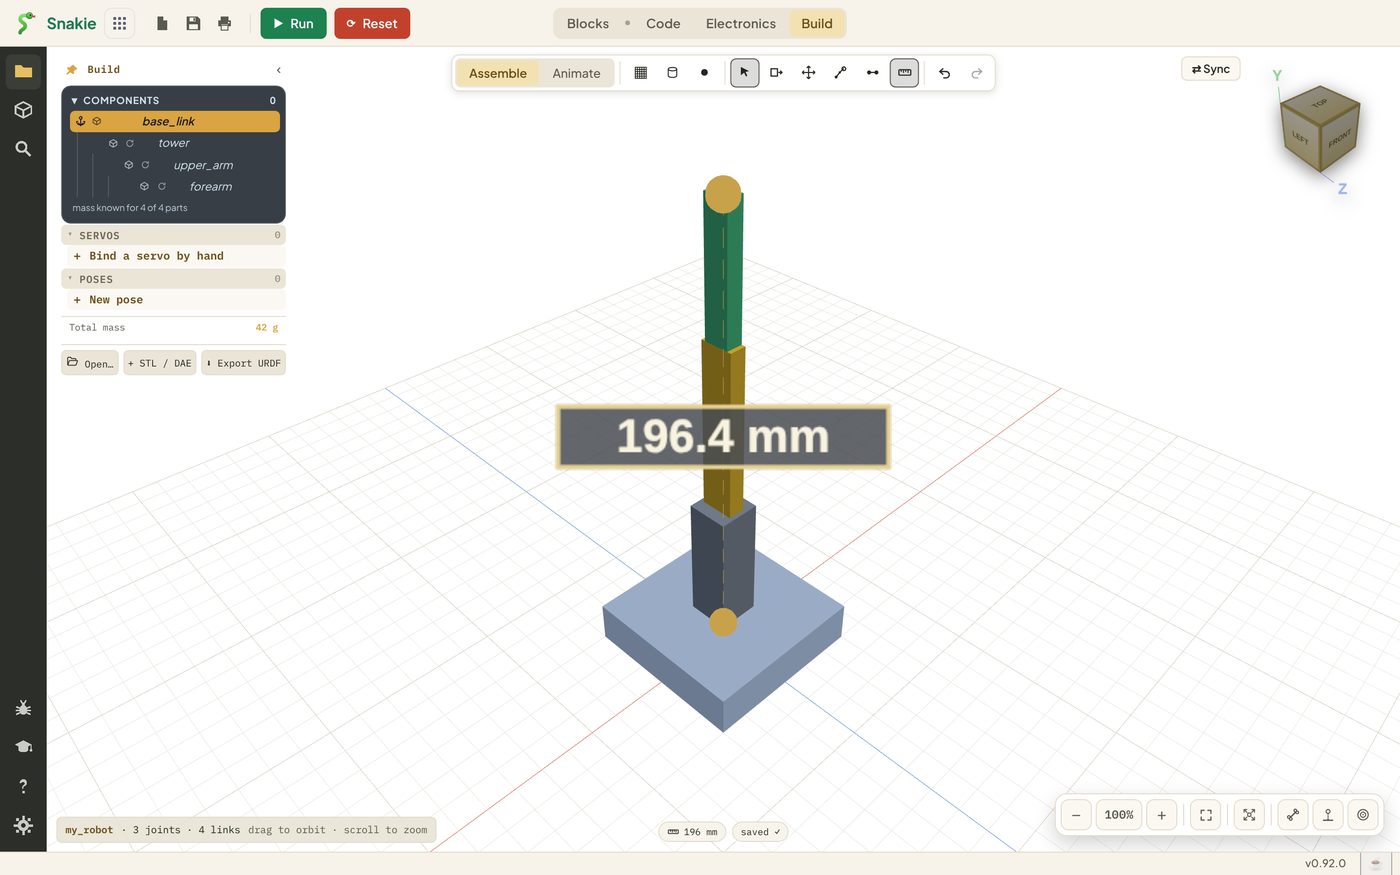
Measure distance is in the top toolbar. Click two points and Snakie tells you how far apart they are. It snaps to corners, edges and face centres, so you can measure real features of the robot.
Exploded view pulls the parts away from each other so you can see how they connect. Click it again to put the robot back together.
Try it Yourself
- Give all four parts an estimated mass
- Change the base’s Infill to 100% and click Use estimate again. How much did the total go up?
- Turn on Balance and note where the ring sits
- Measure from one end of the forearm to the other. It should be close to 60 mm
Common Issues
Problem: The Balance button shows nothing. Solution: Give at least one part a mass. Why: With no masses there’s no weight to find the centre of.
Problem: The centre of mass looks too low. Solution: Check that every part has a mass. Why: Parts with no mass are left out, so a heavy base on its own drags the marker down.
Problem: My measured mass doesn’t match the estimate. Solution: Trust the scales. Why: The estimate can’t know about screws, servos or how your slicer really filled the part.
Check your understanding
Quick quiz 1 of 3
What does Snakie need before it can show the centre of mass?
Quick quiz 2 of 3
The floor ring is outside the robot’s footprint. What happens to a real robot?
Quick quiz 3 of 3
Which is more trustworthy?
You can use the arrows ← → on your keyboard to navigate between lessons.
Comments