Posing the Arm
Switch Snakie to Animate mode and pose the robot with joint sliders or by dragging it in 3-D
By Kevin McAleer, 4 Minutes
Page last updated November 21, 2026

From building to moving
So far you’ve been in Assemble mode. Click Animate at the left of the toolbar and the workspace changes.
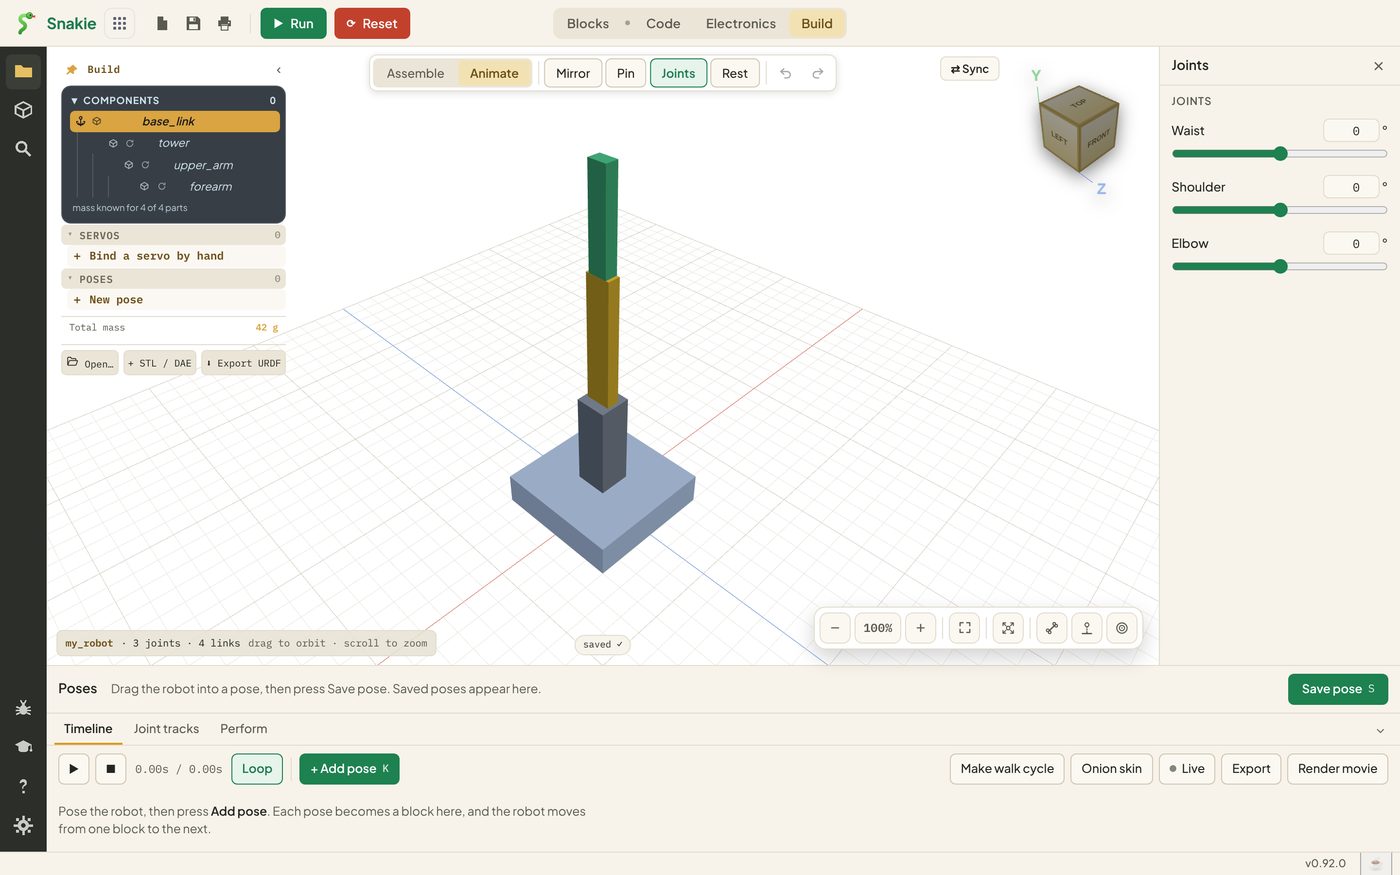
- A Joints panel opens on the right with a slider for each joint
- A Poses shelf and a Timeline appear along the bottom
- The toolbar swaps its building tools for Mirror, Pin, Joints and Rest
Nothing you do in Animate mode changes the robot’s shape. You’re only moving it.
Sliders
Drag the Shoulder slider. The upper arm leans, and the forearm goes with it because it’s further down the chain.
Each slider runs between the joint’s limits, so the ends are -90 and 90 for our hinges. For an exact angle, type it into the box beside the slider and press Enter.
Try Waist -40, Shoulder 50, Elbow 40.
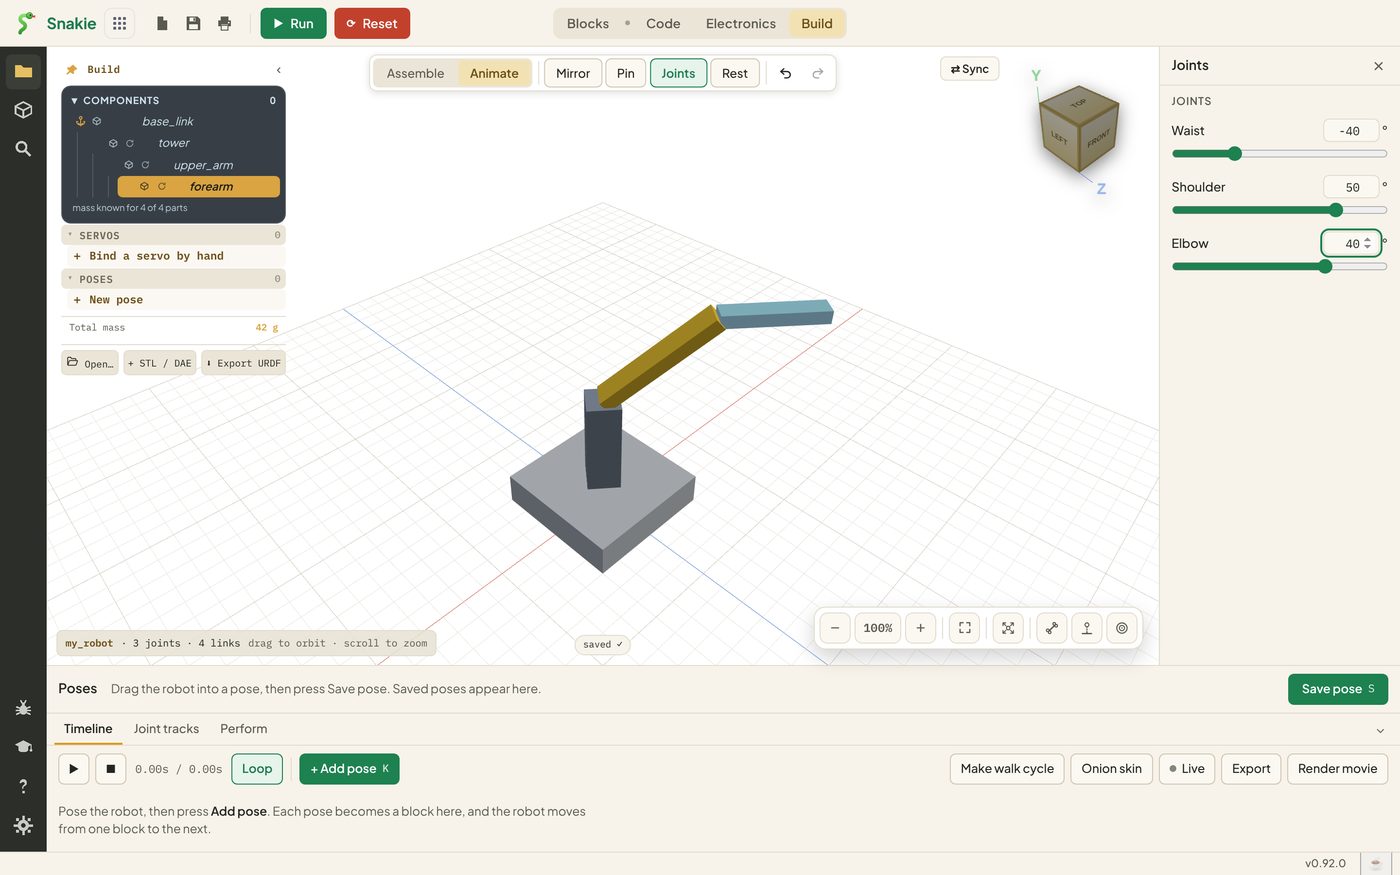
This is the moment to check your axes. If the shoulder twists when it should lean, go back to Assemble, edit the joint and change its Axis, as in lesson 4.
Drag the robot
Sliders are exact. Dragging is quicker. In Animate mode, grab the tip of the forearm in the 3-D view and pull.
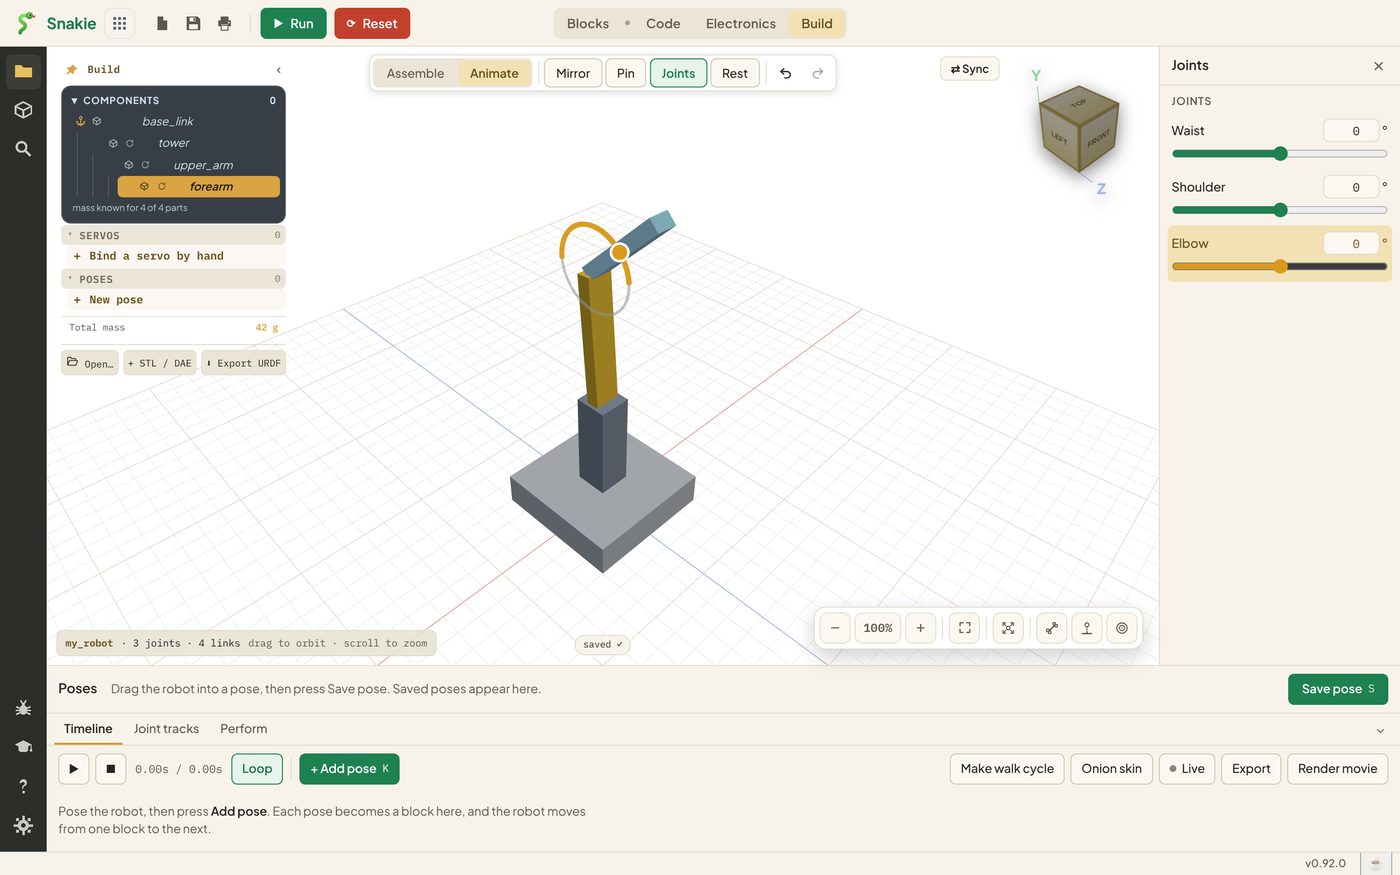
The whole chain bends to follow your mouse, and the sliders move by themselves to match. Snakie is working backwards from where you want the tip to be to the joint angles that put it there. Robot builders call that inverse kinematics, or IK for short.
Drag an empty part of the view and you orbit the camera instead, so aim for the robot.
Rest, undo and redo
- Rest puts every joint back to zero, the pose you built the robot in
- The undo and redo arrows step back and forward through your pose changes. Ctrl+Z works too (Cmd+Z on a Mac)
- The Joints button hides and shows the slider panel when you want a bigger view
Tools for bigger robots
Two buttons need more than one arm to be useful, so you’ll meet them on a later robot:
- Pin keeps one part still, such as a foot, so the body moves when you bend that leg
- Mirror copies a pose from one side of a robot to the other. It needs joints named in left and right pairs, such as
hip_leftandhip_right
There are two more helpers. Grab & pose in the Assemble toolbar does the same dragging without leaving the building tools. IK goal in the bottom right lets you pick a part and drag a target for it to reach.
Try it Yourself
- Set the three joints to -40, 50 and 40 with the number boxes
- Click Rest, then undo to get your pose back
- Drag the tip of the forearm around and watch all three sliders move
- Type
120into the Elbow box. What does Snakie do with a number past the limit?
Common Issues
Problem: Dragging spins the camera. Solution: Start the drag on the robot itself, near the tip. Why: Dragging the robot poses it. Dragging anywhere else orbits the view.
Problem: A slider won’t go as far as I want. Solution: Widen the joint’s Limits in Assemble mode. Why: Sliders stop at the joint’s limits.
Problem: I’ve lost my view of the robot. Solution: Click Zoom to fit in the bottom right. Why: It’s easy to orbit or zoom somewhere unhelpful.
Check your understanding
Quick quiz 1 of 3
You move the shoulder slider. Why does the forearm move too?
Quick quiz 2 of 3
What is inverse kinematics?
Quick quiz 3 of 3
What does Rest do?
You can use the arrows ← → on your keyboard to navigate between lessons.
Comments