Make It Move with BetterCad
Add joints, poses, clash checks and drive links to a BetterCad design and export it as URDF, building a two-joint desk arm
By Kevin McAleer, 3 Minutes
Page last updated November 21, 2026

Overview
A printed robot part is only half a design. The other half is how it moves: which part turns on which, how far it can swing before it hits something, and what the whole thing looks like folded up or reaching out.
Most CAD tools leave you to work that out in your head, or with a print and a bin full of failed prototypes. BetterCad has an Assemble tab for it. You join parts with hinges, wheels and sliders, drag them about, save the poses you care about, and let the app find every angle where two parts collide. When it all works, one export gives you a URDF file, the format robot simulators and ROS read.
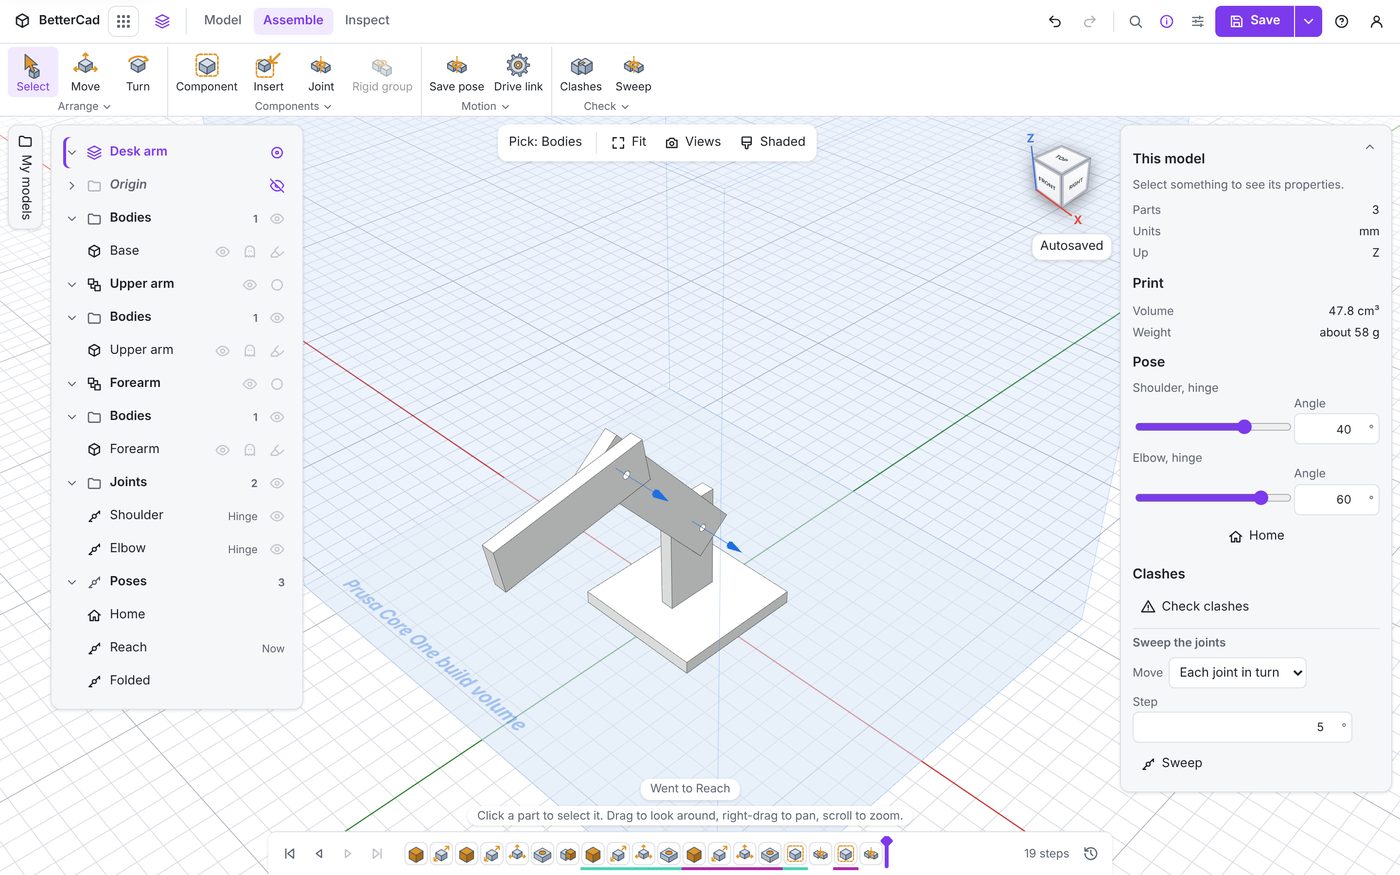
This course works through the Assemble tab from the first joint to the export. The project is a two-joint desk arm: a base, an upper arm and a forearm, joined at a shoulder and an elbow.
Course Content
- Bodies, components and the Assemble tab
- Making a hinge joint between two parts
- Posing a joint with its slider, by typing an angle, and by dragging
- Chaining a second joint onto the first
- Hinge, wheel, slider and fixed joints, and lining a joint up
- Saving named poses and going back to them
- Setting a tool point and dragging the arm by its tip
- Mass and centre of mass for each moving part
- Checking a pose for clashes
- Sweeping every joint through its range and setting safe limits
- Drive links: making one joint turn another through gears
- Exporting URDF for a simulator or ROS
Key Results
After this course you will be able to:
- Turn any body into a moving part and joint it to another
- Choose the right kind of joint and set its limits
- Pose a mechanism three different ways and save the poses worth keeping
- Find out where an arm can and cannot reach
- Catch collisions on screen instead of on the workbench
- Link two joints through a gear pair so they turn in step
- Export a robot as URDF with meshes, masses and joint limits
What you’ll need
- A computer with a recent browser and a mouse
- BetterCad. It’s free and needs no account
- The basics from Learn BetterCad: adding shapes, Properties, the Browser and the timeline
- For the drive links lesson, the geared servo deck from Design Robot Parts with BetterCad. A finished copy is there to download if you haven’t built it
You don’t need to print anything. Everything in this course happens on screen.
How the course works
Each lesson is short and has you doing something in BetterCad. Steps are numbered. Words in bold are things to click, and text in “quotes” is what BetterCad says back in the bar under the 3D view.
The arm grows lesson by lesson, so keep your model saved as you go. If you’d rather skip a step or check your work, each stage has a file you can download and open with Open… in the Save menu.
Most lessons end with a Try it Yourself section and a short quiz. The answers are explained as soon as you pick one.
BetterCad changes quickly. The screenshots are from November 2026, so a button may have moved a little by the time you read this. The ideas stay the same.
You can use the arrows ← → on your keyboard to navigate between lessons.
Comments