Posing a Joint
Move a BetterCad joint with its slider, by typing an angle or by dragging the part, and go back to the home pose
By Kevin McAleer, 4 Minutes
Page last updated November 21, 2026

The shoulder is made. Now make it move. There are three ways, and you’ll end up using all of them.
The Pose section
- Press Esc so nothing is selected.
Properties shows This model, and it has a new section called Pose with one row for each joint: “Shoulder, hinge”, a slider and an Angle box.
- Drag the slider.
The arm swings as you drag. The slider stops at the joint’s limits, which are still -90 and 90 degrees.
- Click in the Angle box, type
45and press Tab.
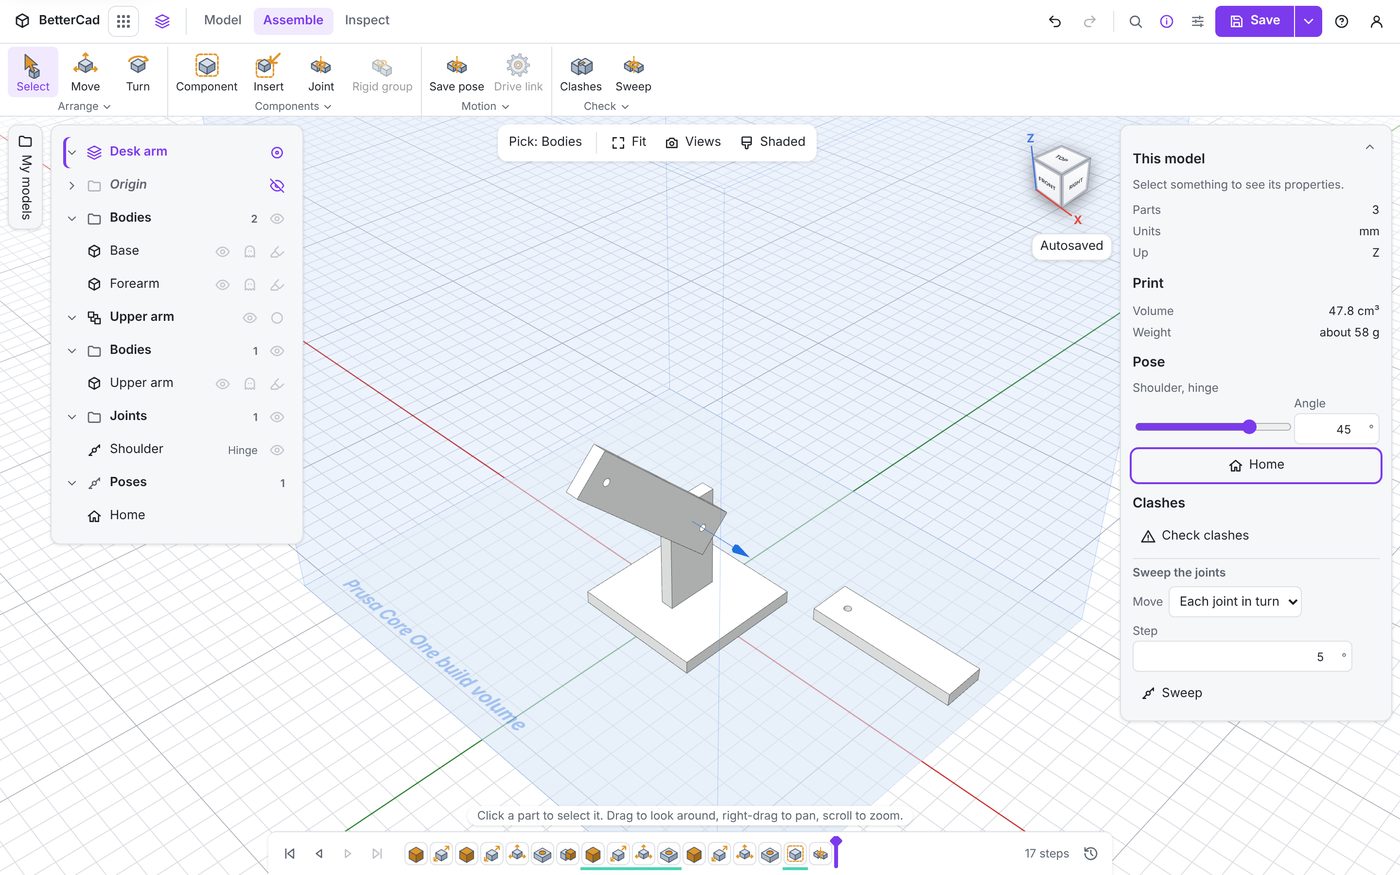
Typing is the way to get an exact angle. Like every number box in BetterCad, it takes sums too.
Dragging the part
- In the 3D view, press on the upper arm and drag.
The arm follows the pointer round its hinge. This is the quickest way to try something out: grab it and move it.
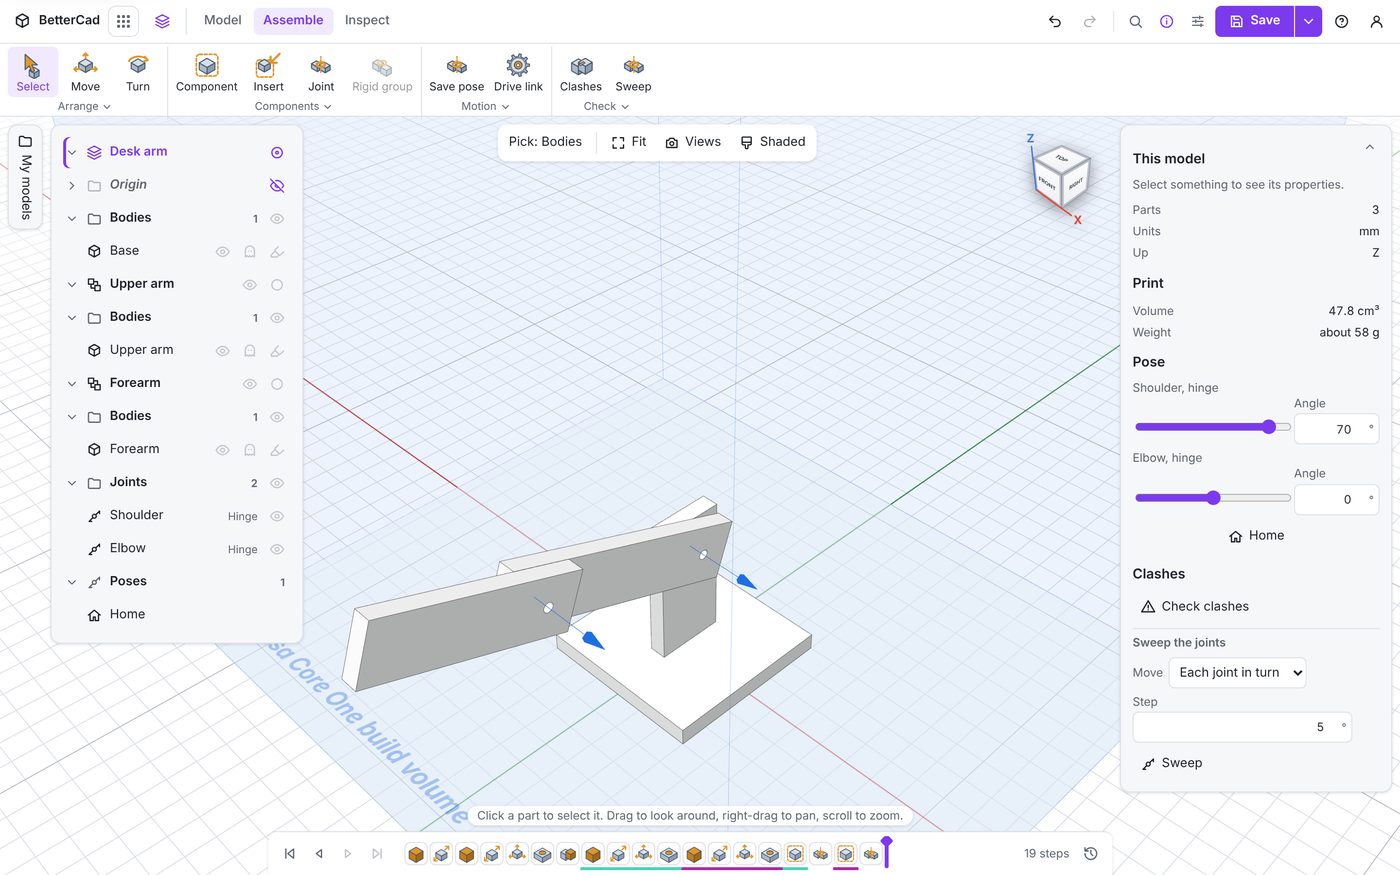
Dragging an empty part of the view still turns the camera, as it always has.
Home
Every joint has a home: the position it was in when you made it. For the shoulder, that’s the arm standing straight up.
- Click Home under the sliders.
Every joint goes back to zero. The Browser has a Poses folder with a pose called Home in it, and a small “Now” beside it whenever the model is in that pose.
Home matters more than it looks:
- Angles are measured from it. 45 degrees means 45 degrees from home
- A URDF export describes the robot at home
- An STL export puts every joint at home, unless you tick Export as posed
So it pays to make each joint with the parts in a sensible resting position. Straight up is a good home for an arm.
A pose isn’t a step
Look at the timeline while you drag the slider. No new steps appear. Posing doesn’t change the design, in the same way that opening a door doesn’t change the house.
The pose is still remembered. Ctrl+Z takes back the last move, and the model saves in whatever pose you left it, so it opens that way next time.
From a selected part
There’s one more place to pose from.
- Click the upper arm.
Properties shows the part as usual, with a new Joint section: the joint’s name, “Hinge joint, on the base”, an Edit button, and the same slider and Angle box. That’s handy when a model has a dozen joints and you just want the one this part turns on.
Try it Yourself
- Pose the shoulder at -30 degrees by typing. Which way is negative?
- Type
90/4in the Angle box. What angle do you get? - Drag the arm as far as it will go each way. It stops at the limits, wherever the pointer goes.
Common Issues
- Problem: The Home button is greyed out
- Solution: Nothing to do
-
Why: Every joint is already at home
- Problem: The Pose section isn’t in Properties
- Solution: Press Esc to clear the selection
- Why: The sliders for every joint show under This model. With a part selected you see only that part’s own joint
Check your understanding
Quick quiz 1 of 3
What is a joint’s home?
Quick quiz 2 of 3
You posed the arm. How many steps did that add to the timeline?
Quick quiz 3 of 3
Which way of posing gives an exact angle?
You can use the arrows ← → on your keyboard to navigate between lessons.
Comments