Summary and Next Steps
A recap of everything in Learn BetterCad, a keyboard shortcut cheat sheet and where to go next
By Kevin McAleer, 5 Minutes
Page last updated November 20, 2026

You started with an empty screen and finished with a parametric phone stand that prints without supports. That’s the whole journey from idea to object, and you can repeat it for any part you need.
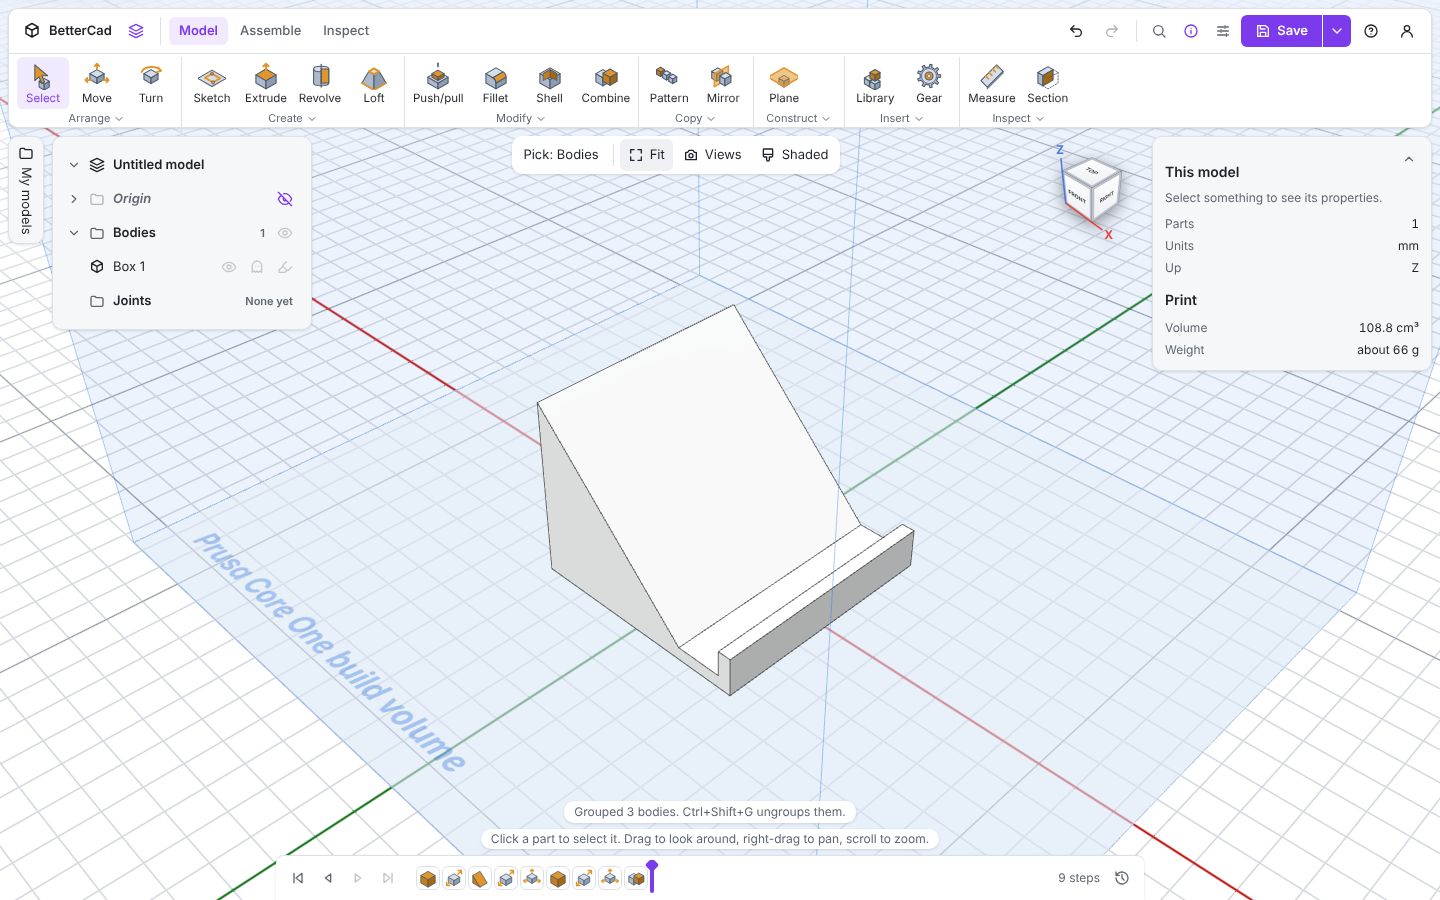
What you made
| Part | What it taught you |
|---|---|
| A filleted block | Sketch, Extrude, Fillet and Export |
| A plate with a screw hole | Constraints, dimensions and “fully constrained” |
| An enclosure with screw posts | Library shapes, Push/pull, the Hole tool, hole shapes, Shell |
| The same enclosure, wider | The timeline and parameters |
| A phone stand | All of it, planned around five parameters |
The ideas worth keeping
- A sketch is a set of rules. Blue lines can still move. Black lines are fully constrained and stay where you put them
- A model is a recipe. The timeline holds the steps, and changing an early step replays the rest
- Names beat numbers. A size typed as a parameter follows that parameter. A size typed as a number stays put
- Order matters. Holes before Shell gives you screw posts. Shell before holes doesn’t
- Design for the printer. Fillet what faces up, chamfer what faces down, and let the overhang check have the last word
- Keep the .bcad. An STL is a snapshot. The
.bcadis the design
Cheat sheet
| Key | Tool | Key | Tool | |
|---|---|---|---|---|
| V | Select | K | Sketch | |
| M | Move | E | Extrude | |
| R | Turn | P | Push/pull | |
| X | Section | G | Fillet | |
| I | Measure | S | Shell | |
| H | Hole | C | Combine |
In a sketch: L Line, R Rectangle, C Circle, D Dimension, Enter to finish.
| Keys | What they do |
|---|---|
| / or Ctrl+K | Find any command |
| Esc | Back out one step |
| Ctrl+G | Group the selected shapes |
| Ctrl+Shift+G | Ungroup |
| Alt+← / Alt+→ | Step back and forward along the timeline |
| Ctrl+S | Save |
| Ctrl+E | Export |
| Ctrl+Z | Undo |
The full list is in the app under Help, Keyboard shortcuts.
Things to design next
The best practice is a part you actually need. Some ideas, roughly in order of difficulty:
- A cable clip for the edge of your desk
- A lid for the enclosure from lessons 6 to 9, with four countersunk M3 holes that line up with the posts
- A mount for a Raspberry Pi Pico, with holes on its 11.4 × 47 mm mounting pattern
- A bracket to hold a servo, measured from the real thing with callipers
What’s next
- Print It Right is the follow-on course. It covers calibrating holes and fits to your own printer, choosing an orientation, tolerances for parts that slide or snap together, and exporting for different slicers
- The Start with BetterCad pathway puts the BetterCad courses in order
- Want to see how other CAD tools approach the same ideas? Try Introduction to FreeCAD for Beginners
- Have a design that needs a brain? Getting Started with Snakie gets a Raspberry Pi Pico running MicroPython
BetterCad is in alpha and changing quickly. Help, What’s new in the app lists what’s been added, and Report a problem goes straight to the people building it.
Try it Yourself
- Pick one idea from the list above and design it. Start with a list of parameters.
- Share a link to something you’ve made and ask a friend to open their own copy.
- Go back to your very first block from lesson 2 and rebuild it in under a minute.
Check your understanding
Quick quiz 1 of 3
A size should follow another size when it changes. What do you type?
Quick quiz 2 of 3
Which gives you screw posts inside an enclosure?
Quick quiz 3 of 3
Which file do you keep so you can edit the design later?
You can use the arrows ← → on your keyboard to navigate between lessons.
Comments