Extrude and Fillet
Turn a sketch into a solid block with Extrude, then round its top edges with Fillet in BetterCad
By Kevin McAleer, 4 Minutes
Page last updated November 20, 2026

You have a flat rectangle. Two tools turn it into something you’d want to hold: Extrude gives it height, and Fillet rounds its edges.
Extrude it 10 mm
Press Extrude (E), click inside the rectangle, type 10 and press Enter.
- Press E.
- Click inside your rectangle. It fills with colour and an arrow appears.
- Type
10.
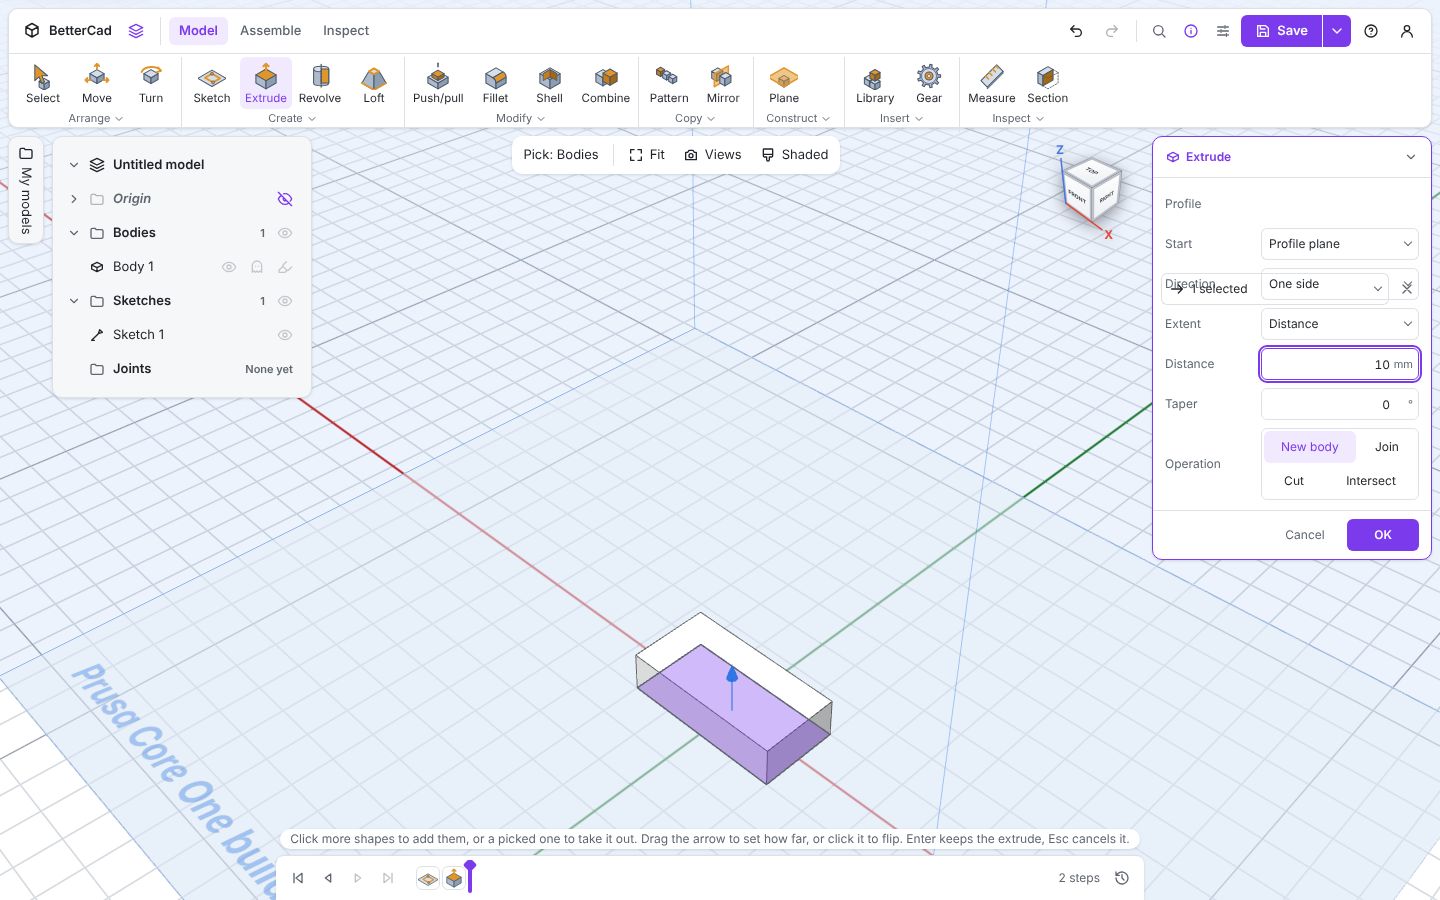
- Press Enter.
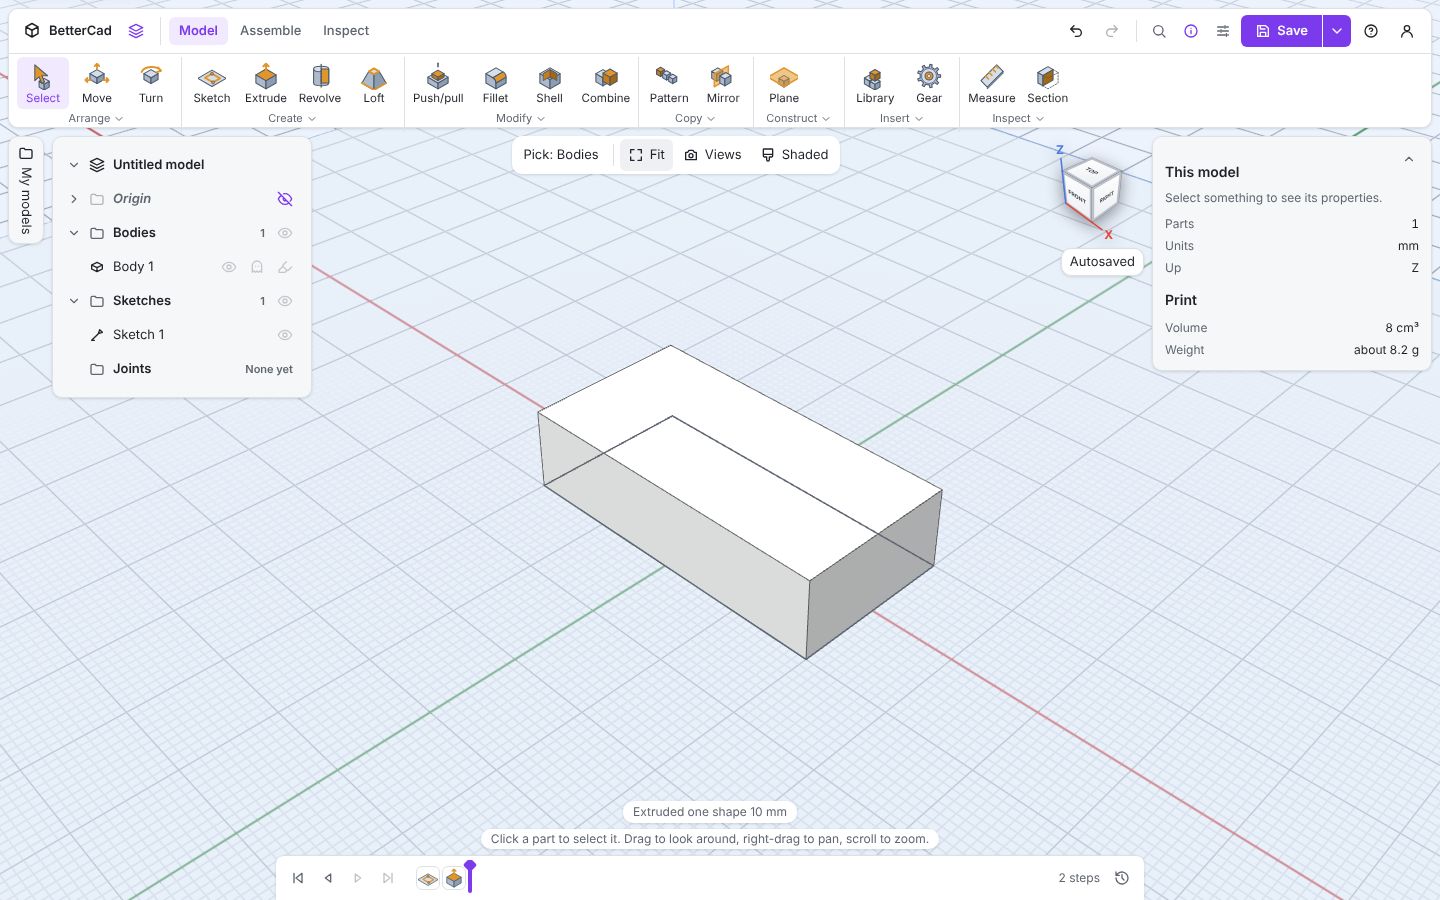
That’s a solid: 40 × 20 × 10 mm. The Browser now has a Bodies folder with Body 1 in it, and the timeline has a second step.
You could also drag the arrow instead of typing. And a negative number goes the other way, which becomes useful when you extrude into a part to cut a pocket.
What’s in the Extrude panel
| Setting | What it does |
|---|---|
| Distance | How far to pull the shape |
| Taper | Lean the sides in or out as they rise |
| Operation: New body | Make a separate part |
| Operation: Join | Add to a part that’s already there |
| Operation: Cut | Remove from a part |
| Operation: Intersect | Keep only where the two overlap |
For a first block, the defaults are right.
Round the top edges
Press Fillet (G), click the top edges, type a radius like 2 mm and press Enter.
A fillet is a rounded edge. Sharp corners on a print are uncomfortable to hold and tend to lift off the bed. Rounded ones look finished.
- Press G.
- Click each of the four top edges. Each turns blue and is added to the list.
- Type
2.
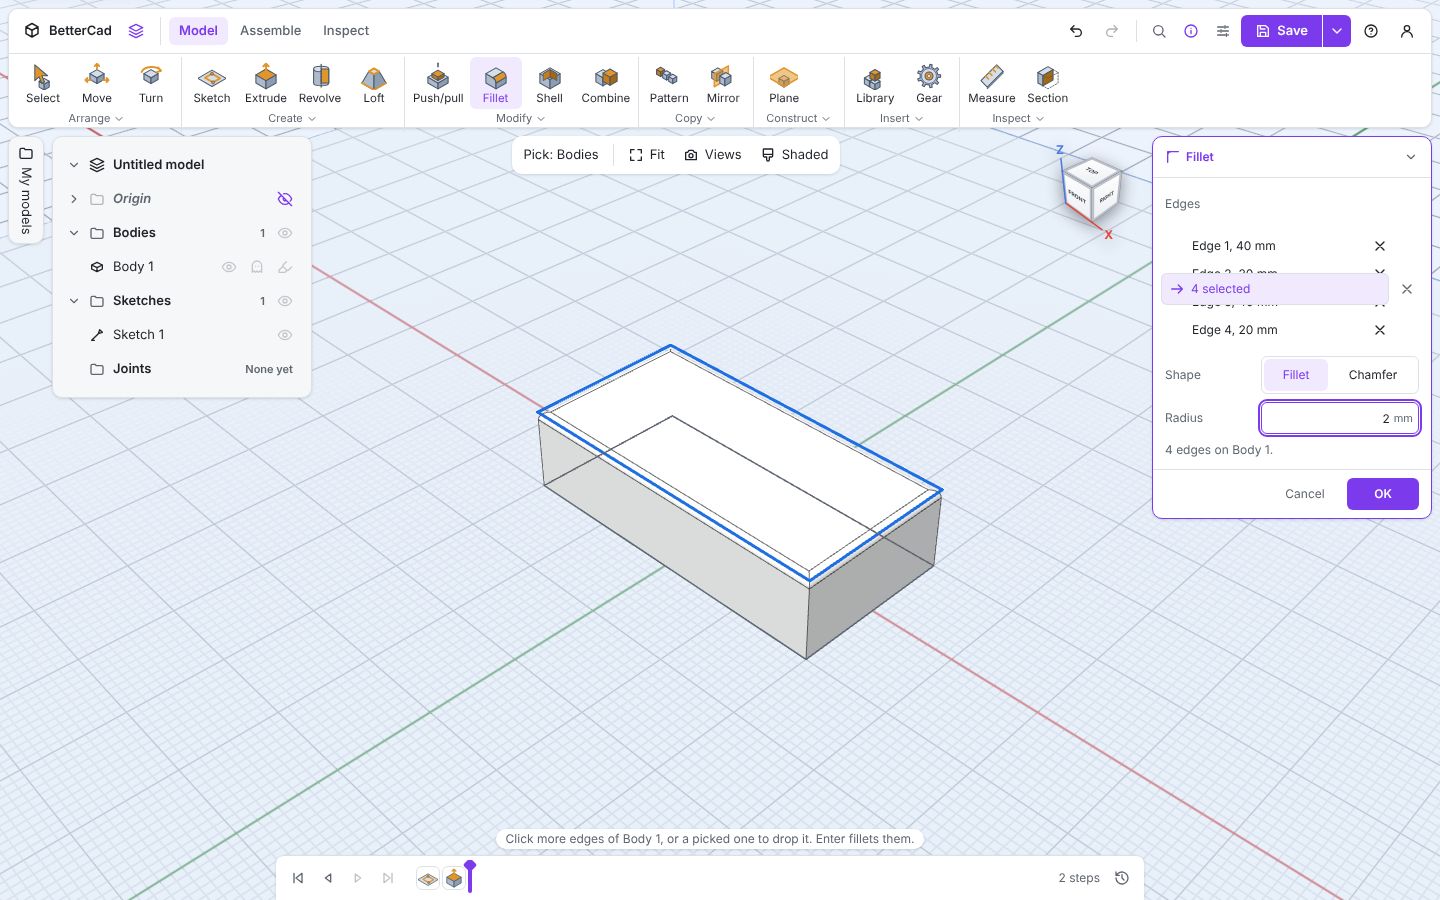
- Press Enter.
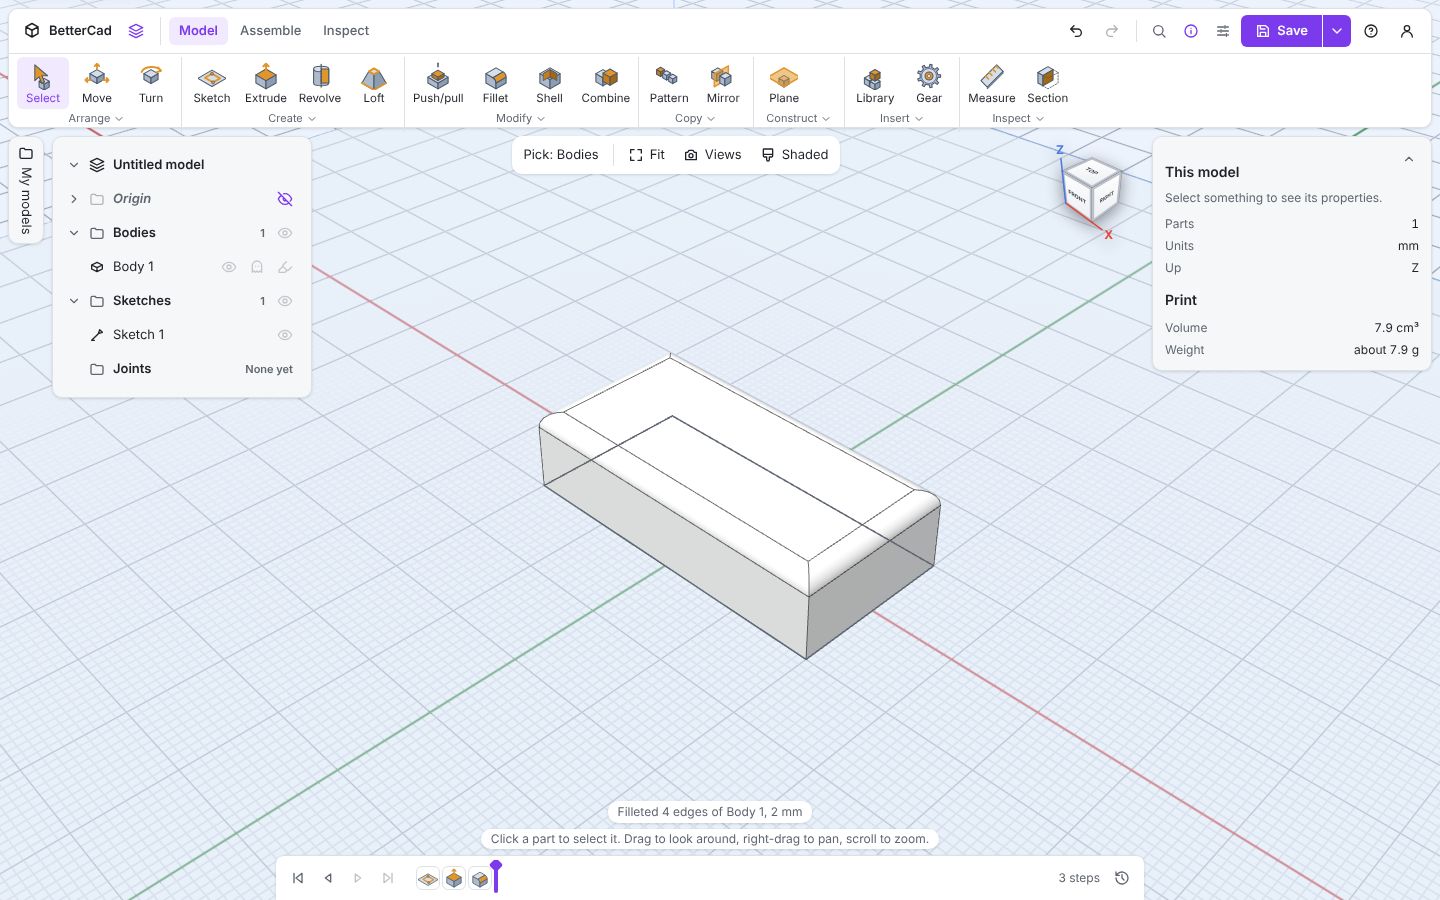
Clicked the wrong edge? Click it again to drop it.
Check your work
Click the block. Properties shows its size and volume, and under Print an estimate of its weight. Nothing to measure, nothing to work out.
The timeline now has three steps: the sketch, the extrude and the fillet. That’s your model’s recipe. BetterCad rebuilds the part from those steps every time you change one, and in lesson 9 you’ll use that to change your mind.
Why not round the bottom edges too?
You can, but think about printing first. A rounded bottom edge curves away from the bed, so the first few layers hang in mid-air. If you want to soften a bottom edge, use a chamfer, a flat 45° bevel. That’s in lesson 8.
Try it Yourself
- Press Ctrl+Z to undo the fillet, then fillet the four upright edges instead. Which looks better?
- Try a radius of
20. What does BetterCad tell you? - Make a 10 mm block with 2 mm rounded top edges and keep it. You’ll export it in the next lesson.
Common Issues
Problem: Extrude says to click inside a closed sketch shape, but nothing happens when I click. Solution: Click inside the shape, not on its line. Why: Extrude works on the area a shape encloses.
Problem: “A 20 mm fillet does not fit here.” Solution: Use a smaller radius. BetterCad suggests the largest that will fit. Why: A fillet can’t be bigger than the faces on each side of the edge.
Problem: I can’t click an edge at the back. Solution: Drag to turn the view while the Fillet tool is still on, then click it. Why: You can only pick what you can see. Turning the view doesn’t cancel the tool.
Check your understanding
Quick quiz 1 of 3
What does Extrude do?
Quick quiz 2 of 3
What is a fillet?
Quick quiz 3 of 3
Why avoid a fillet on the bottom edge of a print?
You can use the arrows ← → on your keyboard to navigate between lessons.
Comments