Push, Pull and Shapes
Build a part from ready-made BetterCad shapes, size it by typing, and reshape it by pulling on a face
By Kevin McAleer, 5 Minutes
Page last updated November 20, 2026

Sketching is precise, but it isn’t the only way to start. BetterCad also has a Library of ready-made shapes you can drop in and resize, Tinkercad style. Over the next three lessons you’ll use them to build a small enclosure for an electronics project, with screw posts and a cable hole.
Add a box
Start a new model (Ctrl+N), then click Library on the toolbar.
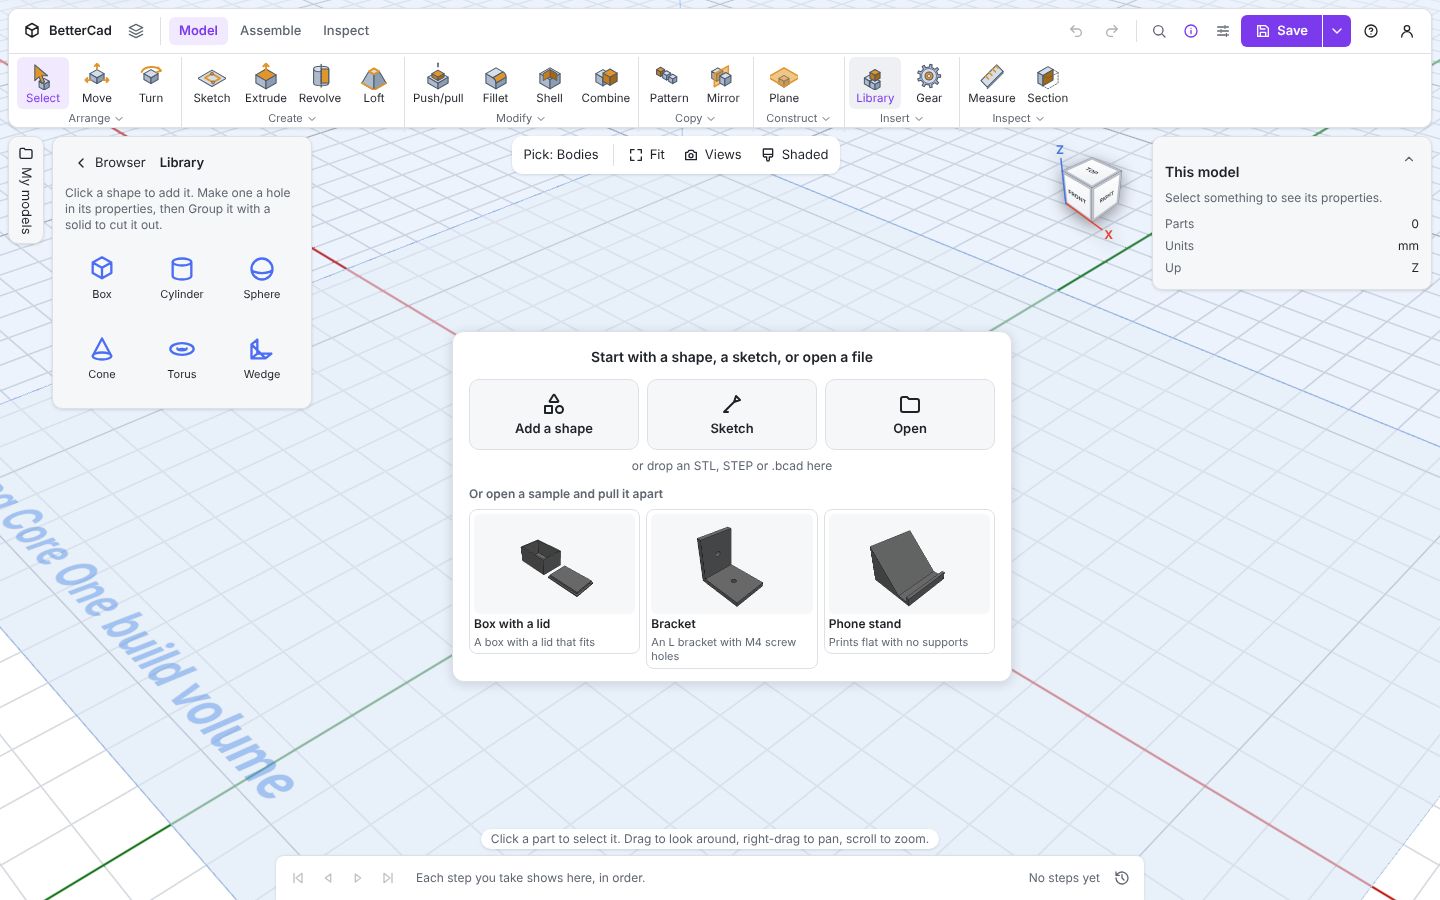
There are six shapes: Box, Cylinder, Sphere, Cone, Torus and Wedge. Click Box.
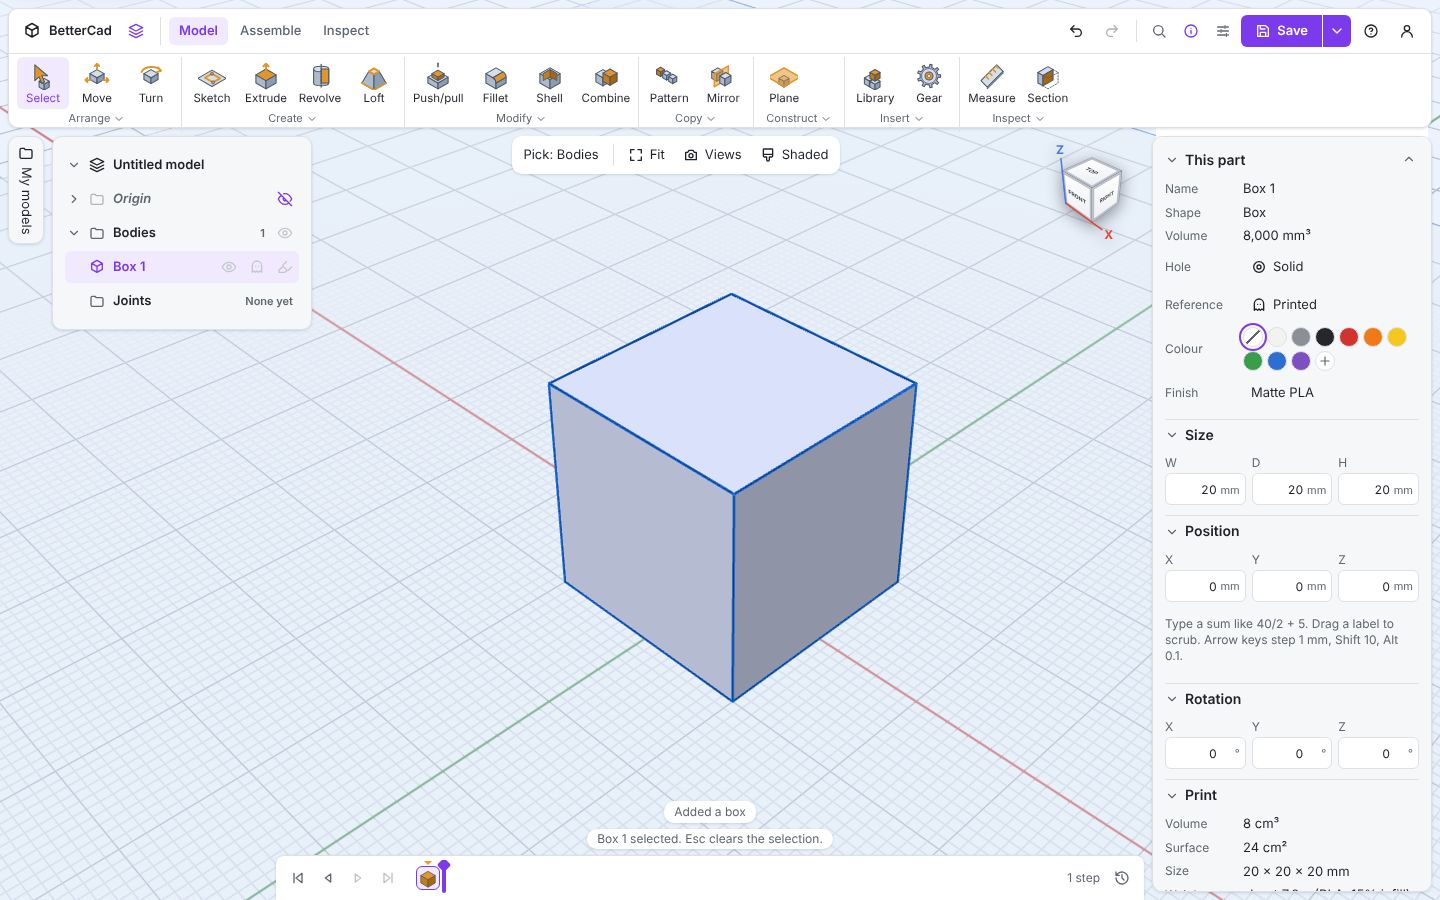
A box appears on the ground at the centre of the model, already selected, with its details in Properties.
Size it by typing
Under Size in Properties there are three boxes: W, D and H, for width, depth and height.
- Click W, type
60and press Enter. - Set D to
40. - Set H to
25. - Click Fit above the view so you can see all of it.
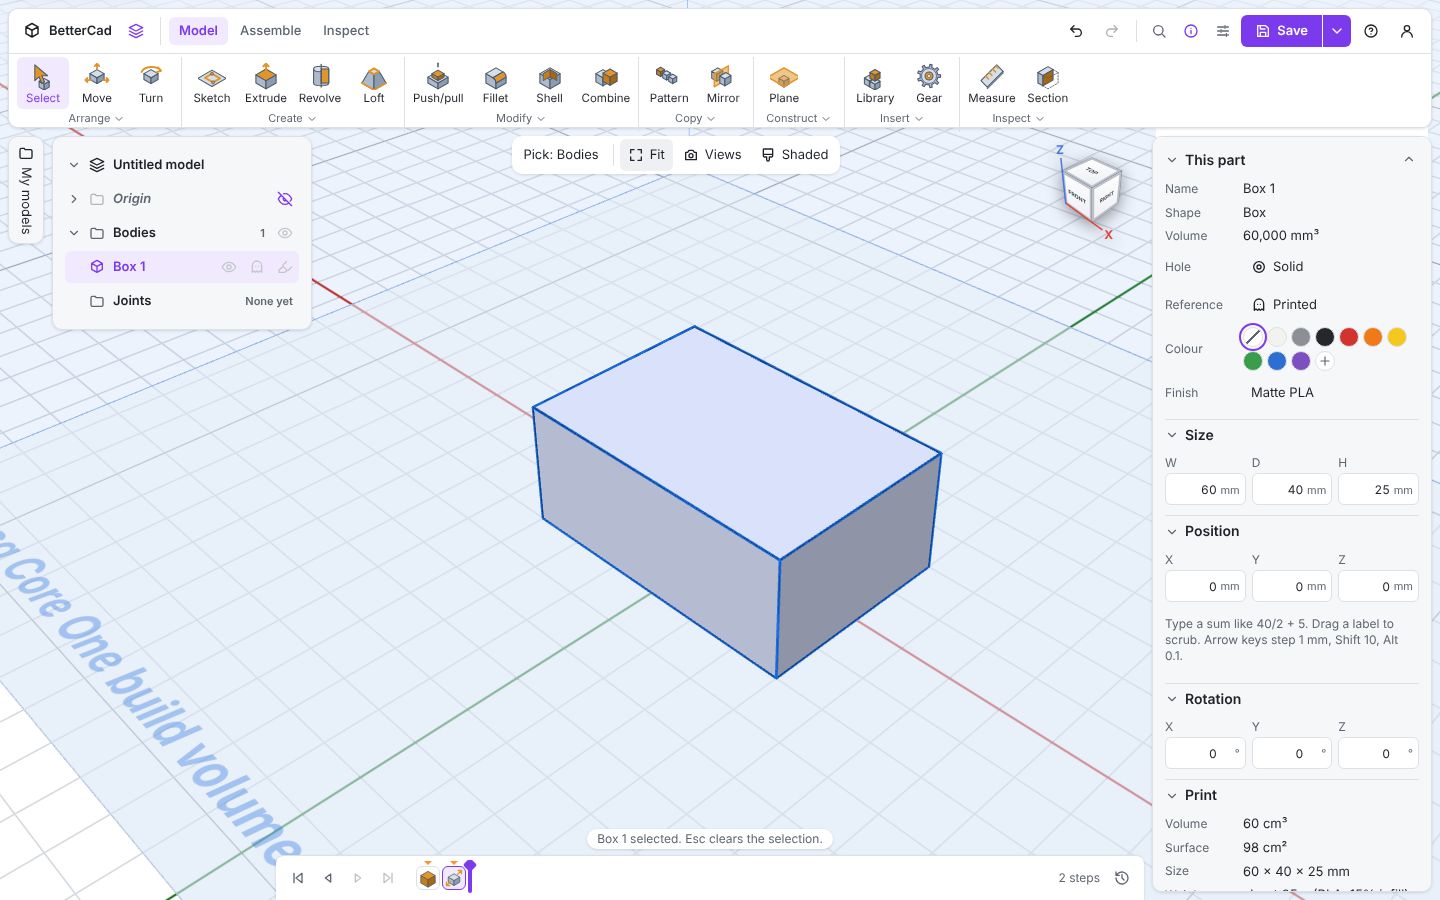
These boxes take sums, just like dimensions. 40/2 + 5 works. You can also use the arrow keys in a size box to step by 1 mm, with Shift for 10 and Alt for 0.1.
Pull a face
The box needs to be a bit taller. You could retype H, but there’s a more direct way.
Press Push/pull (P), press on a face and drag it. Type a distance to be exact.
- Press P.
- Press on the top face and drag upwards.
- Type
5.
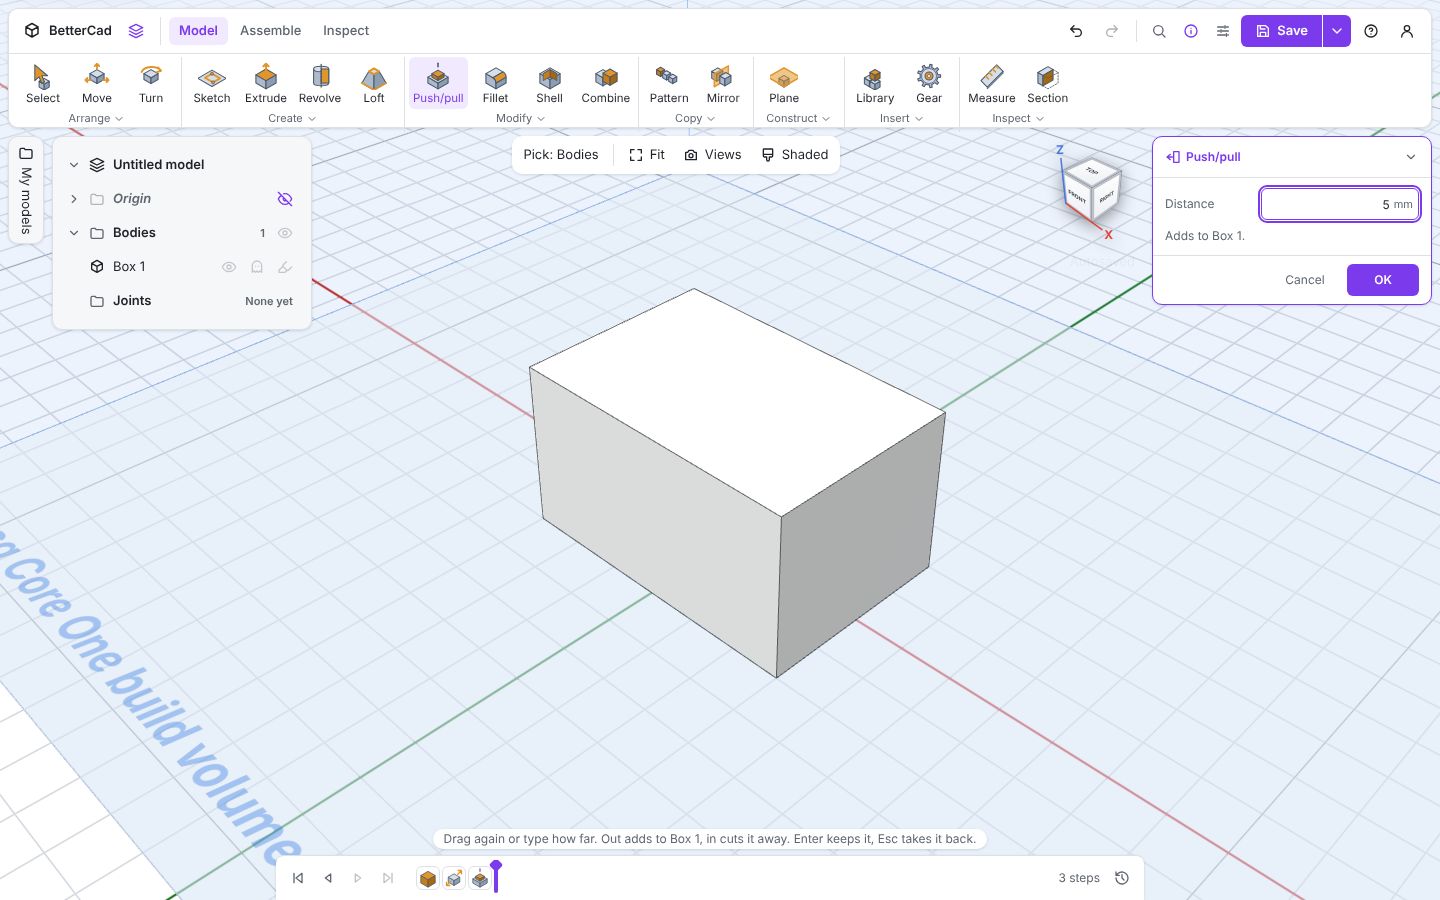
- Press Enter.
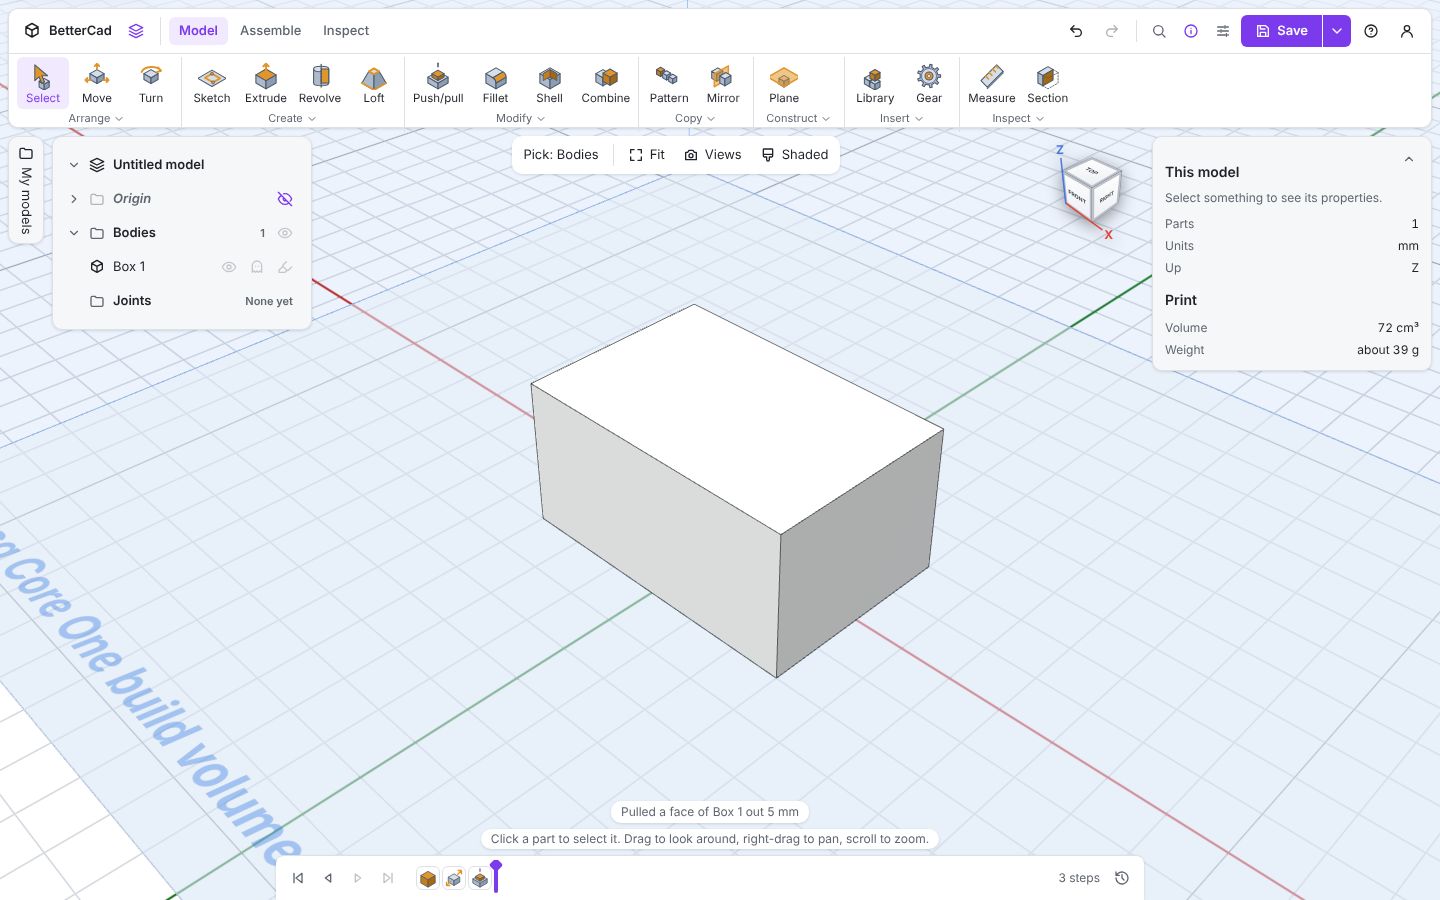
BetterCad reports Pulled a face of Box 1 out 5 mm, and the box is now 30 mm tall. Drag a face inwards, or type a negative number, and you push it in instead.
Push/pull works on any flat face of any part, not just Library shapes. It’s the fastest way to say “this side, a bit further out”.
Move and turn
Two more tools put a part where you want it.
- Move (M): click a part and arrows appear. Drag an arrow to slide the part along that direction. Hold Shift to snap to 5 mm steps
- Turn (R): click a part and rings appear. Drag a ring to rotate around that axis
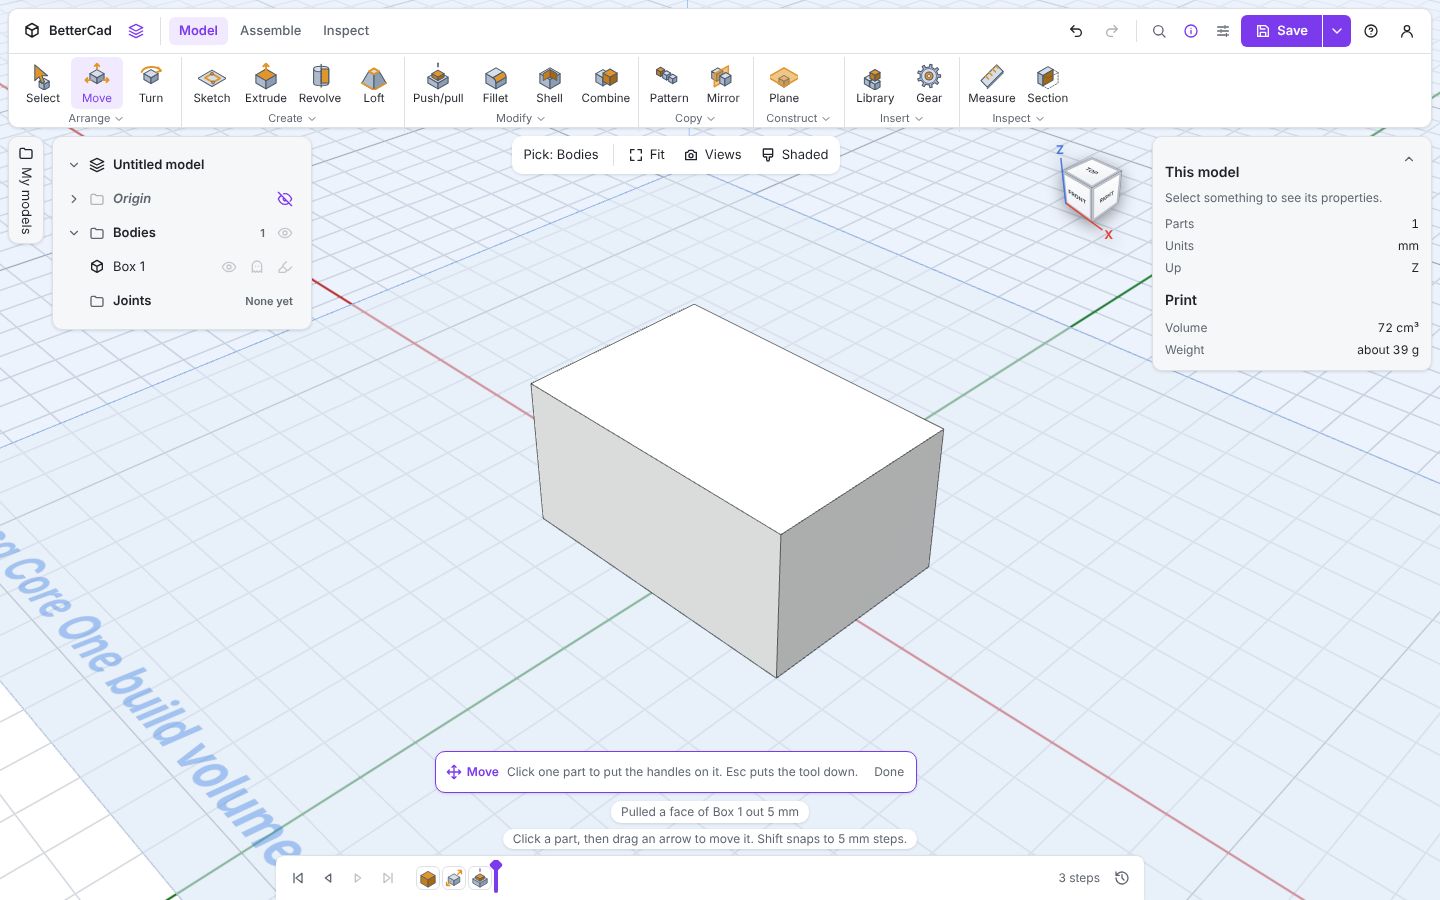
When you need an exact position, type it. With a part selected, Position and Rotation in Properties each have X, Y and Z boxes. You’ll use those in the next lesson to aim a cable hole.
Press Esc to put a tool down. Leave the box at the centre for now.
Sketch or shape?
| Start with | When |
|---|---|
| A Library shape | The part is basically a box, a cylinder or a wedge, or a few of them stuck together |
| A sketch | The outline is the interesting bit: a bracket, a plate with slots, anything with curves |
Most real parts use both. Nothing stops you sketching on the face of a Library box.
Keep this model open. In the next lesson you’ll put holes in it.
Try it Yourself
- Add a Wedge and a Torus from the Library and look at which size boxes each one has.
- Push the front face of a spare box in by 10 mm using a negative distance.
- Move a spare shape exactly 30 mm along X by typing in its Position, then delete it with Delete.
Common Issues
Problem: A new shape landed beside the one I already had, not where I wanted it. Solution: Use Move (M) to drag it into place, or type a Position. Why: The first Library shape arrives at the centre. Later ones are put down next to what’s already there so they don’t overlap.
Problem: Push/pull moved the wrong face. Solution: Press Ctrl+Z, turn the view so the face you want is clearly visible, and press on the middle of it. Why: You pull whichever face is under the pointer when you press.
Problem: I pressed R to draw a rectangle and got the Turn tool. Solution: Start a sketch first with K. Why: Some keys do one job in a sketch and another outside it. R is Rectangle in a sketch and Turn in the model.
Check your understanding
Quick quiz 1 of 3
Where do you type an exact size for a Library shape?
Quick quiz 2 of 3
You type -5 as a Push/pull distance. What happens?
Quick quiz 3 of 3
Which tool rotates a part?
You can use the arrows ← → on your keyboard to navigate between lessons.
Comments