Summary and What's Next
Review what you have learned about sprites, framebuf and animation in Snakie and choose your next project
By Kevin McAleer, 4 Minutes
Page last updated November 21, 2026

What you built
You started with a blank grid and finished with a robot face that blinks, glances around, fills the screen and dozes off when the lights go down.
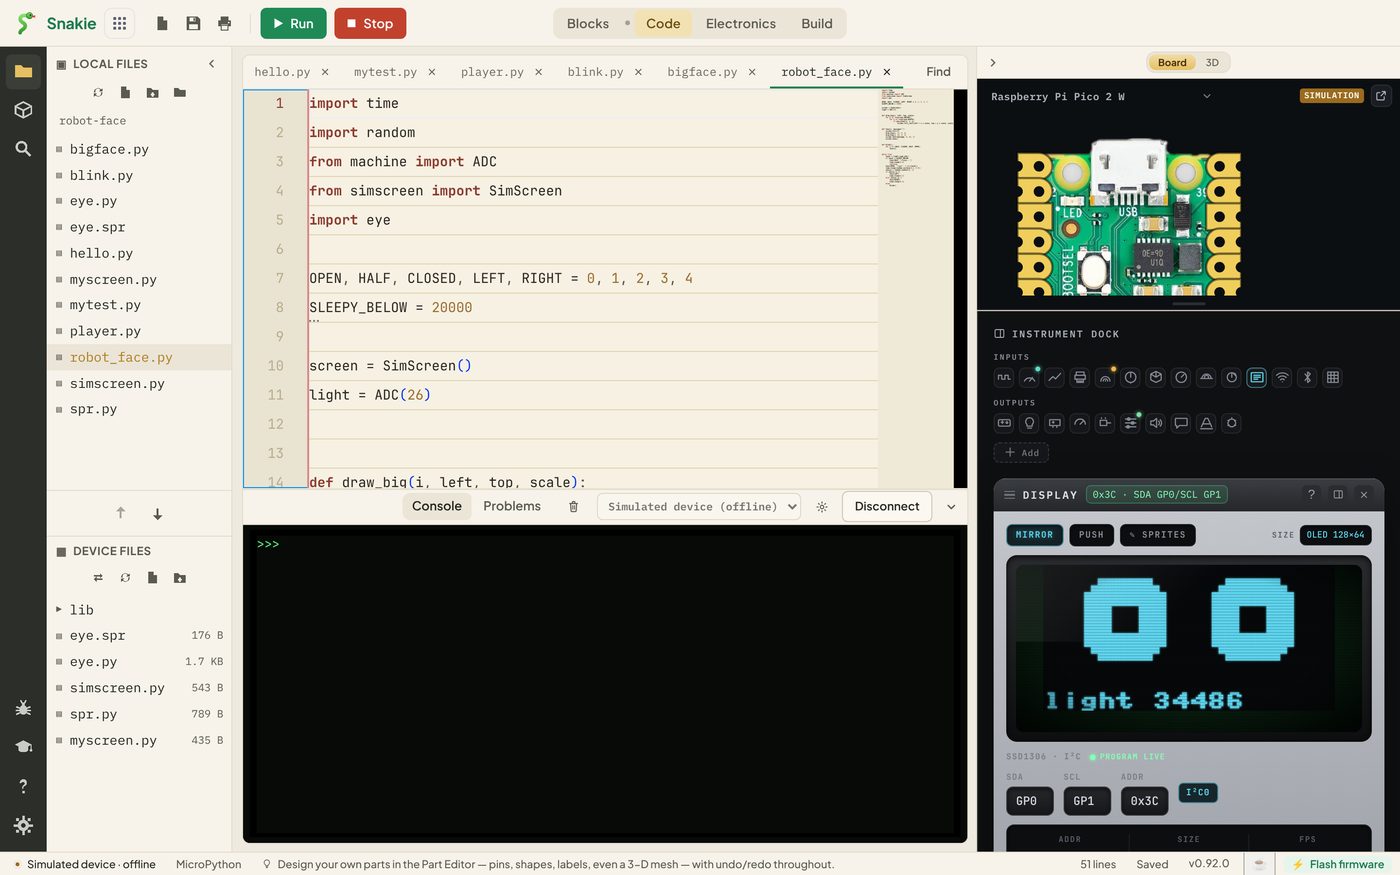
Along the way you:
- Drew a five-frame sprite in Snakie’s Sprite editor
- Saved it as a
.sprfile and exported it as a MicroPython module, a GIF and a sprite sheet - Decoded a frame by hand and learned how pixels pack into bytes
- Drew shapes and text with
framebuf - Built a stand-in screen that shows up in Snakie’s Display instrument
- Blitted sprites, sequenced them, scaled them and tied them to a sensor
- Read sprite files straight from the board
- Saw how little changes when you move to a real OLED
The ideas to keep
| Idea | In one line |
|---|---|
| Sprite | A small picture you draw once and place anywhere |
| Frame | One drawing in an animation |
| 1-bit | Each pixel is on or off, eight to a byte |
| Frame buffer | A screen held in memory. Draw first, then show() |
| Blit | Copy a small buffer onto a big one |
| Animation loop | Clear, draw, show, wait |
| Frames as ingredients | Your code decides the order and timing, not the editor |
| Same interface | If two screens offer the same functions, your code runs on both |
That last one reaches well beyond screens. Writing code against a small, shared set of functions is what lets you test on a simulator today and run on hardware tomorrow.
Your files
By the end you have a tidy little toolkit in robot-face:
| File | What it is |
|---|---|
eye.spr |
The sprite, for editing |
eye.py |
The sprite as a module |
simscreen.py |
The simulated screen |
myscreen.py |
Picks a real or simulated screen |
spr.py |
Reads .spr files on the board |
robot_face.py |
The finished face |
Keep the three helper files. They’ll work in any project that needs a screen.
If you’d like to compare with ours, or you got stuck, download the finished set: robot-face.zip.
Project ideas
- More moods. Add angry (slanted top edge), happy (curved bottom edge) and surprised (small pupil) frames, and switch between them
- A battery gauge. A 16×8 sprite with five frames from empty to full, chosen from an ADC reading
- A weather icon set. Sun, cloud, rain and snow at 32×32
- A walking robot. A four-frame walk cycle that moves across the screen, using
shiftfrom lesson 10 - An LED matrix badge. Redraw the eyes at 8×8 and show them on a matrix
- A tiny game. A sprite you steer with two buttons, dodging blocks that scroll past
What’s Next
- Snakie Instruments - Oscilloscope, Multimeter and Plotter covers the rest of the Instrument Dock that the Display lives in
- Wire It Up - Electronics in Snakie helps you plan the OLED and sensor wiring before you pick up a jumper wire
- Raspberry Pi Pico with MicroPython - GPIO Mastery goes deeper into the pins, ADC and I2C you used in the last lesson
- Build your own BurgerBot gives your face a body
- The Start with Snakie pathway lists the Snakie beginner courses in order
Draw something, put it on a screen and show us. We’d love to see your robot’s face.
Check your understanding
Quick quiz 1 of 3
Which file would you open to change what the eye looks like?
Quick quiz 2 of 3
What is the correct order of an animation loop?
Quick quiz 3 of 3
Why did the course build SimScreen to look like a real display driver?
You can use the arrows ← → on your keyboard to navigate between lessons.
Comments