Placing Parts
Choose a board, add a sensor, a motor driver, motors and a battery pack to a Snakie project, and arrange them on the canvas
By Kevin McAleer, 5 Minutes
Page last updated November 20, 2026

Time to put the robot’s parts on the bench. There are six: a Pico, a distance sensor, a motor driver, two motors and a battery pack.
Choose your board
The board selector at the top shows Raspberry Pi Pico 2 W. Click it to see the other boards Snakie knows.
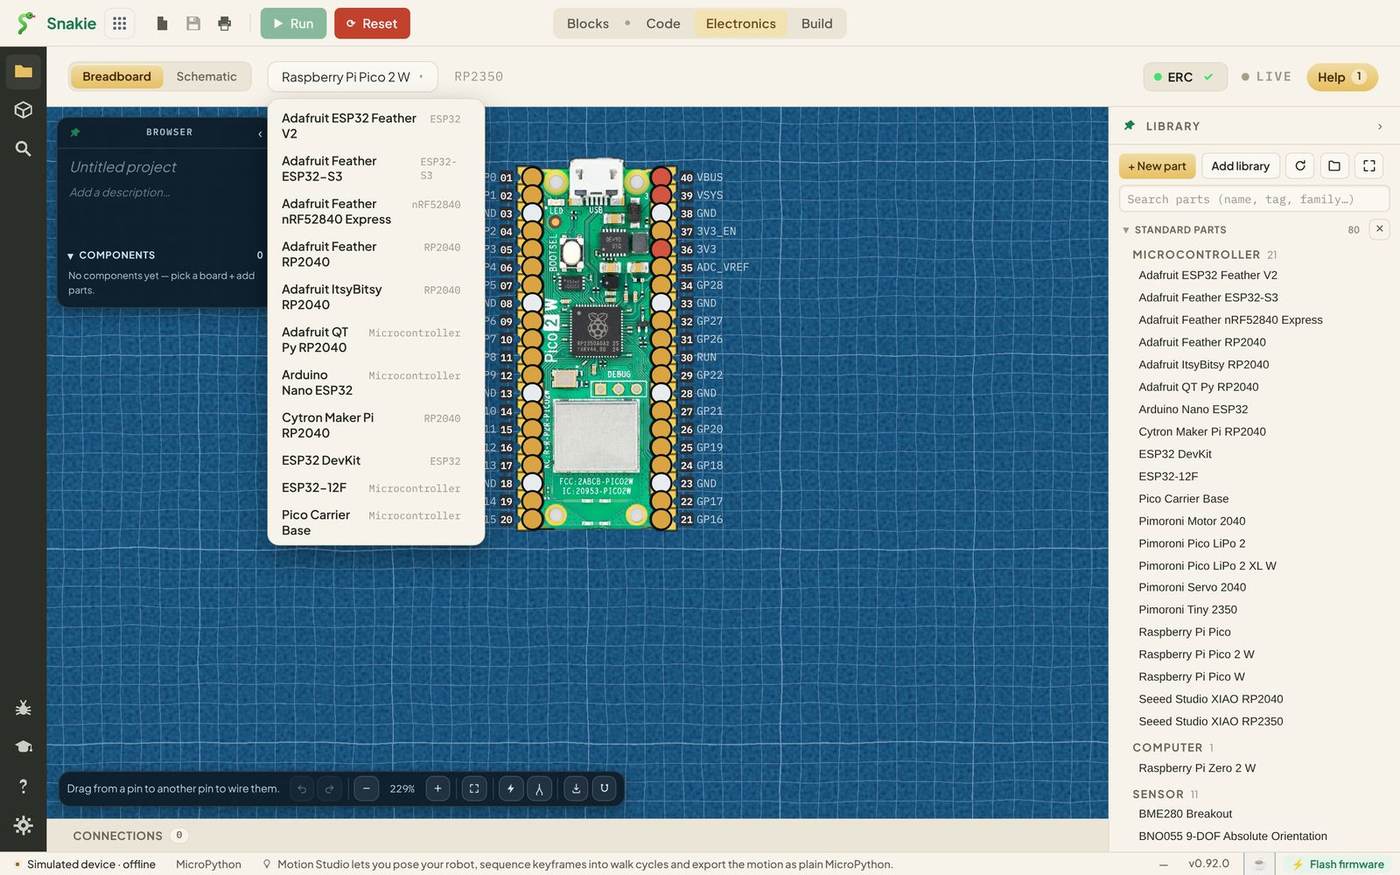
Pick the board you own. The original Pico, the Pico W and the Pico 2 W all share the same pin layout, so everything in this course works on any of them. We’ll use the Pico 2 W.
Add the sensor
- Search the Library for
sr04and click HC SR04. - Click + Add to project on the part’s card.
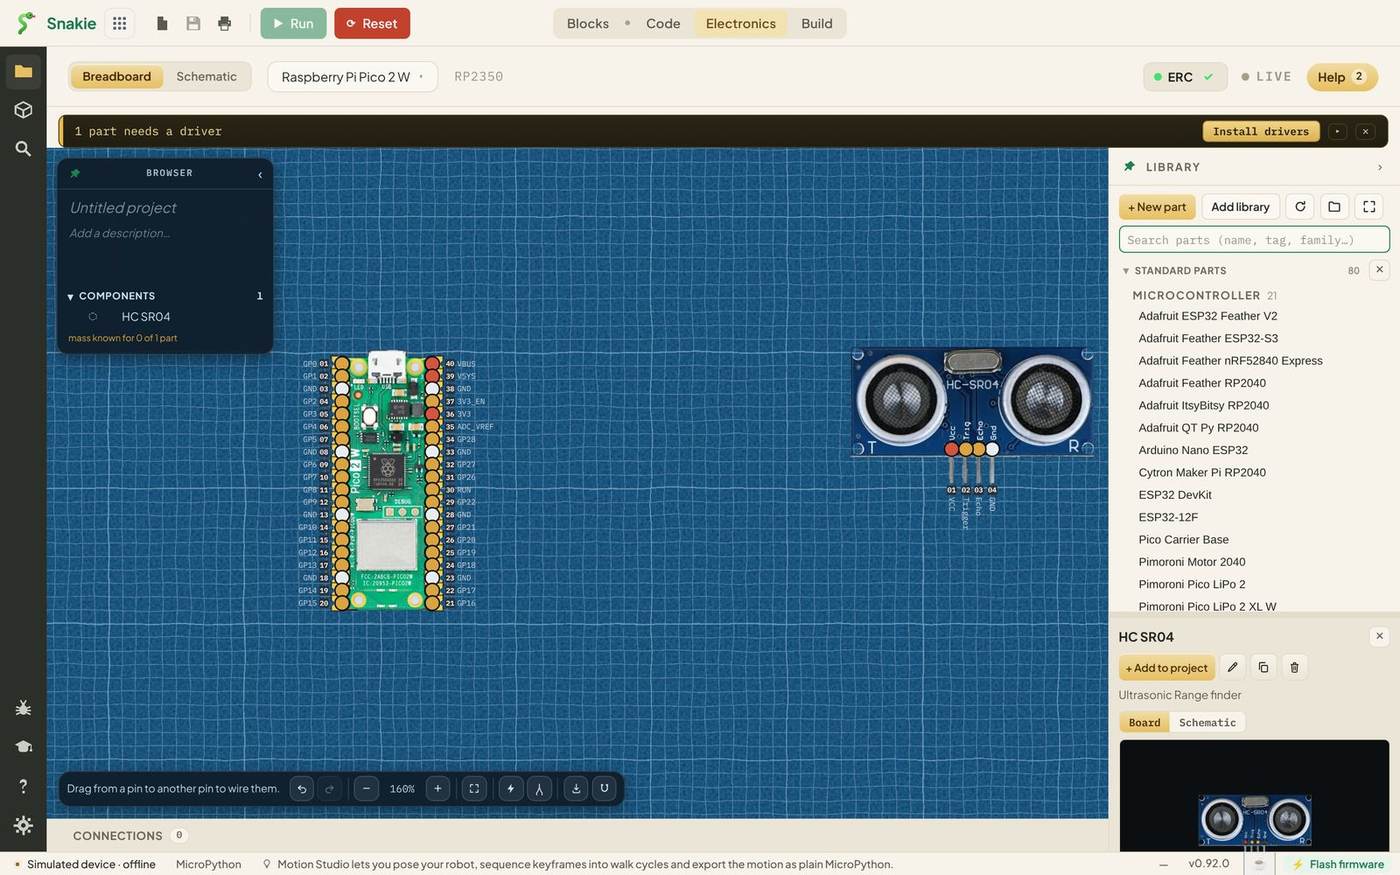
The sensor appears on the canvas, and HC SR04 joins the Components list in the Browser. You can also drag a part straight from the Library onto the canvas.
Two other things happened. The Help button now shows a number, because the sensor has a help page. And a banner says 1 part needs a driver. Leave it for now. Lesson 7 is all about it.
A word about 5 volts
Snakie’s HC SR04 is the 3.3 V kind, which can be wired straight to a Pico. If the module in your hand is the classic 5 V version, it needs 5 V on VCC, and its Echo pin answers at 5 V too. A Pico’s pins must never see more than 3.3 V.
The fix is a pair of resistors on the Echo wire, called a voltage divider, or simply buying the 3.3 V version (often sold as HC-SR04P or RCWL-1601). The sensor’s help page in Snakie explains both.
Select, rotate and tidy
Click the sensor. A dashed outline appears with a small toolbar above it.
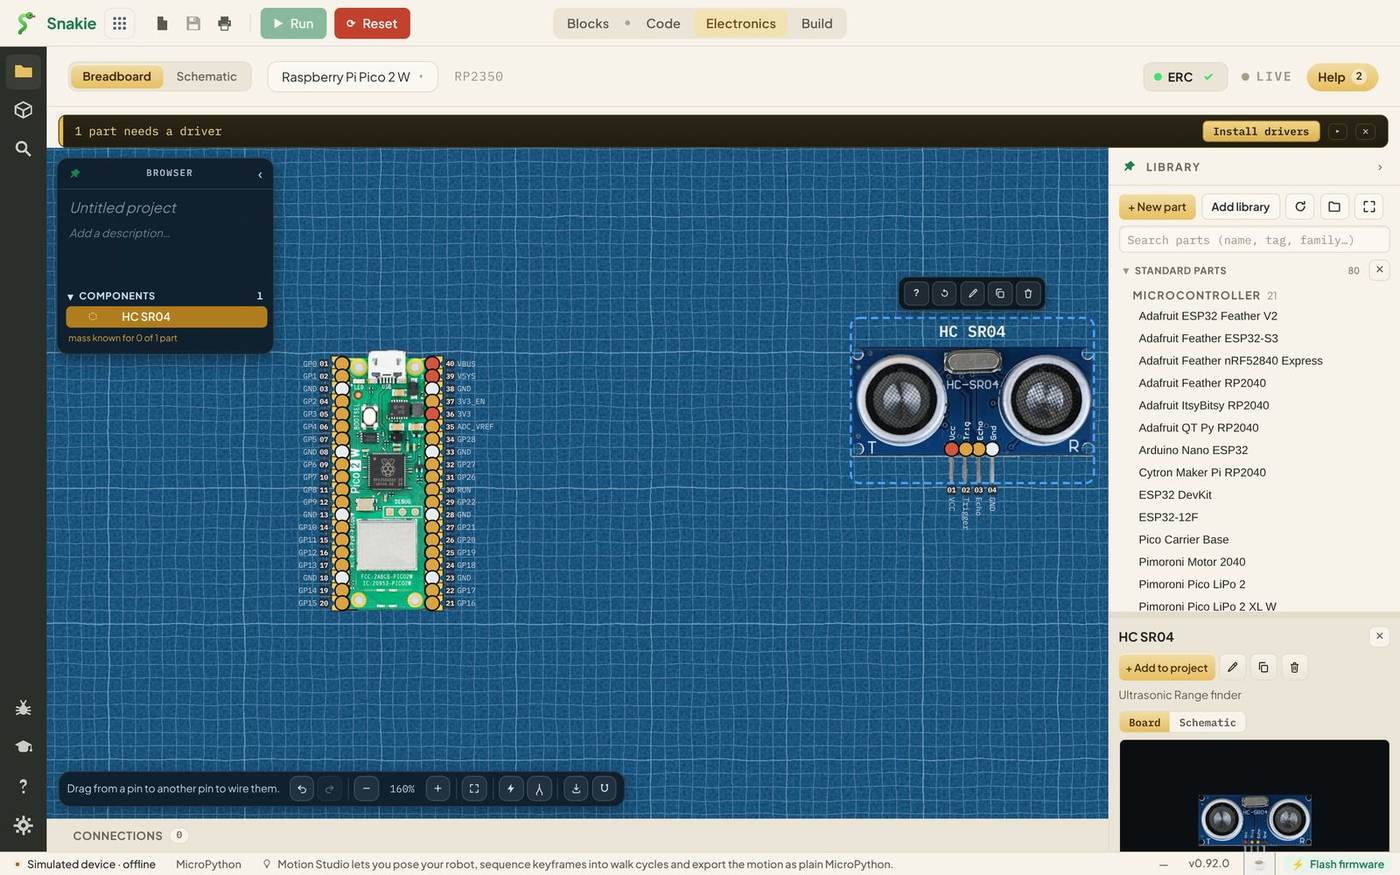
| Button | What it does |
|---|---|
| ? | Opens the part’s help page |
| Rotate | Turns the part 90° |
| Rename | Changes the label shown on the canvas |
| Duplicate | Makes a second copy |
| Delete | Removes the part from the project |
Clicking a name in the Components list selects that part too, which is useful when the canvas gets busy.
Add the rest
Add these the same way:
| Search for | Part | How many |
|---|---|---|
mx1508 |
MX1508 | 1 |
TT |
Yellow TT Motor | 2 |
4×AA or battery |
4×AA Battery Pack | 1 |
Snakie drops each new part somewhere near the others. Parts are drawn at their real relative sizes, so the motors and the battery pack tower over the little Pico.
Arrange the bench
A tidy layout makes wiring far easier. Drag the parts so the wires will be short and won’t cross more than they have to:
- The Pico on the left
- The sensor above, where it will “look” forward
- The motor driver in the middle
- A motor to each side of it
- The battery pack near the driver
Then hide the Library with the arrow at its top right to make room, and click Zoom to fit.
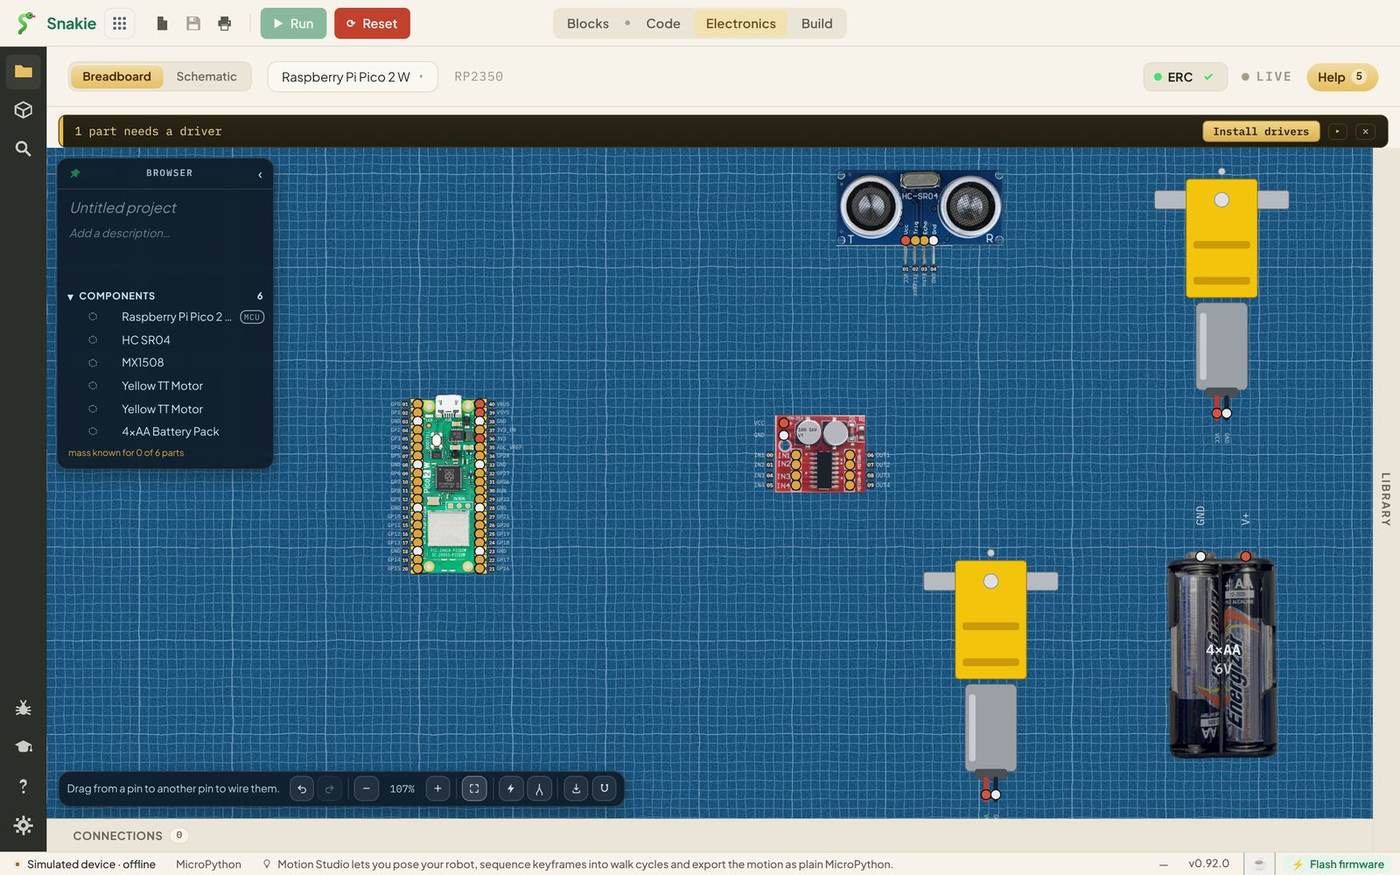
The Components list now shows six entries. That’s the whole robot, waiting to be wired.
Try it Yourself
- Rotate the battery pack so its terminals point towards the motor driver.
- Rename the two motors
Left motorandRight motor. - Duplicate the sensor, then delete the copy. Check the Components count goes to seven and back to six.
Common Issues
Problem: A new part landed on top of another one. Solution: Drag it clear. If you grab the wrong one, select the right one from the Components list first. Why: New parts are placed near the existing ones, and big parts can overlap.
Problem: A message at the bottom offers help and covers part of the canvas. Solution: Click View help to read it, or the ✕ to close it. Why: Snakie tells you when a part you’ve just added has a help page.
Problem: I added the wrong part. Solution: Select it and click the bin on its toolbar, or press Ctrl+Z. Why: Adding a part is a step like any other, so it can be undone.
Check your understanding
Quick quiz 1 of 3
Why does a classic 5 V HC-SR04 need care with a Pico?
Quick quiz 2 of 3
How do you turn a part round on the canvas?
Quick quiz 3 of 3
Why arrange parts before wiring?
You can use the arrows ← → on your keyboard to navigate between lessons.
Comments