Choosing an Orientation
Decide which way up to print a part using BetterCad's orientation suggestions, balancing supports, strength and surface finish
By Kevin McAleer, 5 Minutes
Page last updated November 20, 2026

The same part can be an easy print or a nightmare depending on which face you put on the bed. Orientation decides how much support you need, how strong the part is and which surfaces look good. It costs nothing to change, so it’s worth a minute’s thought on every print.
The suggestions
Under Orientation in the Print panel, BetterCad shows three small pictures: the model as it lies now, and two other ways of laying it down.
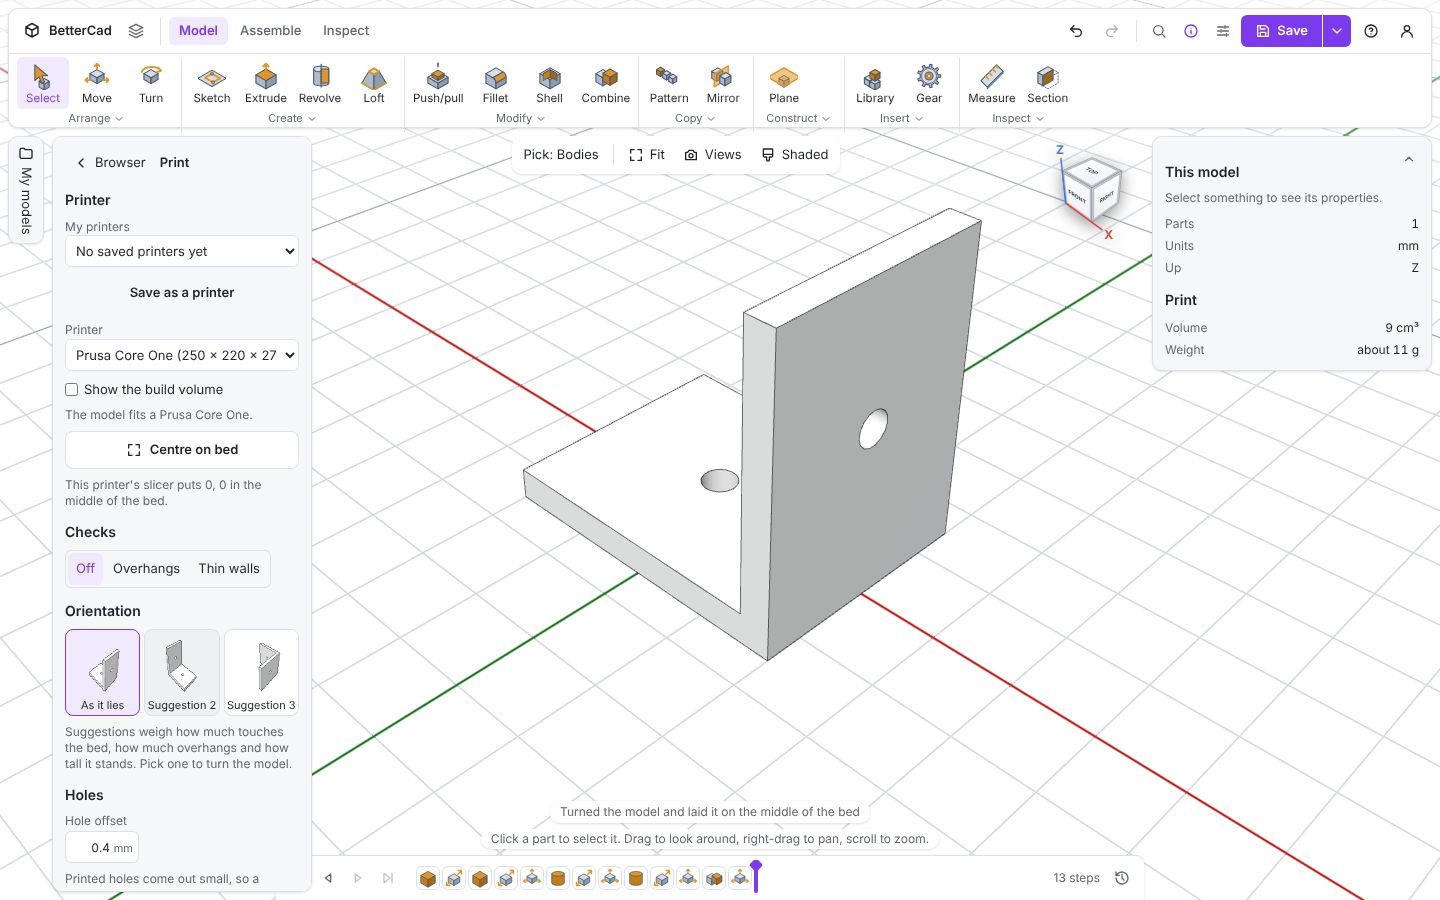
Click one and the model is turned and placed in the middle of the bed: Turned the model and laid it on the middle of the bed. It’s a single step, so Ctrl+Z takes you back.
BetterCad scores every way the model could rest on a flat face, using three things:
| It prefers | Because |
|---|---|
| More area touching the bed | The print sticks better and is less likely to warp or topple |
| Less overhang | Fewer supports, less waste, cleaner surfaces |
| A lower height | Shorter prints are quicker and wobble less |
See it work
Remember the tee from the overhang lesson? Standing up, it had 400 mm² of overhang.
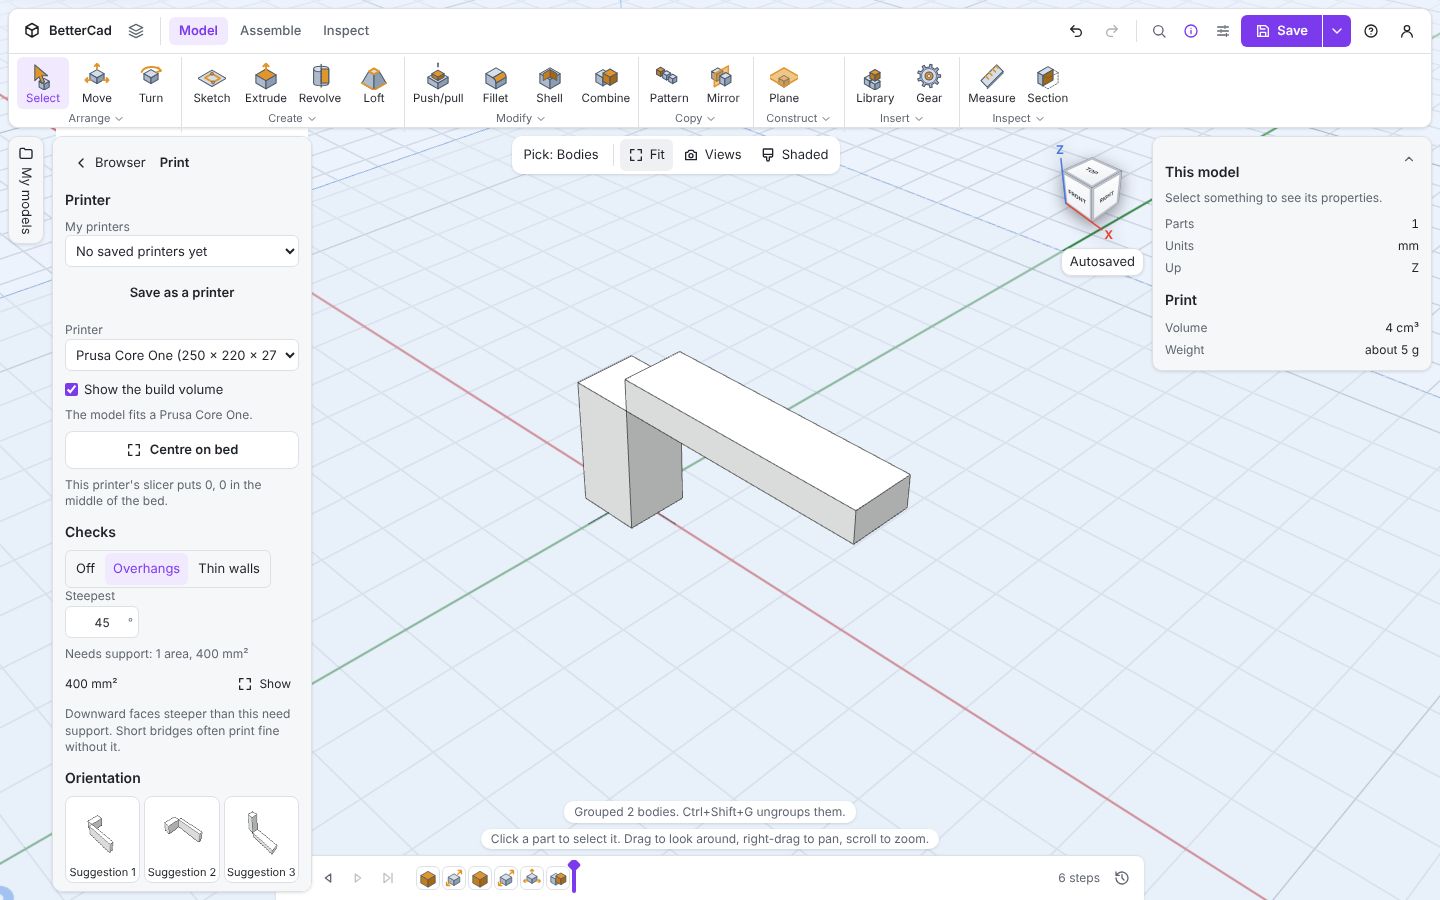
One suggestion lays it on its side. With the overhang check still on, the result updates straight away.
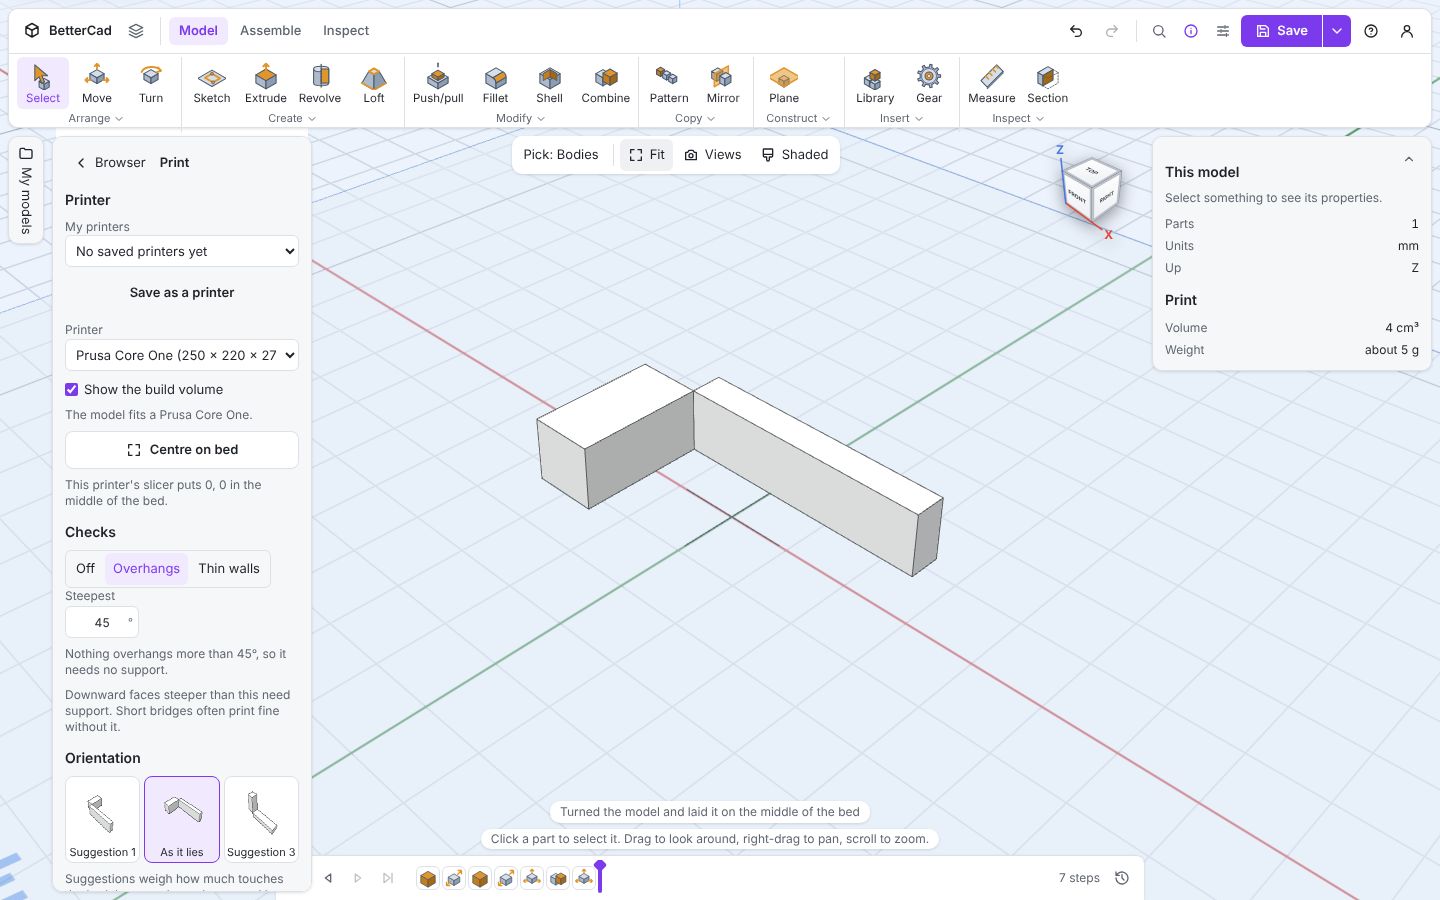
No support at all. Another suggestion stands it on the end of the bar:
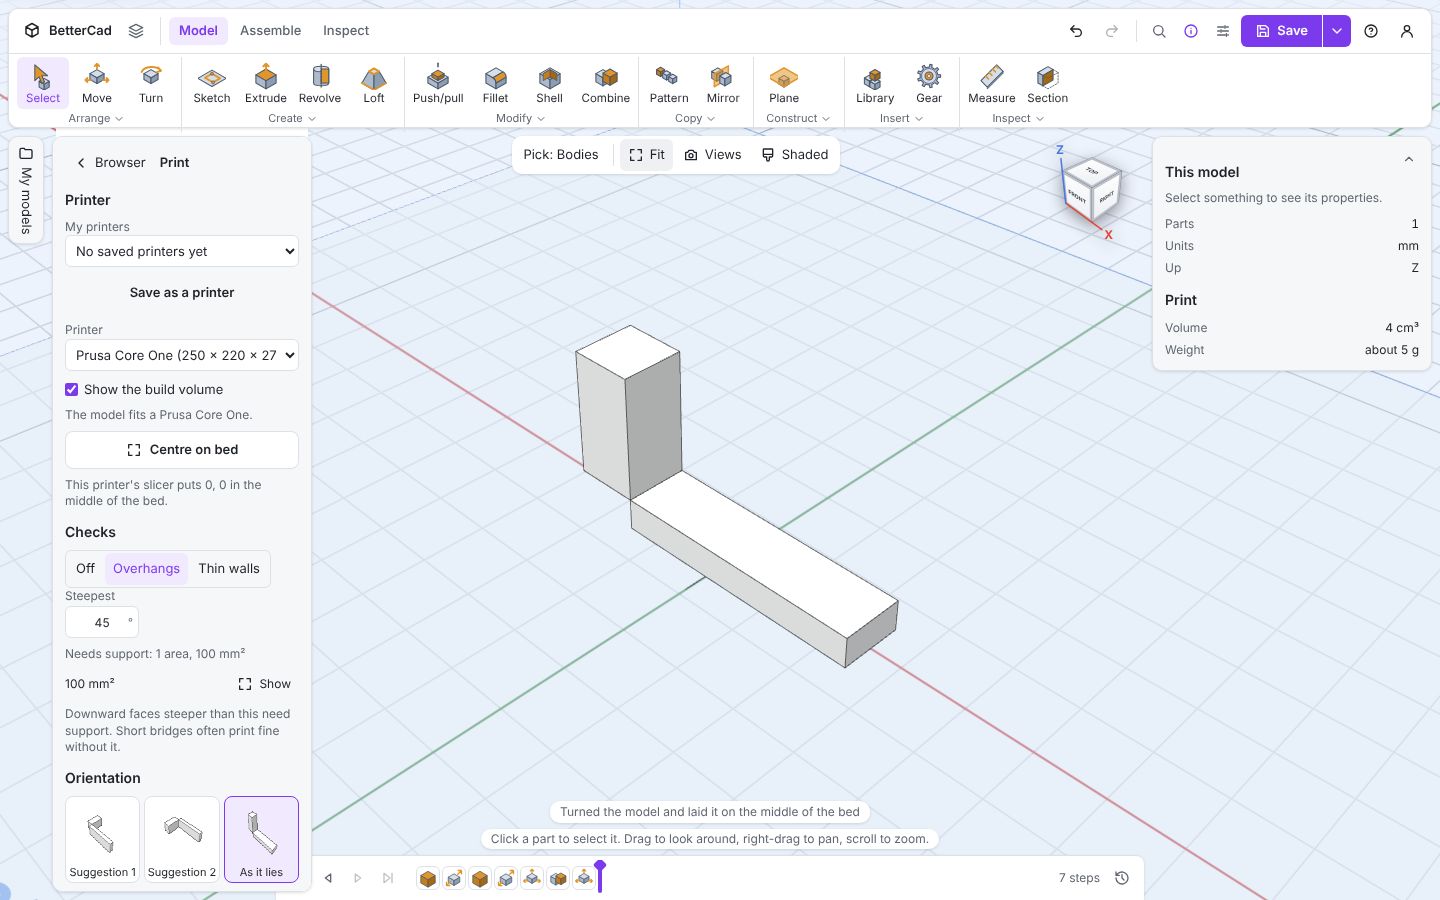
That one still needs support, 100 mm² of it, and it’s tall and narrow. Leave the overhang check switched on while you try orientations and you can compare them in seconds.
What the suggestions can’t know
BetterCad calls these suggestions for a reason. It can measure contact, overhang and height. It can’t know what the part is for. Three things are yours to judge.
Strength
A print is a stack of layers, and the bond between layers is its weakest point. A part pulls apart along its layers far more easily than across them, like splitting wood along the grain.
So think about where the force goes. The bracket is a good example. Printed standing on its base, the layers run across the upright, and a load on the upright tries to peel them apart right at the corner. Printed on its side, each layer is a complete L shape, and the corner is as strong as the plastic itself.
Lay the part so the layers run along the direction of the load, not across it.
Finish
- The face on the bed comes out flat and smooth, or textured like your build plate
- Top faces show the lines of the last layer
- Upright walls show layer lines, which are finer and neater than any sloped surface
- Gentle slopes show obvious steps
- Anything that touched support is rough
Put the face people will see where it will look best, and hide the supported face.
Holes and accuracy
Holes are roundest when they point straight up. A hole on its side is built from stepped layers, and its top is a small overhang. If a hole has to be accurate, for a bearing or a shaft, try to print it upright.
A way to decide
- What will break it? Turn the part so the layers resist that.
- Of the orientations that are strong enough, which needs least support? Use the overhang check.
- Is the visible face in a good place?
- Does it still fit the bed and have enough touching the plate to stay put?
When strength and support disagree, strength wins for a working part. Supports can be snapped off. A weak layer line can’t be fixed.
Try it Yourself
- Open the Bracket sample, switch on the overhang check and click each suggestion. Note the support area for each.
- Which of those orientations would you choose if the bracket has to hold a heavy shelf? Why?
- Open the Phone stand sample. Is As it lies already the best? Try the others.
Common Issues
Problem: None of the suggestions is the way I want it. Solution: Use the Turn tool (R), or type a Rotation in Properties, then click Centre on bed. Why: The suggestions only cover ways the model can rest flat.
Problem: The suggestion I picked is no longer highlighted. Solution: Nothing is wrong. The picture marked As it lies always shows the current position. Why: After turning, the new position becomes “as it lies” and the others are worked out again.
Problem: My model has several parts and they all turned together. Solution: Export each part on its own and orient them in the slicer, or turn parts one at a time with the Turn tool. Why: A suggestion turns the whole model as one.
Check your understanding
Quick quiz 1 of 3
Where is a 3D print weakest?
Quick quiz 2 of 3
Which three things do BetterCad’s suggestions weigh?
Quick quiz 3 of 3
Strength says print it one way, supports say another. Which usually wins for a working part?
You can use the arrows ← → on your keyboard to navigate between lessons.
Comments