My Parts
See how wiring a part in the Snakie Electronics workspace gives you ready-made blocks for it, with the pins already filled in
By Kevin McAleer, 5 Minutes
Page last updated November 20, 2026

So far every hardware block has been a general one: an LED, a button, a buzzer. Real projects use particular parts, such as a BME280 weather sensor or an OLED display. Snakie has a clever answer for those.
The toolbox follows your breadboard
Snakie’s Electronics workspace is where you place parts on a breadboard and wire them to your board.
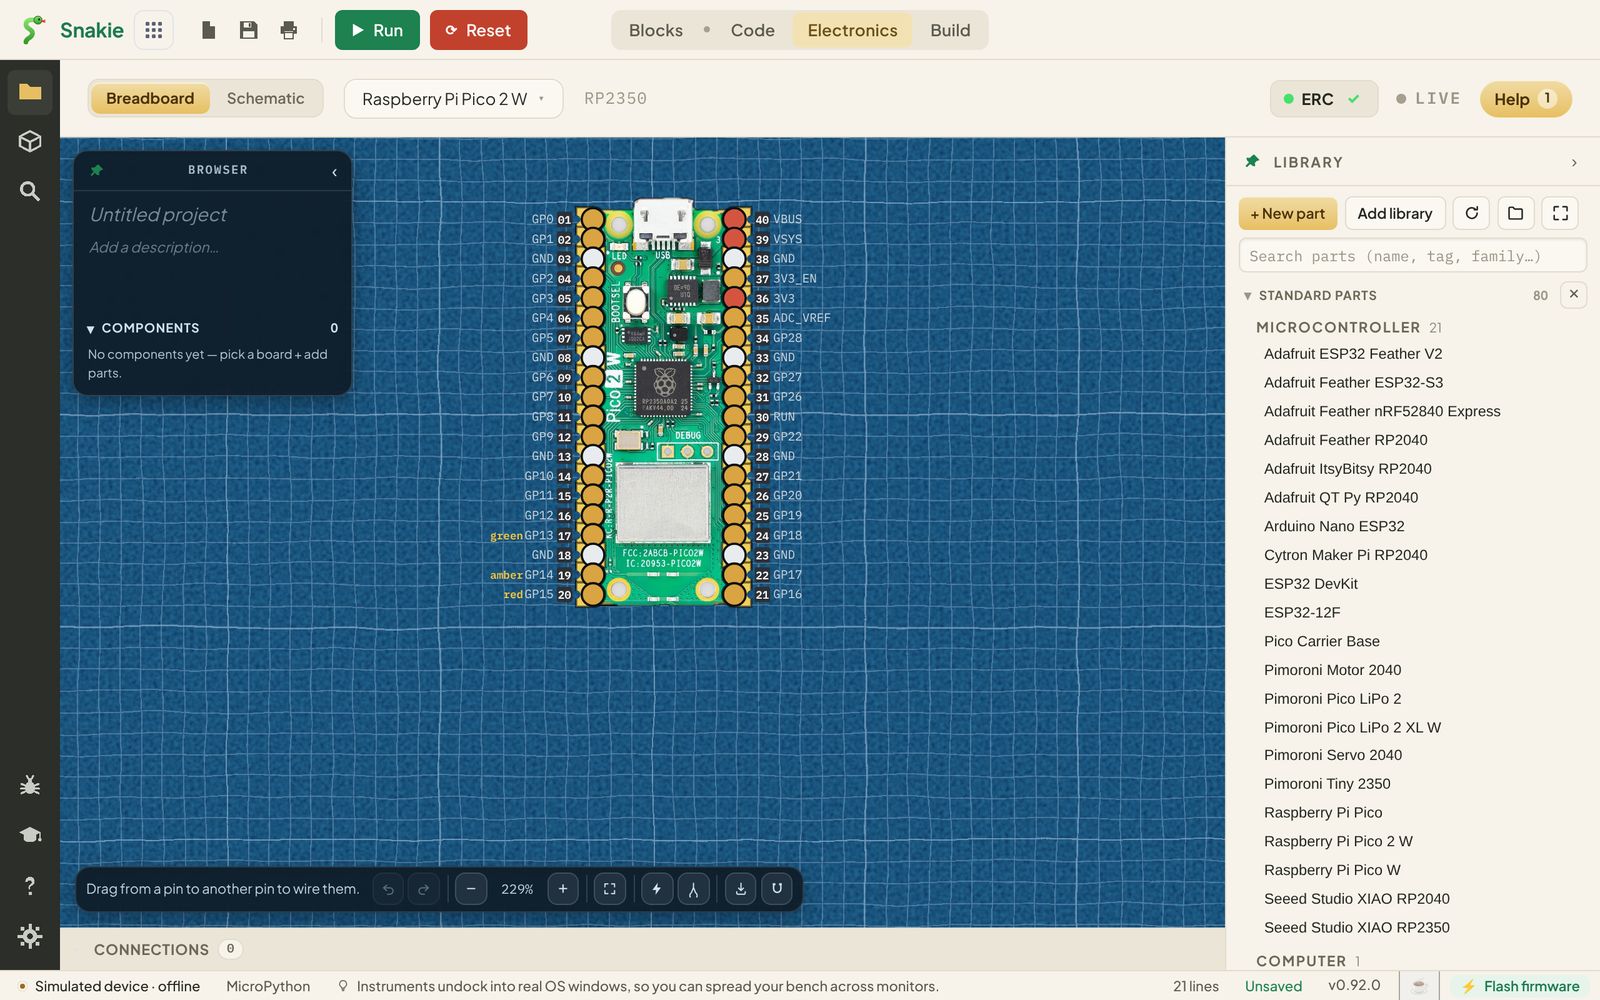
Here’s the clever bit. Wire a part up in Electronics, and when you switch back to Blocks, the My parts drawer has a new shelf with that part’s name on it. Its blocks already know which pins the part is joined to.
There’s nothing to install and nothing to set up. Unwire the part and its blocks go away again.
Until you’ve wired something, the drawer just says: Wire a part up in Electronics and its blocks appear here.
An example: the BME280
The BME280 measures temperature, pressure and humidity. Add one in Electronics, wire its SDA and SCL pins to GP0 and GP1, and My parts offers:
| Block | Gives you |
|---|---|
| BME280 on I²C 0 with SDA GP0 and SCL GP1 | The sensor itself |
| temperature °C from (sensor) | How warm it is |
| pressure hPa from (sensor) | The air pressure |
| humidity % from (sensor) | How damp the air is |
Drop temperature °C into a print block inside a forever loop and you have a thermometer. The Python it writes looks like this:
import time
from bme280 import BME280
from machine import I2C, Pin
bme = BME280(I2C(0, sda=Pin(0), scl=Pin(1)))
while True:
    print(bme.temperature())
    time.sleep(1)
Look at the fourth line. The sensor is set up once, above the loop, with the pins from your wiring. Inside the loop the program only reads from it. Setting it up again on every reading is one of the most common beginner mistakes, and the blocks won’t let you make it.
Drivers
A part like the BME280 needs a driver, a small Python file that knows how to talk to it. The first time you drag out one of the part’s blocks, Snakie offers to install the driver onto your board with one click.
Parts with no blocks of their own
Not every part has had blocks written for it. For those, Snakie makes three general ones from the part’s driver:
- the part itself
- a way to send it a command
- a way to read a value from it
These blocks show the name of the driver’s class in a box you can edit, because Snakie is guessing it from the driver’s name. The part’s help page tells you the real one.
Why this matters
Wiring and code usually live in different places, and they drift apart. You move a wire and forget to change the pin number. In Snakie the circuit and the blocks share the same information, so the pins in your program are the pins on your breadboard.
We’ll build circuits properly in the Wire It Up course, which is next in the Start with Snakie pathway. For now, it’s enough to know the drawer is there and what fills it.
Try it Yourself
- Open the Electronics workspace and browse the parts library on the right.
- Open My parts in the Blocks toolbox and read what it says.
- If you’re feeling brave, drag an LED from the library onto the breadboard, wire it to a pin, and look in My parts again.
Common Issues
Problem: My parts is empty. Solution: Wire at least one part to the board in Electronics. Why: The drawer only shows parts that are actually connected.
Problem: ImportError: no module named 'bme280'
Solution: Accept Snakie’s offer to install the driver, or install it from the Packages panel.
Why: The driver has to be on the board before your program can import it.
Problem: The pins on the block are wrong. Solution: Fix the wiring in Electronics, not the block. Why: The block reads its pins from the circuit.
Check your understanding
Quick quiz 1 of 3
How do blocks get into the My parts drawer?
Quick quiz 2 of 3
Where is a sensor set up in the Python that part blocks write?
Quick quiz 3 of 3
What is a driver?
temperature().
You can use the arrows ← → on your keyboard to navigate between lessons.
Comments