
Affordable Pi Projects
Here are 10 affordable Raspberry Pi projects that you can build at home, including a speech synthesizer, a weather station
29 March 202612 minute read
By Kevin McAleer
Share this article on
Table of Contents
- 10 Affordable Raspberry Pi Pico Projects You Can Build Right Now
- A Quick Note on the Raspberry Pi 4 3GB
- 1. Hacky Temperature and Humidity Sensor
- Bill of Materials
- Hacky Temperature Sensor
- 2. Pico W Web Server with Phew!
- Bill of Materials
- Pico Web Server
- 3. Chicken Nugget Piano
- Bill of Materials
- Chicken Nugget Piano
- 4. Facebot — A Cute 8x8 LED Robot
- Bill of Materials
- Facebot
- 5. Picotamachibi — A Virtual Pet
- Bill of Materials
- Picotamachibi
- 6. Pomodoro Robot
- Bill of Materials
- Pomodoro
- 7. BurgerBot — A 3D-Printable Robot
- Bill of Materials
- BurgerBot
- 8. Simple Robot Arm
- Bill of Materials
- Simple Robot Arm
- 9. Bluetooth Remote Controlled Robot
- Bill of Materials
- Bluetooth Remote Controlled Robot
- 10. Badgeware Games Console
- Bill of Materials
- Badger Games Console
- Cost Comparison: Pico vs. Full Raspberry Pi
- Getting Started
- Wrapping Up
Affordable Pi Projects
Here are 10 affordable Raspberry Pi projects that you can build at home, including a speech synthesizer, a weather station

Video
For every project I create, I often make a corresponding YouTube video. Sometimes, there might be more than one video for a single project. You can find these videos in this section.
Explore more through this this dedicated video.
10 Affordable Raspberry Pi Pico Projects You Can Build Right Now
With Raspberry Pi prices continuing to climb — the Pi 5 now pushing well over $100 for higher-spec models thanks to the global DRAM shortage — there’s never been a better time to discover the mighty little Raspberry Pi Pico. At just $4 for the standard Pico (or $6 for the Wi-Fi-enabled Pico W), this microcontroller punches well above its weight and opens the door to an incredible range of projects without breaking the bank.
In this post, we’ve rounded up 10 of our favourite Pico projects, complete with a bill of materials and estimated costs for each. Whether you’re brand new to electronics or a seasoned maker looking for your next weekend build, there’s something here for you.
A Quick Note on the Raspberry Pi 4 3GB
Raspberry Pi recently introduced a new 3GB variant of the Raspberry Pi 4 at $83.75, designed to soften the blow of rising memory prices. It slots in below the 4GB model and gives you a capable Linux single-board computer at a slightly lower price point. It’s a welcome option if you need a full desktop-class Pi, but if your project doesn’t require a full operating system, the Pico family remains the most affordable way into the Raspberry Pi ecosystem by a huge margin.
The 3Gb version uses 2x 1.5Gb DRAM chips, which are more readily available than the 4Gb chips used in the 4GB and 8GB models. This allows Raspberry Pi to offer a lower-cost option while still providing a decent amount of RAM for most applications.
1. Hacky Temperature and Humidity Sensor
| Difficulty: Beginner | Estimated Total Cost: ~$12 |
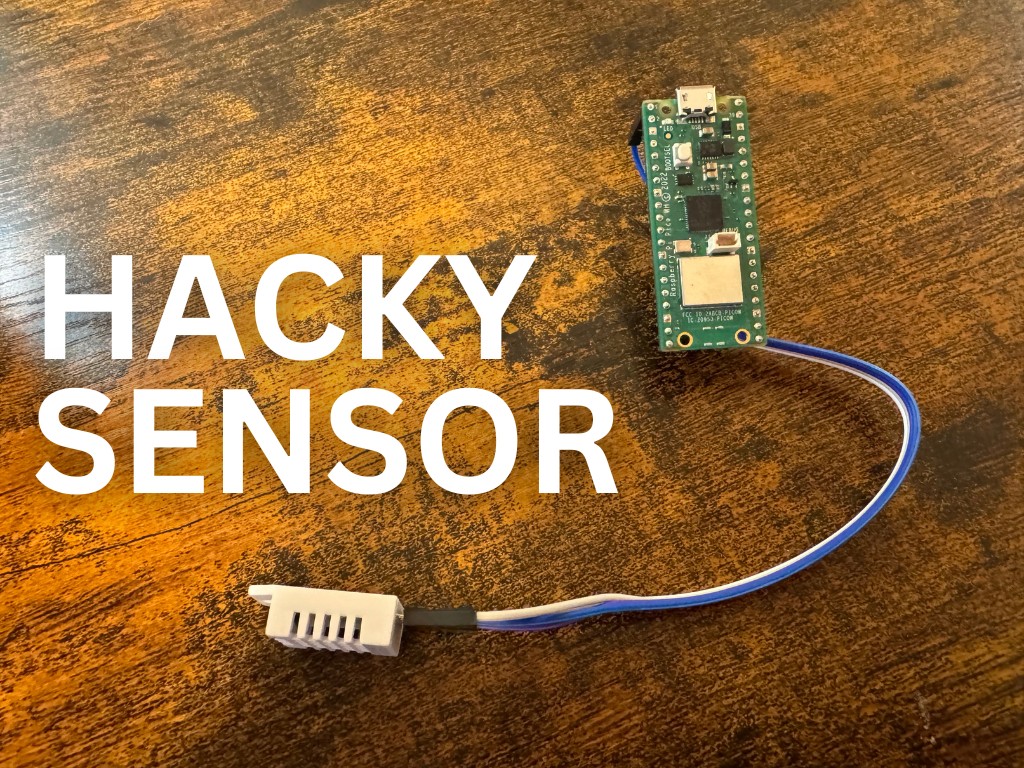
This is the perfect first Pico project. Wire up a DHT22 sensor to your Pico, write a few lines of MicroPython, and you’ve got a working temperature and humidity monitor. It’s quick, it’s cheap, and it teaches you the fundamentals of reading sensor data with a microcontroller.
What You’ll Learn: GPIO pin basics, reading digital sensor data, MicroPython fundamentals.
Bill of Materials
| Part | Qty | Est. Cost (USD) |
|---|---|---|
| Raspberry Pi Pico | 1 | $4.00 |
| DHT22 Temperature & Humidity Sensor | 1 | $4.00 |
| Breadboard | 1 | $3.00 |
| Jumper wires | 1 pack | $1.00 |
| Total | ~$12.00 |
2. Pico W Web Server with Phew!
| Difficulty: Beginner | Estimated Total Cost: ~$8 |
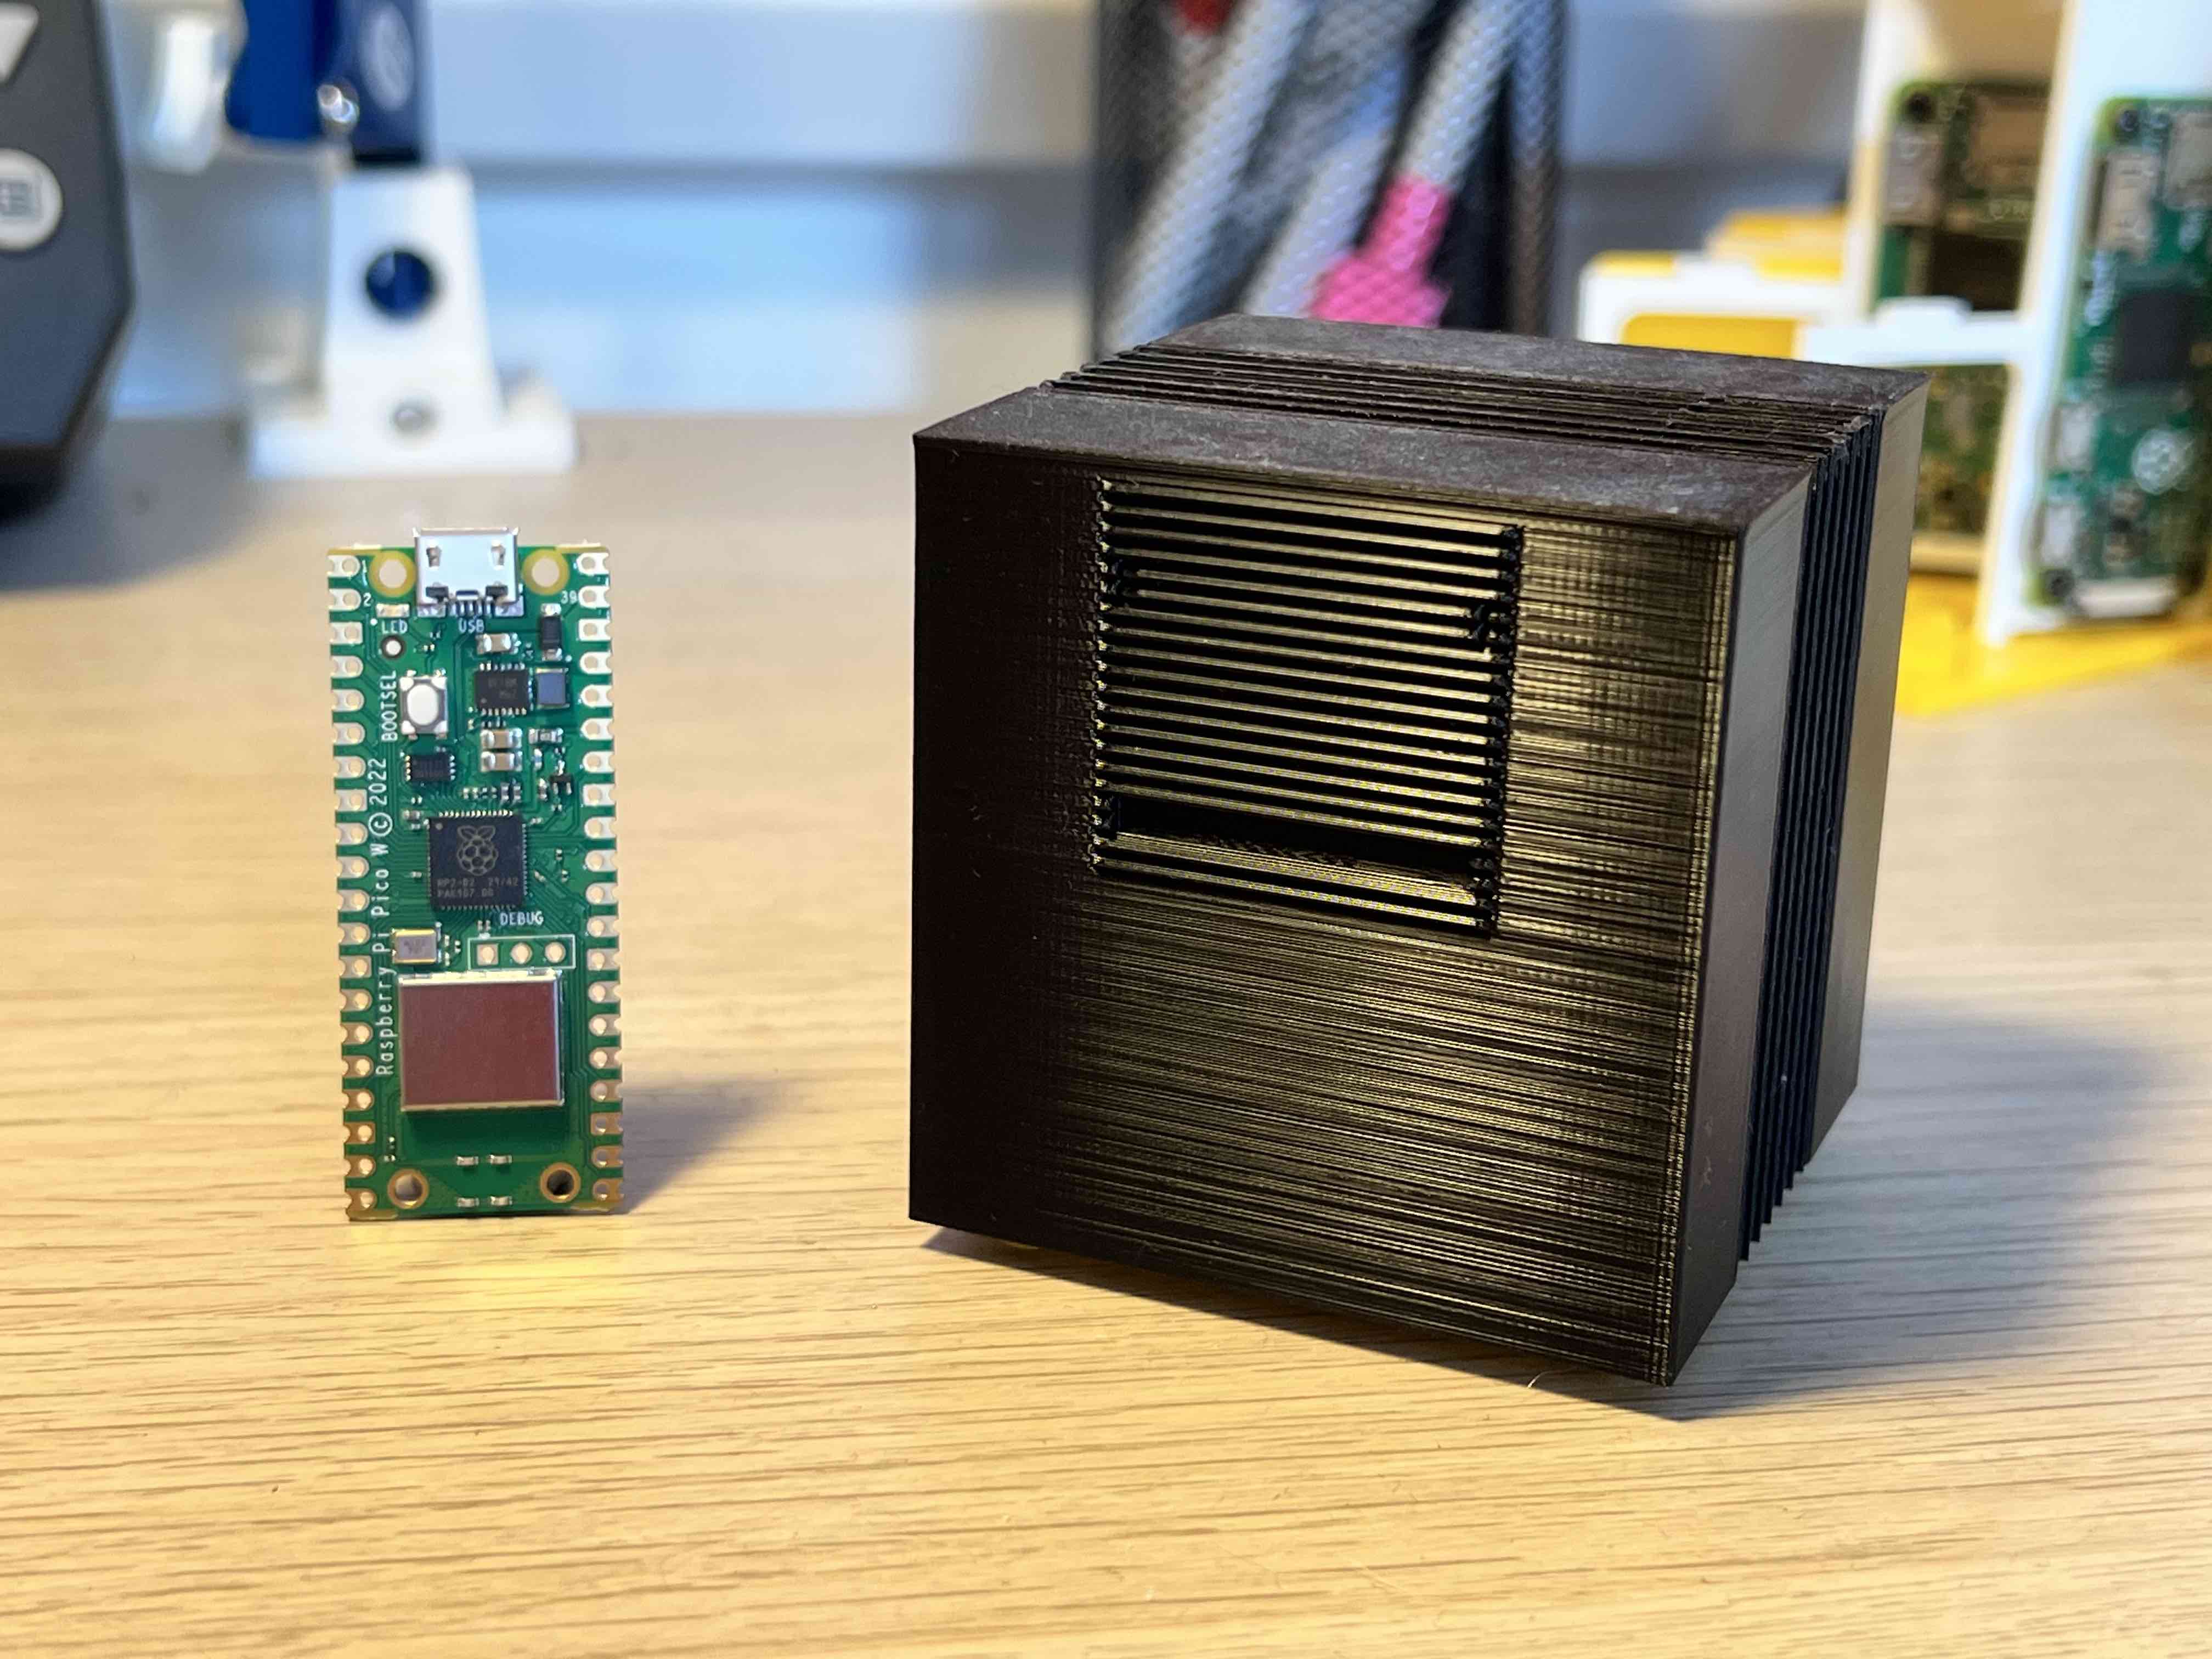
Turn your Pico W into a tiny web server using Phew!, a lightweight MicroPython web framework built specifically for the Pico W. You can serve up web pages, create a captive portal for Wi-Fi configuration, or build a simple API — all from a $6 microcontroller. No additional hardware needed beyond the Pico W itself.
What You’ll Learn: Wi-Fi networking, HTTP servers, MicroPython web frameworks, captive portals.
Bill of Materials
| Part | Qty | Est. Cost (USD) |
|---|---|---|
| Raspberry Pi Pico W | 1 | $6.00 |
| USB Micro-B cable | 1 | $2.00 |
| Total | ~$8.00 |
3. Chicken Nugget Piano
| Difficulty: Beginner | Estimated Total Cost: ~$10 |
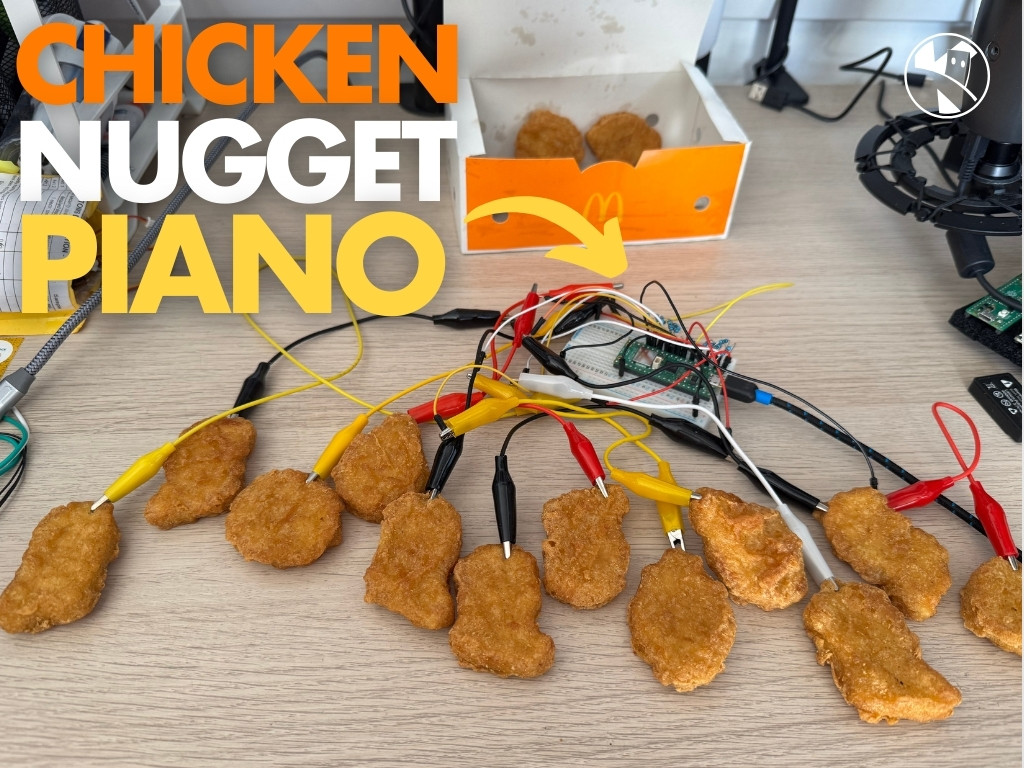
Yes, you read that right. This project uses capacitive touch sensing to turn everyday objects — chicken nuggets, fruit, aluminium foil pads, whatever you fancy — into a playable musical instrument. The Pico detects touch by measuring the discharge time on a GPIO pin, and sends MIDI notes to your computer. Connect it to GarageBand or any MIDI software and you’ve got yourself a genuinely fun musical controller.
What You’ll Learn: Capacitive touch sensing, MIDI protocol, CircuitPython, USB HID.
Bill of Materials
| Part | Qty | Est. Cost (USD) |
|---|---|---|
| Raspberry Pi Pico | 1 | $4.00 |
| 1M Ohm resistors | 8 | $1.00 |
| Aluminium foil | 1 roll | $1.00 |
| Breadboard | 1 | $3.00 |
| Crocodile clip leads | 8 | $3.00 |
| Cardboard or wood for keys | 1 | $0.00 |
| Total | ~$12.00 |
4. Facebot — A Cute 8x8 LED Robot
| Difficulty: Beginner | Estimated Total Cost: ~$20 |
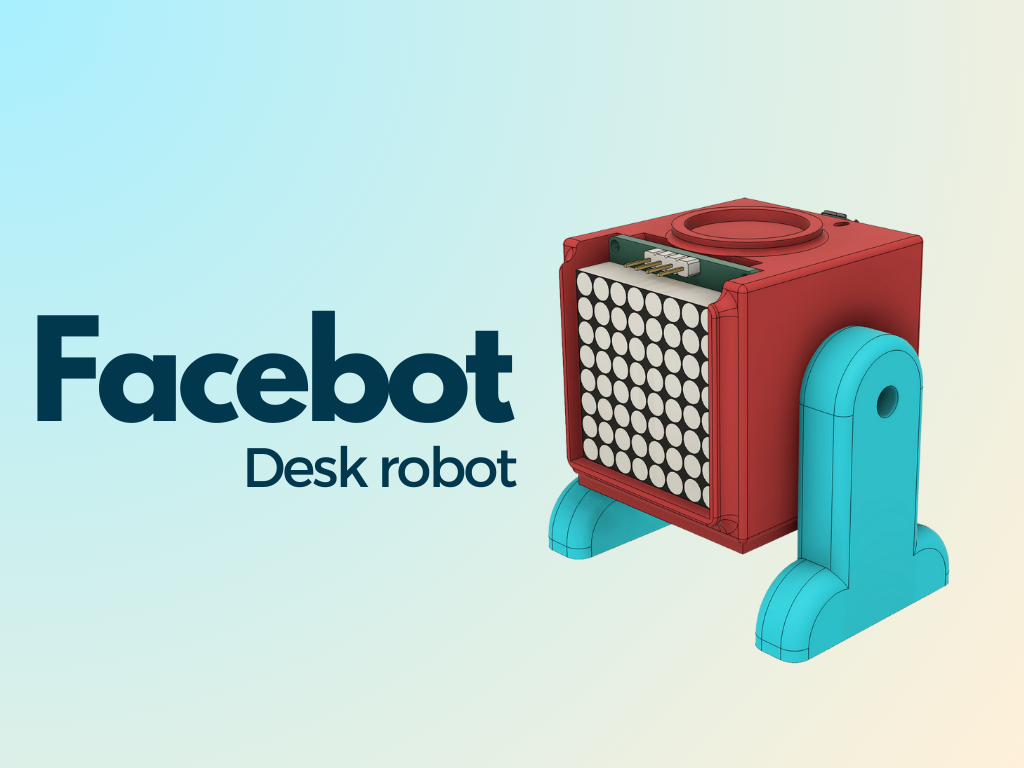
Facebot is an adorable little 3D-printed robot with personality. It uses a KeyStudio 8x8 LED matrix (driven by an HT16K33 chip) to display scrolling text, animations, and expressive faces. The project includes a custom icon maker tool so you can design your own 8x8 pixel art. If you have access to a 3D printer, the body prints quickly and snaps together with just two screws.
What You’ll Learn: I2C communication, LED matrix control, 3D printing, sprite/icon design.
Bill of Materials
| Part | Qty | Est. Cost (USD) |
|---|---|---|
| Raspberry Pi Pico / Pico W | 1 | $4.00–$6.00 |
| KeyStudio 8x8 LED Matrix (HT16K33) | 1 | $6.00 |
| Dupont jumper cables | 4 | $1.00 |
| M5 screws | 2 | $0.50 |
| 3D-printed body (Base, Legs) | 1 set | Free (if you own a printer) |
| Total | ~$12–$20 |
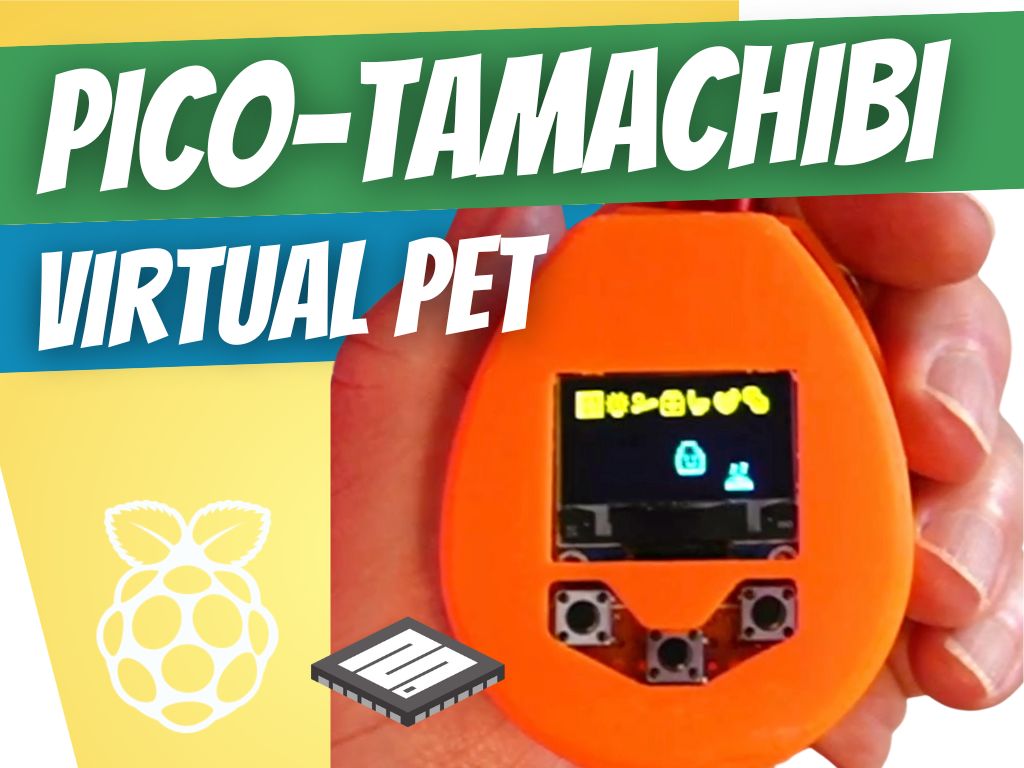
5. Picotamachibi — A Virtual Pet
| Difficulty: Beginner–Intermediate | Estimated Total Cost: ~$30 |
Remember Tamagotchis? The Picotamachibi brings that 90s nostalgia to life on the Raspberry Pi Pico. A small SSD1306 OLED display shows your animated pet, and three tactile buttons let you feed it, put it to sleep, check its health, and keep it happy. The MicroPython code uses sprite-based animation with bit-blitting for smooth graphics. There’s even a 3D-printable case to make it truly pocket-sized.
What You’ll Learn: OLED displays (I2C), sprite animation, game state management, MicroPython framebuffer.
Bill of Materials
| Part | Qty | Est. Cost (USD) |
|---|---|---|
| Raspberry Pi Pico / Pico W | 1 | $4.00–$6.00 |
| SSD1306 128x64 OLED Display | 1 | $8.00 |
| Tactile push buttons | 3 | $0.50 |
| Wire (assorted colours) & solder | 1 set | $1.00 |
| Veroboard / stripboard | 1 | $2.00 |
| 3D-printed case (Base + Top) | 1 set | Free (if you own a printer) |
| Total | ~$16–$30 |
6. Pomodoro Robot
| Difficulty: Beginner–Intermediate | Estimated Total Cost: ~$25 |
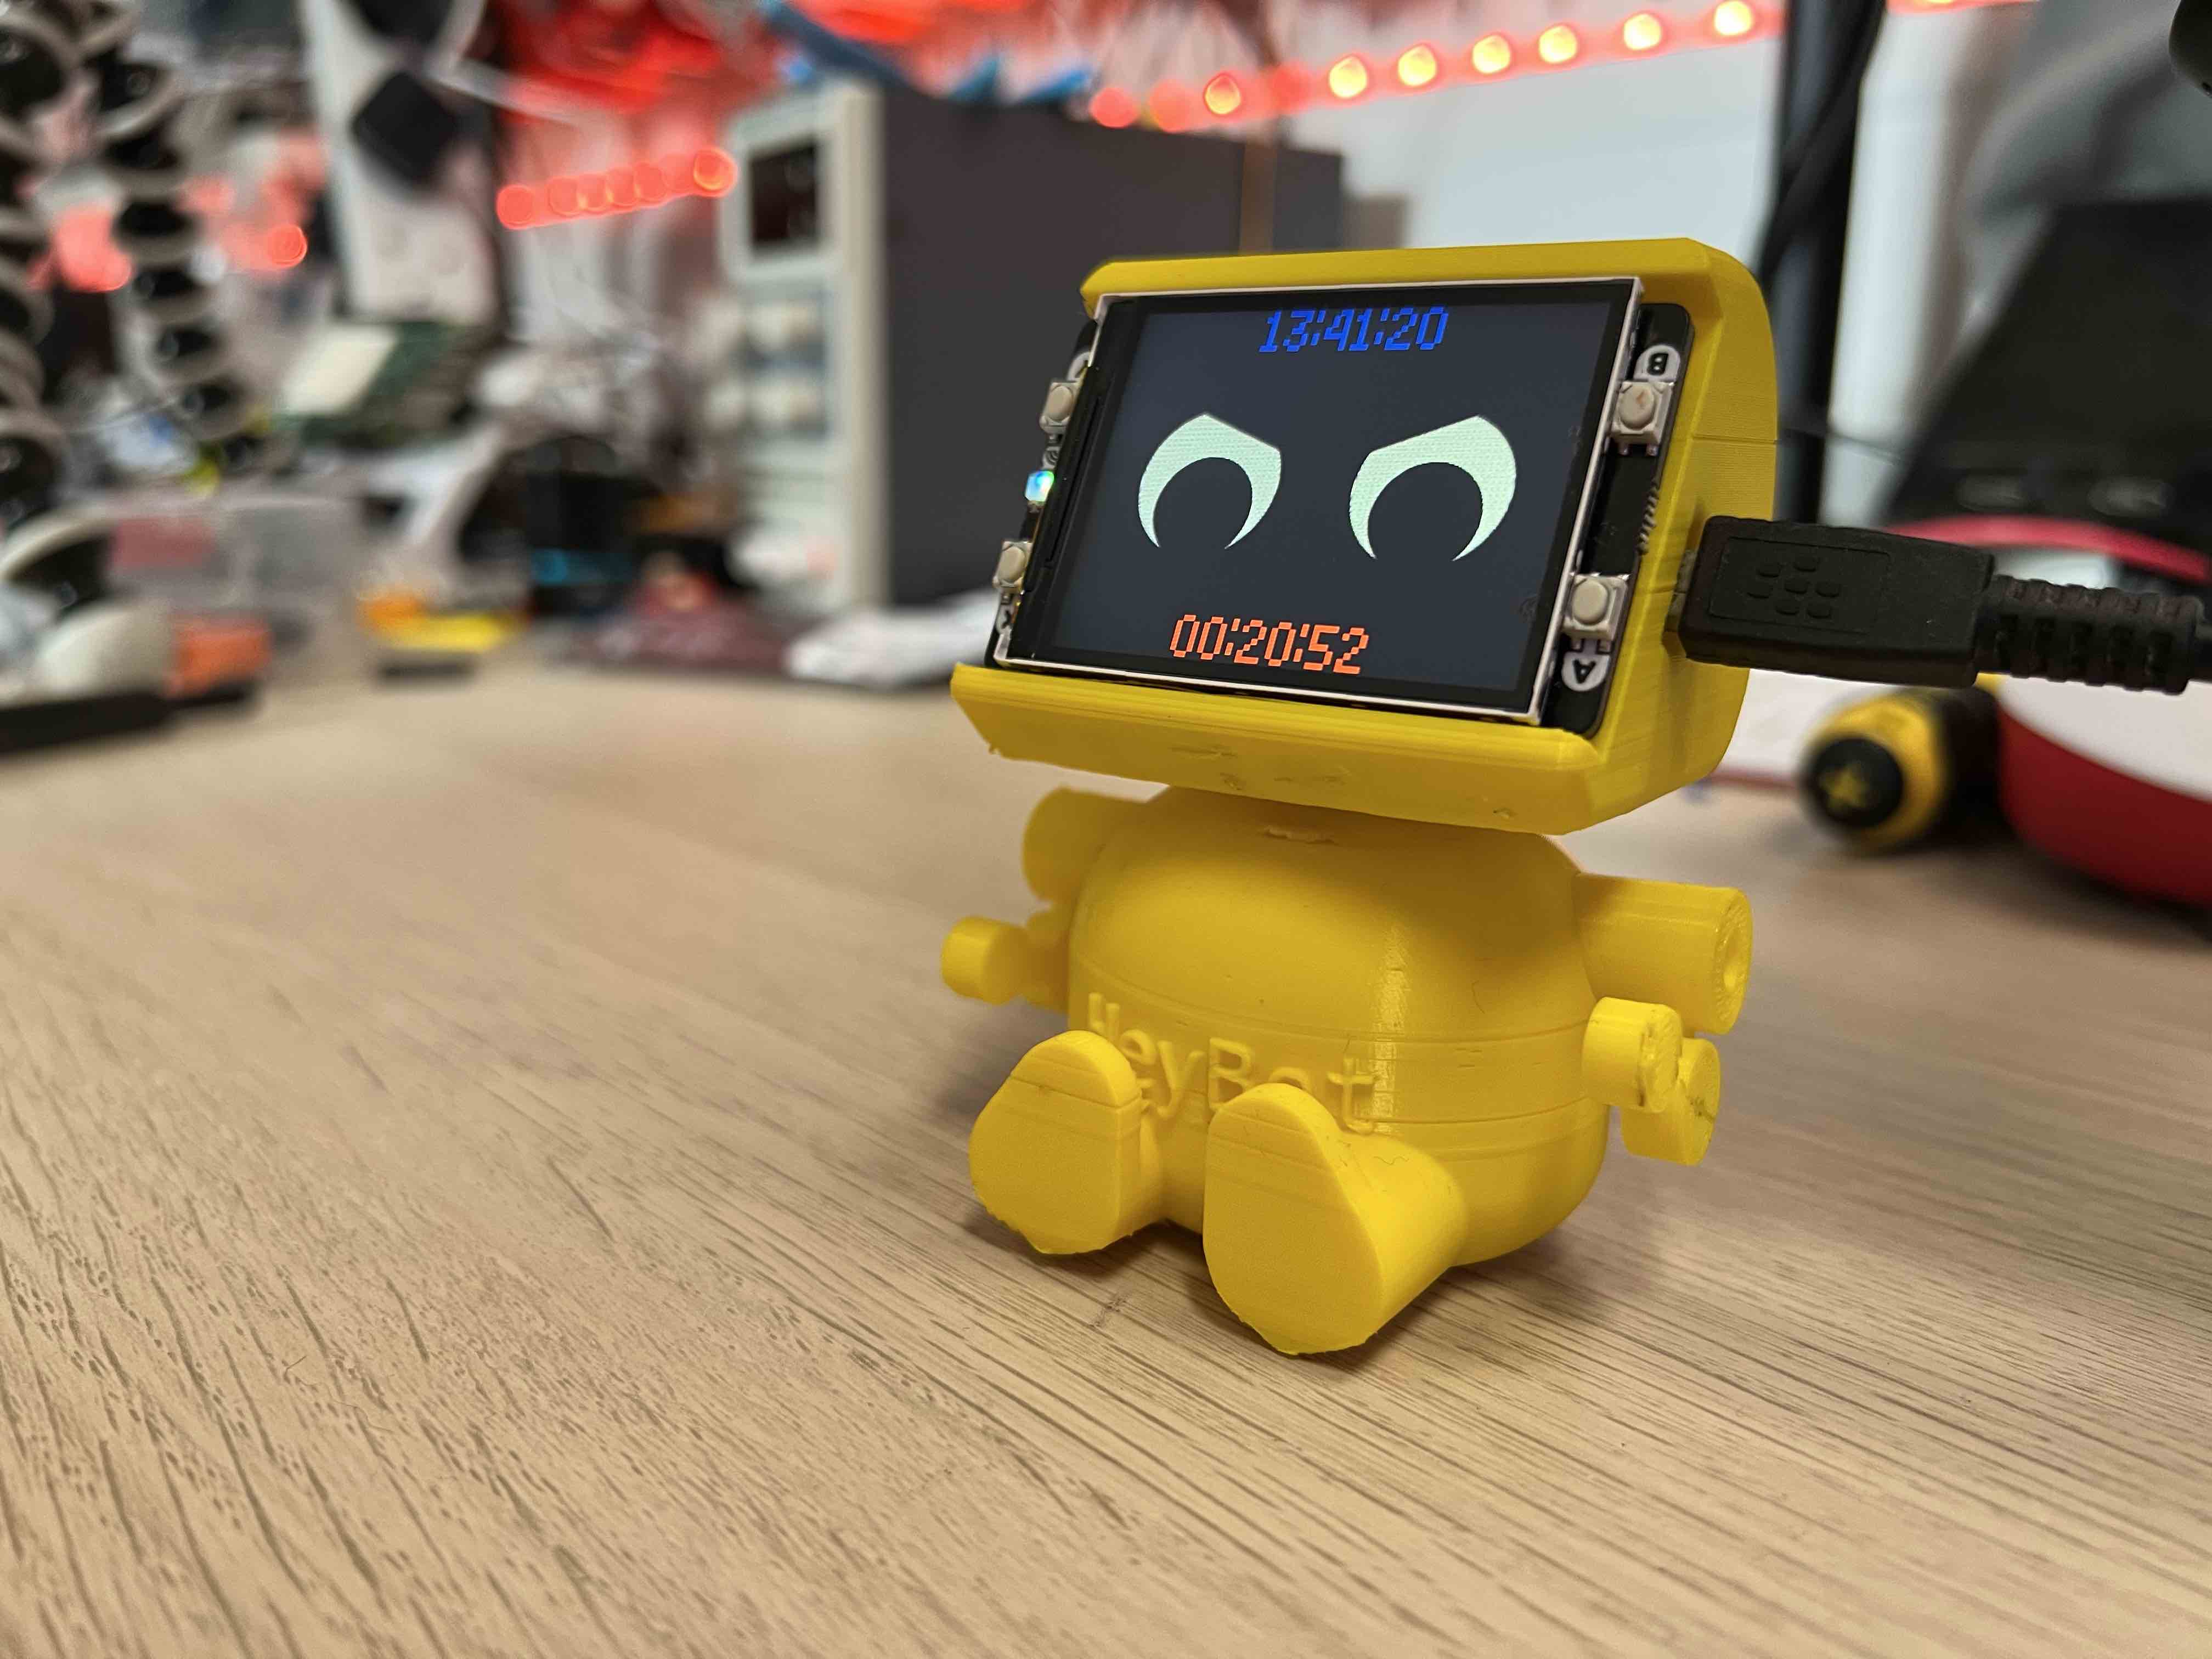
A desk companion that helps you stay productive using the Pomodoro technique — 25 minutes of focused work followed by a 5-minute break. The robot uses an OLED display or LED indicators to show your timer countdown and a buzzer to alert you when it’s time for a break. It’s a great blend of practical usefulness and maker fun.
What You’ll Learn: Timers and interrupts, OLED or LED control, buzzer/PWM audio, MicroPython state machines.
Bill of Materials
| Part | Qty | Est. Cost (USD) |
|---|---|---|
| Raspberry Pi Pico | 1 | $4.00 |
| SSD1306 128x64 OLED Display | 1 | $8.00 |
| Piezo buzzer | 1 | $1.00 |
| Tactile push buttons | 2 | $0.50 |
| Breadboard & jumper wires | 1 set | $4.00 |
| 3D-printed enclosure (optional) | 1 | Free |
| Total | ~$18–$25 |
7. BurgerBot — A 3D-Printable Robot
| Difficulty: Intermediate | Estimated Total Cost: ~$55 |
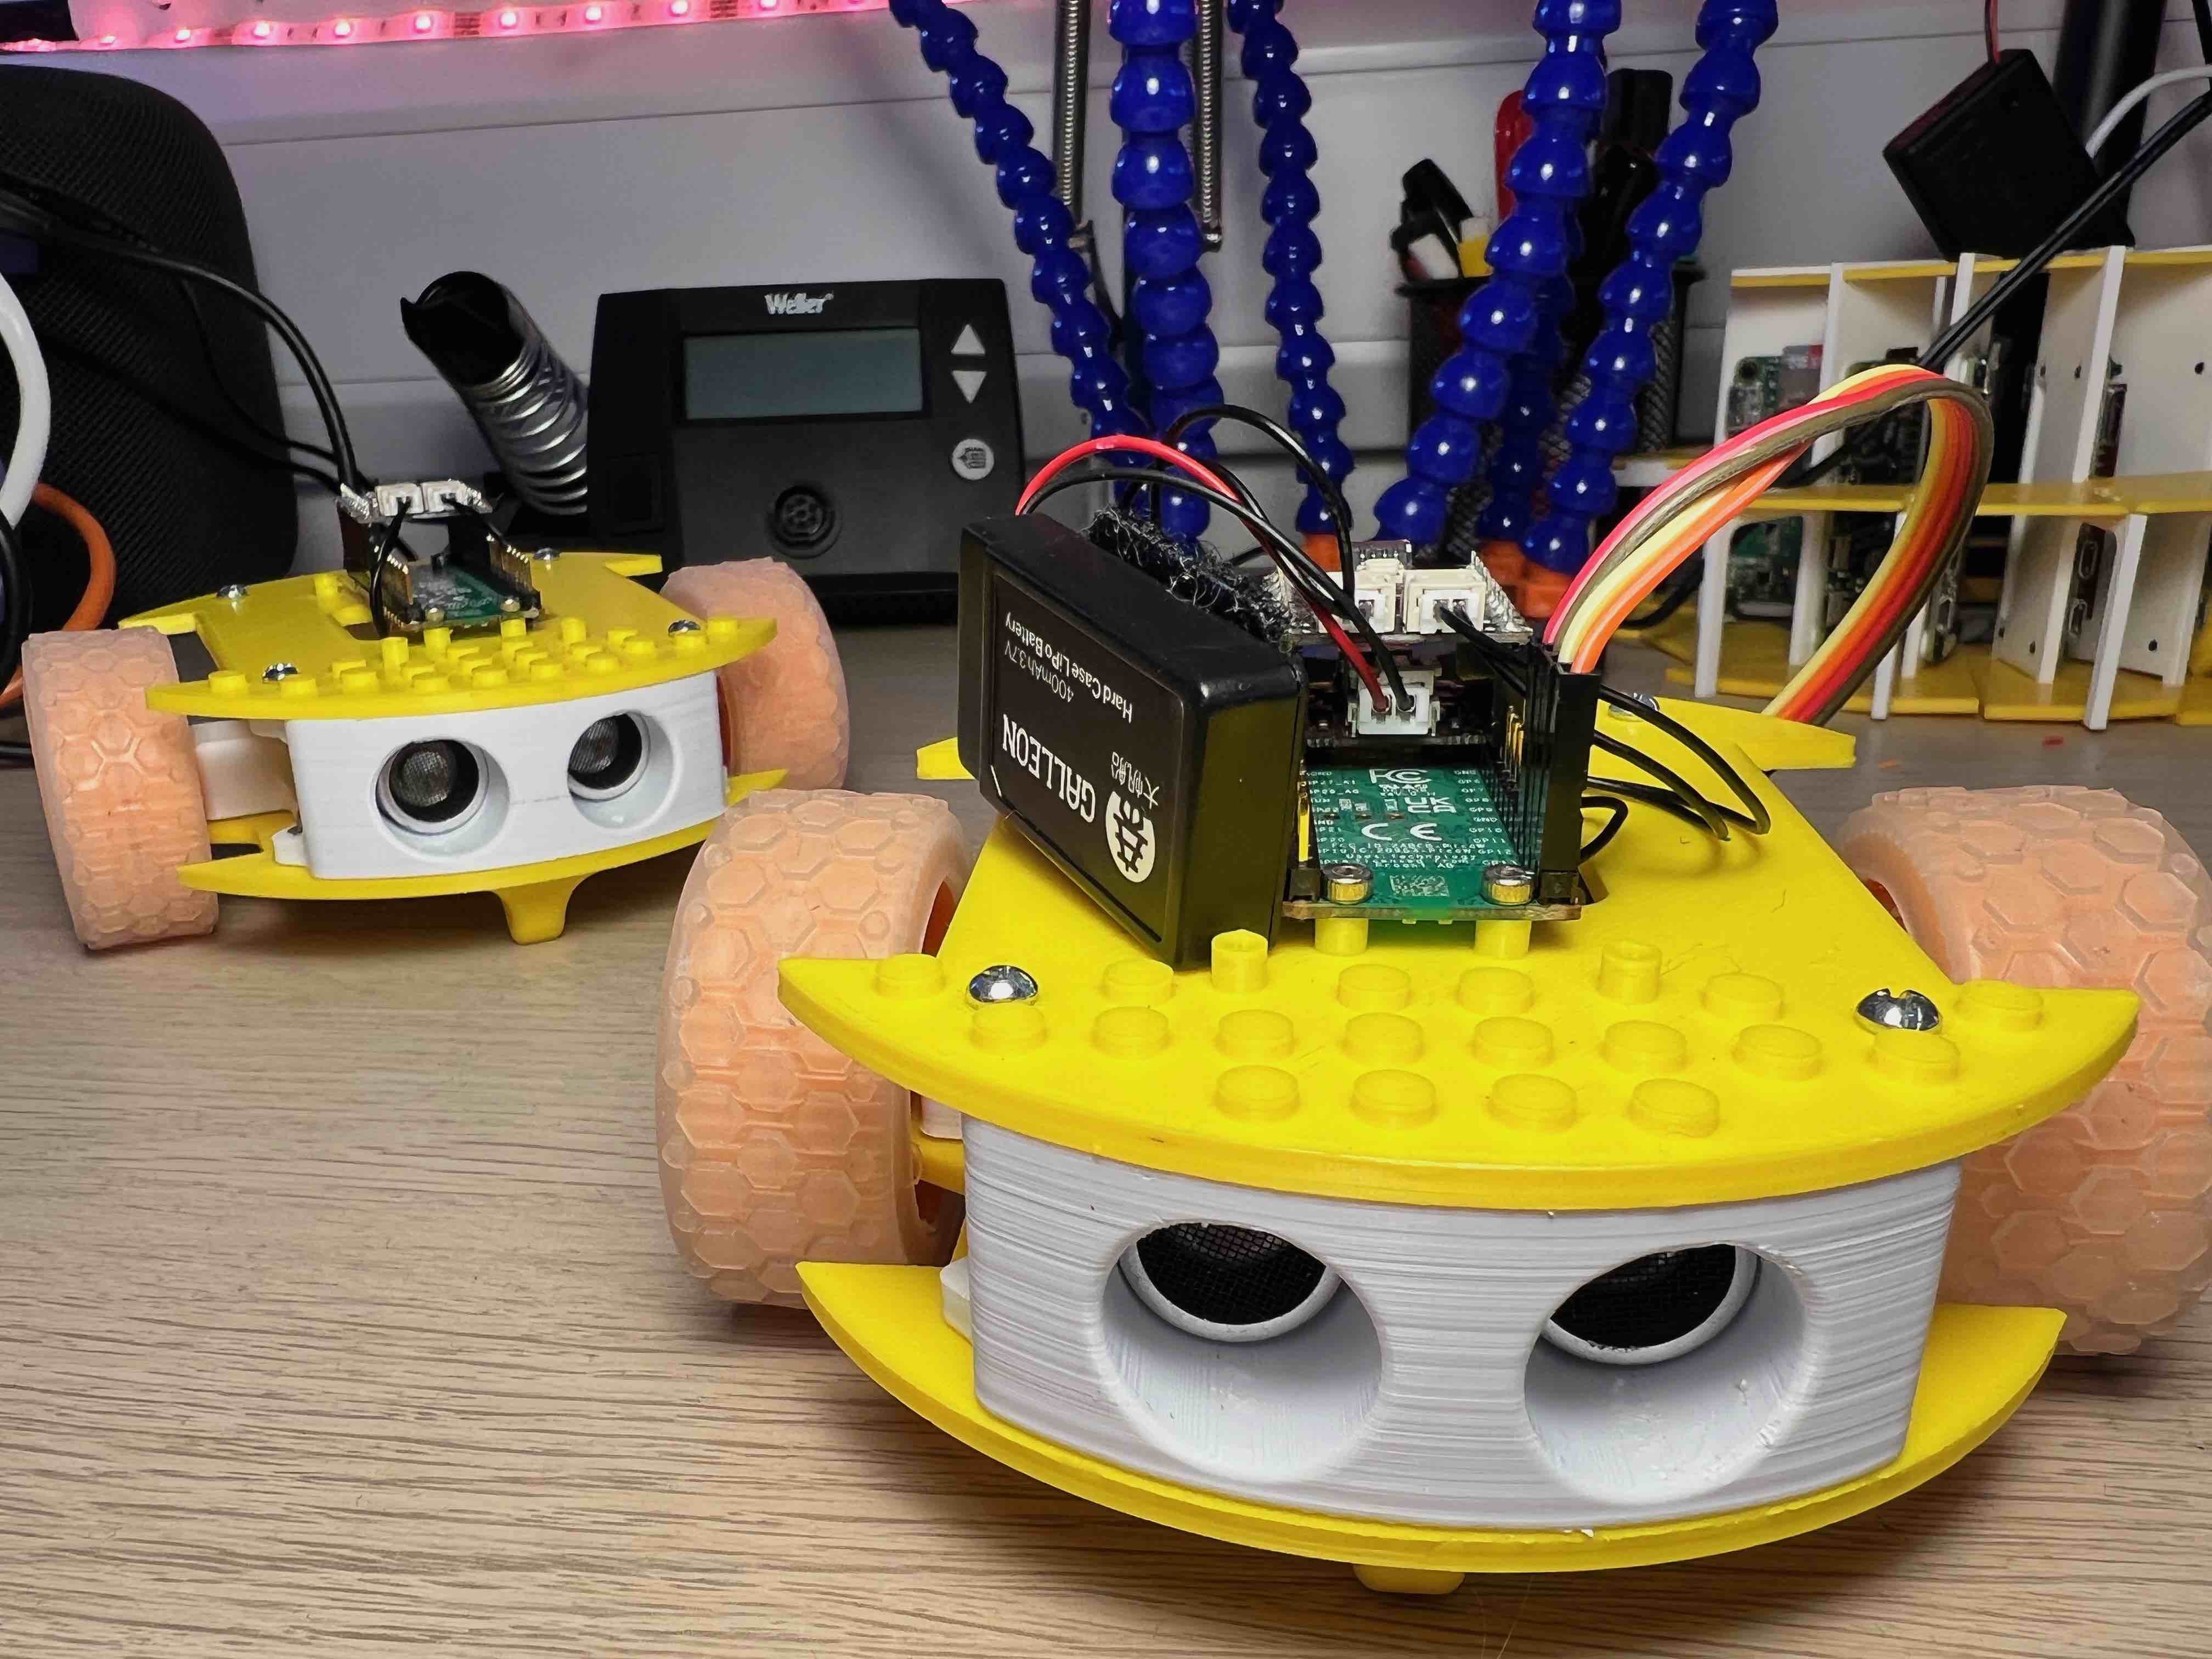
BurgerBot is a burger-shaped, two-wheeled robot that’s quick to 3D-print and simple to assemble. It’s powered by a Pico W with a Pimoroni Motor SHIM, two micro metal motors with moon buggy wheels, and an ultrasonic rangefinder for obstacle avoidance. A LiPo battery (via Pimoroni’s LiPo SHIM) keeps it running untethered. This is a fantastic introduction to mobile robotics.
What You’ll Learn: Motor control, ultrasonic distance sensing, battery management, autonomous navigation, 3D printing.
Bill of Materials
| Part | Qty | Est. Cost (USD) |
|---|---|---|
| Raspberry Pi Pico W | 1 | $6.00 |
| Pimoroni Motor SHIM for Pico | 1 | $12.00 |
| Pimoroni LiPo SHIM for Pico | 1 | $9.50 |
| Micro Metal Motors | 2 | $7.00 |
| Moon Buggy Wheels | 2 | $5.50 |
| HC-SR04P Ultrasonic Sensor (3.3V) | 1 | $3.50 |
| Galleon 400mAh LiPo Battery | 1 | $9.50 |
| 3D-printed body (5 parts) | 1 set | Free |
| M2 screws | 4 | $1.00 |
| Total | ~$54–$55 |
8. Simple Robot Arm
| Difficulty: Intermediate | Estimated Total Cost: ~$30 |
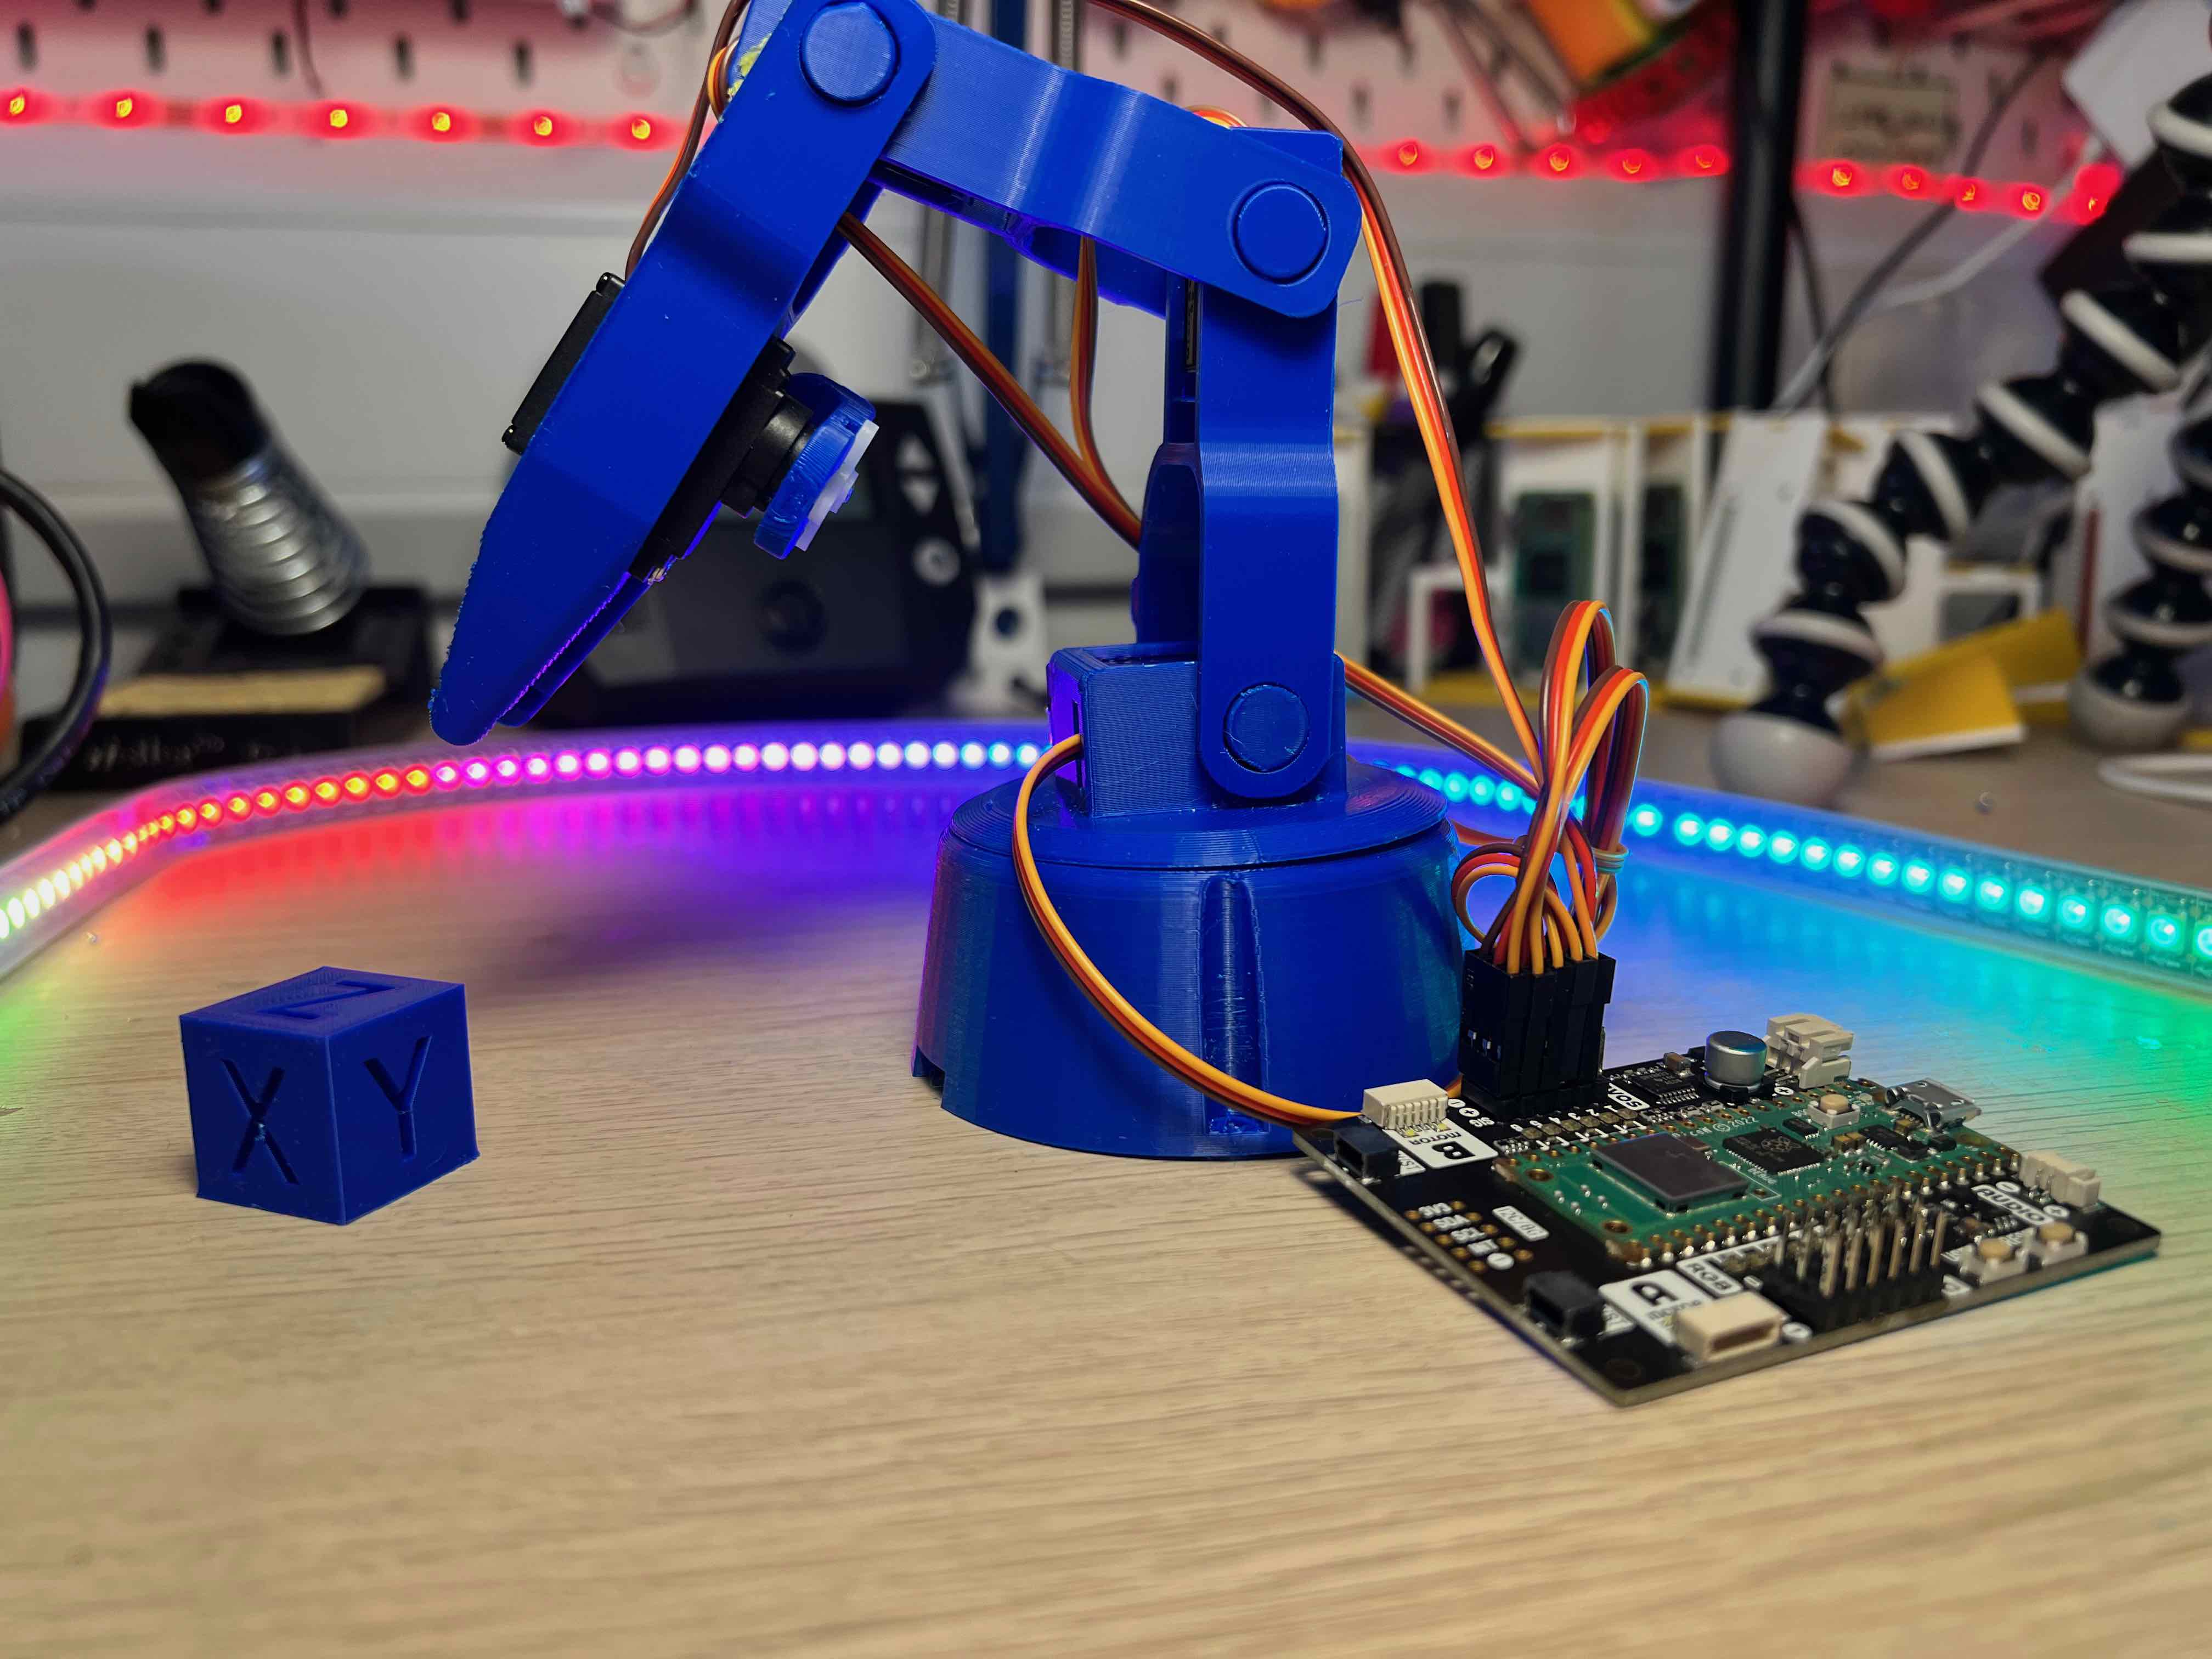
Build a multi-jointed robot arm controlled by the Pico. Using a handful of SG90 micro servos and some 3D-printed (or laser-cut) linkages, you can create a programmable arm that picks up, rotates, and places small objects. It’s a brilliant project for learning about servo control, inverse kinematics concepts, and mechanical design.
What You’ll Learn: Servo PWM control, mechanical linkages, MicroPython servo libraries, basic kinematics.
Bill of Materials
| Part | Qty | Est. Cost (USD) |
|---|---|---|
| Raspberry Pi Pico | 1 | $4.00 |
| SG90 Micro Servos | 4 | $12.00 |
| Breadboard & jumper wires | 1 set | $4.00 |
| External 5V power supply (for servos) | 1 | $5.00 |
| 3D-printed arm parts | 1 set | Free |
| M2/M3 screws & nuts | Assorted | $2.00 |
| Total | ~$27–$30 |
9. Bluetooth Remote Controlled Robot
| Difficulty: Intermediate | Estimated Total Cost: ~$45 |
Take your robotics further by building a Bluetooth-controlled robot using the Pico W. You’ll pair a custom-built controller (or phone app) with your robot over BLE, giving you wireless joystick-style control. This project teaches you the fundamentals of Bluetooth Low Energy communication, motor driving, and real-time control — skills that transfer directly to more advanced robotics work.
What You’ll Learn: Bluetooth Low Energy (BLE), wireless communication, motor control, real-time input handling.
Bill of Materials
| Part | Qty | Est. Cost (USD) |
|---|---|---|
| Raspberry Pi Pico W (robot) | 1 | $6.00 |
| Raspberry Pi Pico W (controller) | 1 | $6.00 |
| Motor driver board | 1 | $8.00 |
| DC motors with wheels | 2 | $8.00 |
| Battery pack (4xAA or LiPo) | 1 | $5.00 |
| Tactile buttons (for controller) | 4 | $1.00 |
| Breadboard & jumper wires | 2 sets | $6.00 |
| Robot chassis (3D-printed or kit) | 1 | $5.00 |
| Total | ~$45.00 |

10. Badgeware Games Console
| Difficulty: Easy | Estimated Total Cost: ~$54 |
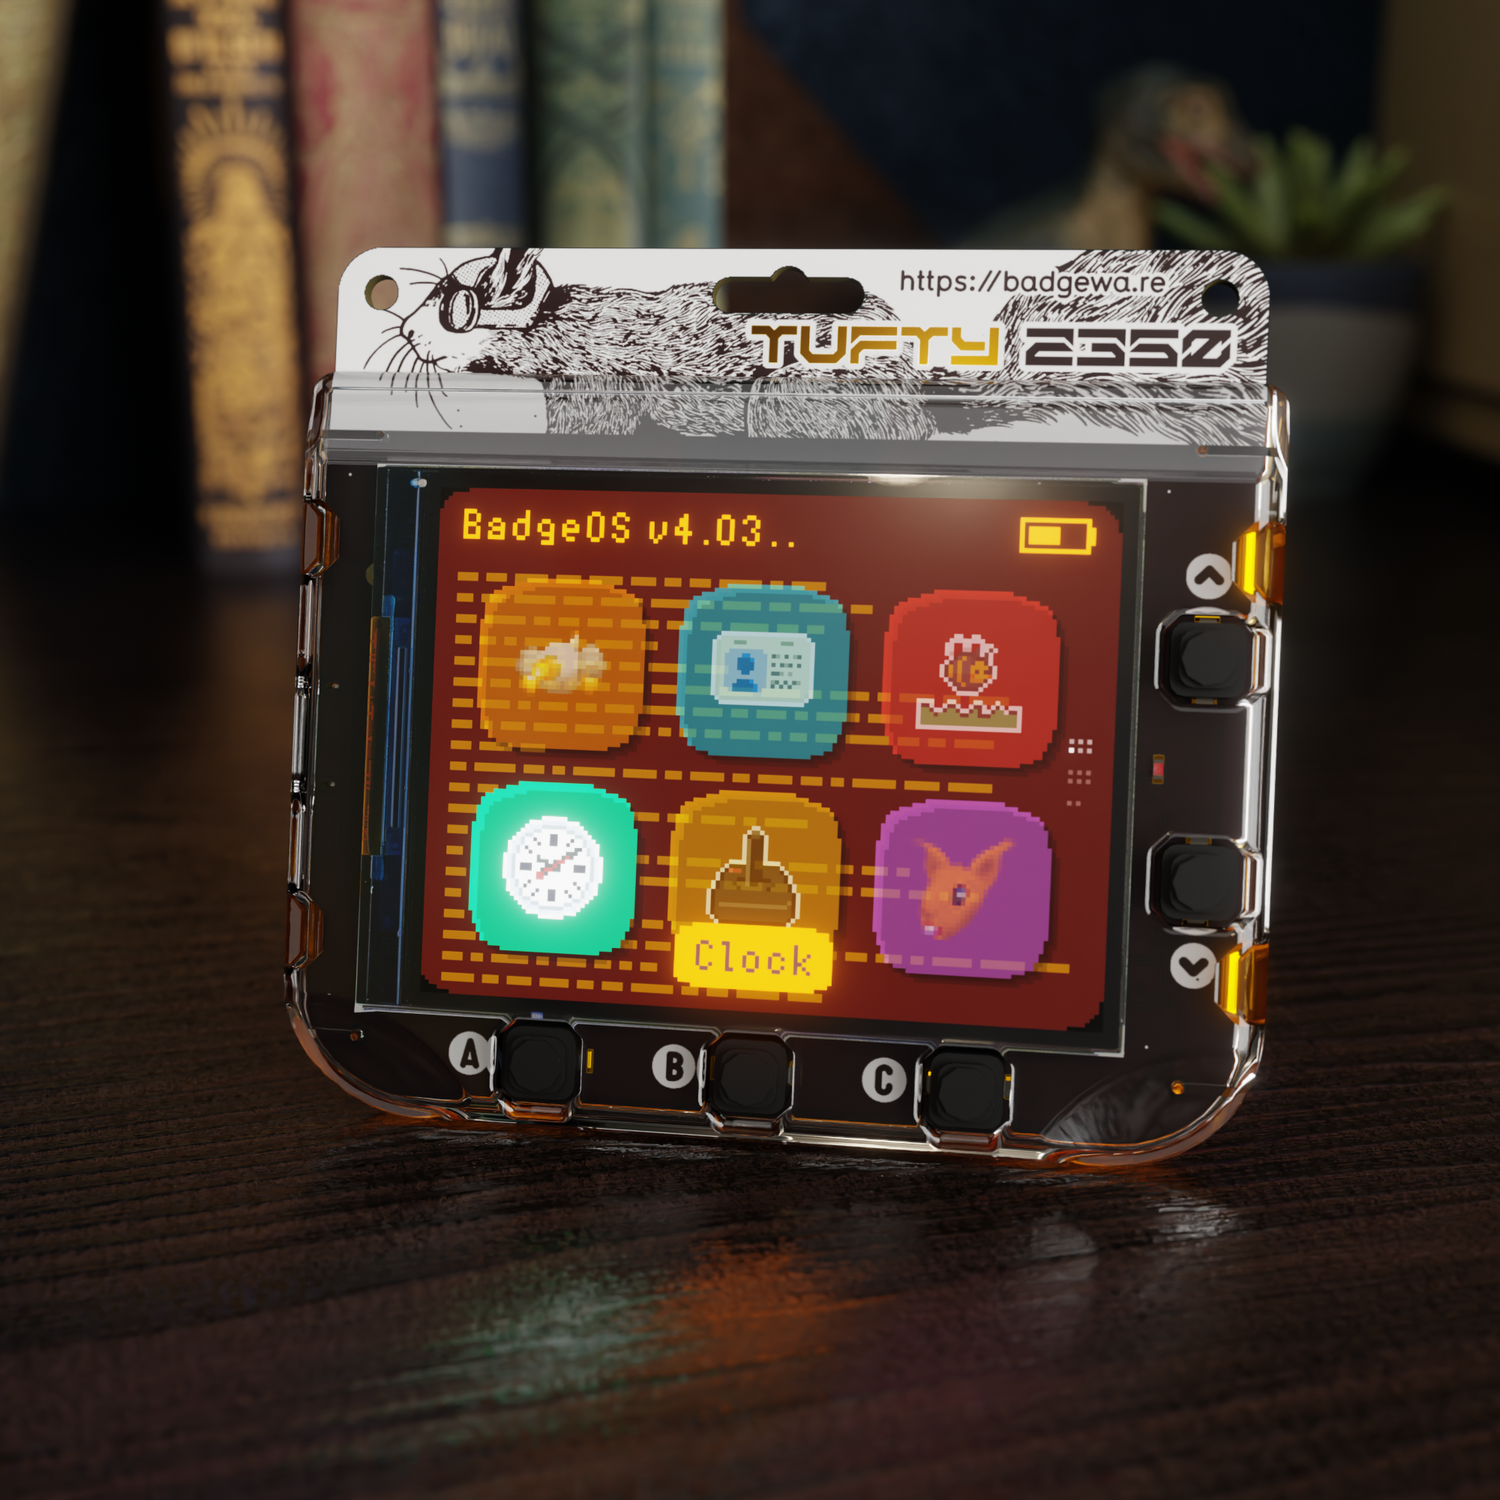
Build your own handheld gaming console with the Pimoroni Badgware Tufty 2350, an RP2350 based W-based board that includes a 320x240 TFT LCD matrix, built in rechargable battery and buttons. With the Pico W at its heart, you can program your own games in MicroPython using the PicoGraphics library for smooth 2D graphics and audio output. It’s a fantastic way to learn game development fundamentals while creating something you can actually play with.
What You’ll Learn: Game development, LED matrix graphics (PicoGraphics), button input handling.
Bill of Materials
| Part | Qty | Est. Cost (USD) |
|---|---|---|
| Pimoroni Badger Games Tutfy 2350 | 1 | $54.86 |
| Total | ~$54.86 |
Cost Comparison: Pico vs. Full Raspberry Pi
To put things in perspective, here’s what the Raspberry Pi lineup looks like right now:
| Board | Price (USD) |
|---|---|
| Raspberry Pi Pico | $4.00 |
| Raspberry Pi Pico W | $6.00 |
| Raspberry Pi Pico 2 | $5.00 |
| Raspberry Pi 4 (3GB) — NEW | $83.75 |
| Raspberry Pi 4 (4GB) | $55–$75+ |
| Raspberry Pi 5 (4GB) | $60–$80+ |
| Raspberry Pi 5 (8GB) | $80–$120+ |
The Pico costs less than a cup of coffee. You could build the temperature sensor project, the web server, AND the chicken nugget piano for less than the price of a single Raspberry Pi 4. That’s the magic of the Pico.
Getting Started
Every project listed here uses MicroPython (or CircuitPython), which means if you can write basic Python, you already have the skills to get started. Here’s what you’ll need to begin:
- A Raspberry Pi Pico or Pico W (grab a couple — they’re cheap enough)
- A USB cable to connect it to your computer
- The Thonny IDE (free, beginner-friendly, works on Windows, Mac, and Linux)
- A breadboard and some jumper wires for prototyping
Flash MicroPython onto your Pico by holding the BOOTSEL button while plugging it in, then drag the MicroPython UF2 file onto the drive that appears. That’s it — you’re ready to code.
Wrapping Up
The Raspberry Pi Pico proves that you don’t need to spend a fortune to build incredible things. From temperature sensors to robots to rhythm games, the range of what’s possible with a $4–$6 microcontroller is genuinely impressive. And with rising Pi prices making the full-sized boards harder to justify for simple projects, the Pico has never been more relevant.
All of these projects (and many more) are available with full tutorials at kevsrobots.com.
Happy making!
This page is awesome - Show some love!


Comments