Part 1 - Creating the Assistant
Learn how to build your own Jarvis-like AI assistant, in Python
Overview
Welcome to the Build Your Own AI in Python series! In this project we’ll create our own artificially intelligent assistant, simliar to Siri, Alexa, Google home, or even Jarvis from the Marvel Ironman movies.
It makes sense to start at the beginning as each part builds on the previous lesson and each also contains vital skills and knowledge used in future lessons too.
Part 1 - Table of Contents
- Overview
- Part 1 - Table of Contents
- Video on YouTube
- Session Goals
- Overview of this series
- How do AI Assistants Work?
- A overview sketch of out AI Assistant
- AI Assistant Architecture
- Architecture, the four pillars
- Hardware and software toolkit
- Hardware
- Software
- Skills
- Speech engine
- The code
- Initial Release of the code:
- ai.py
- alf.py
Video on YouTube
I created a popular video series on YouTube, which goes over each of the steps below. The first video, Creating the Assistant is featured below.
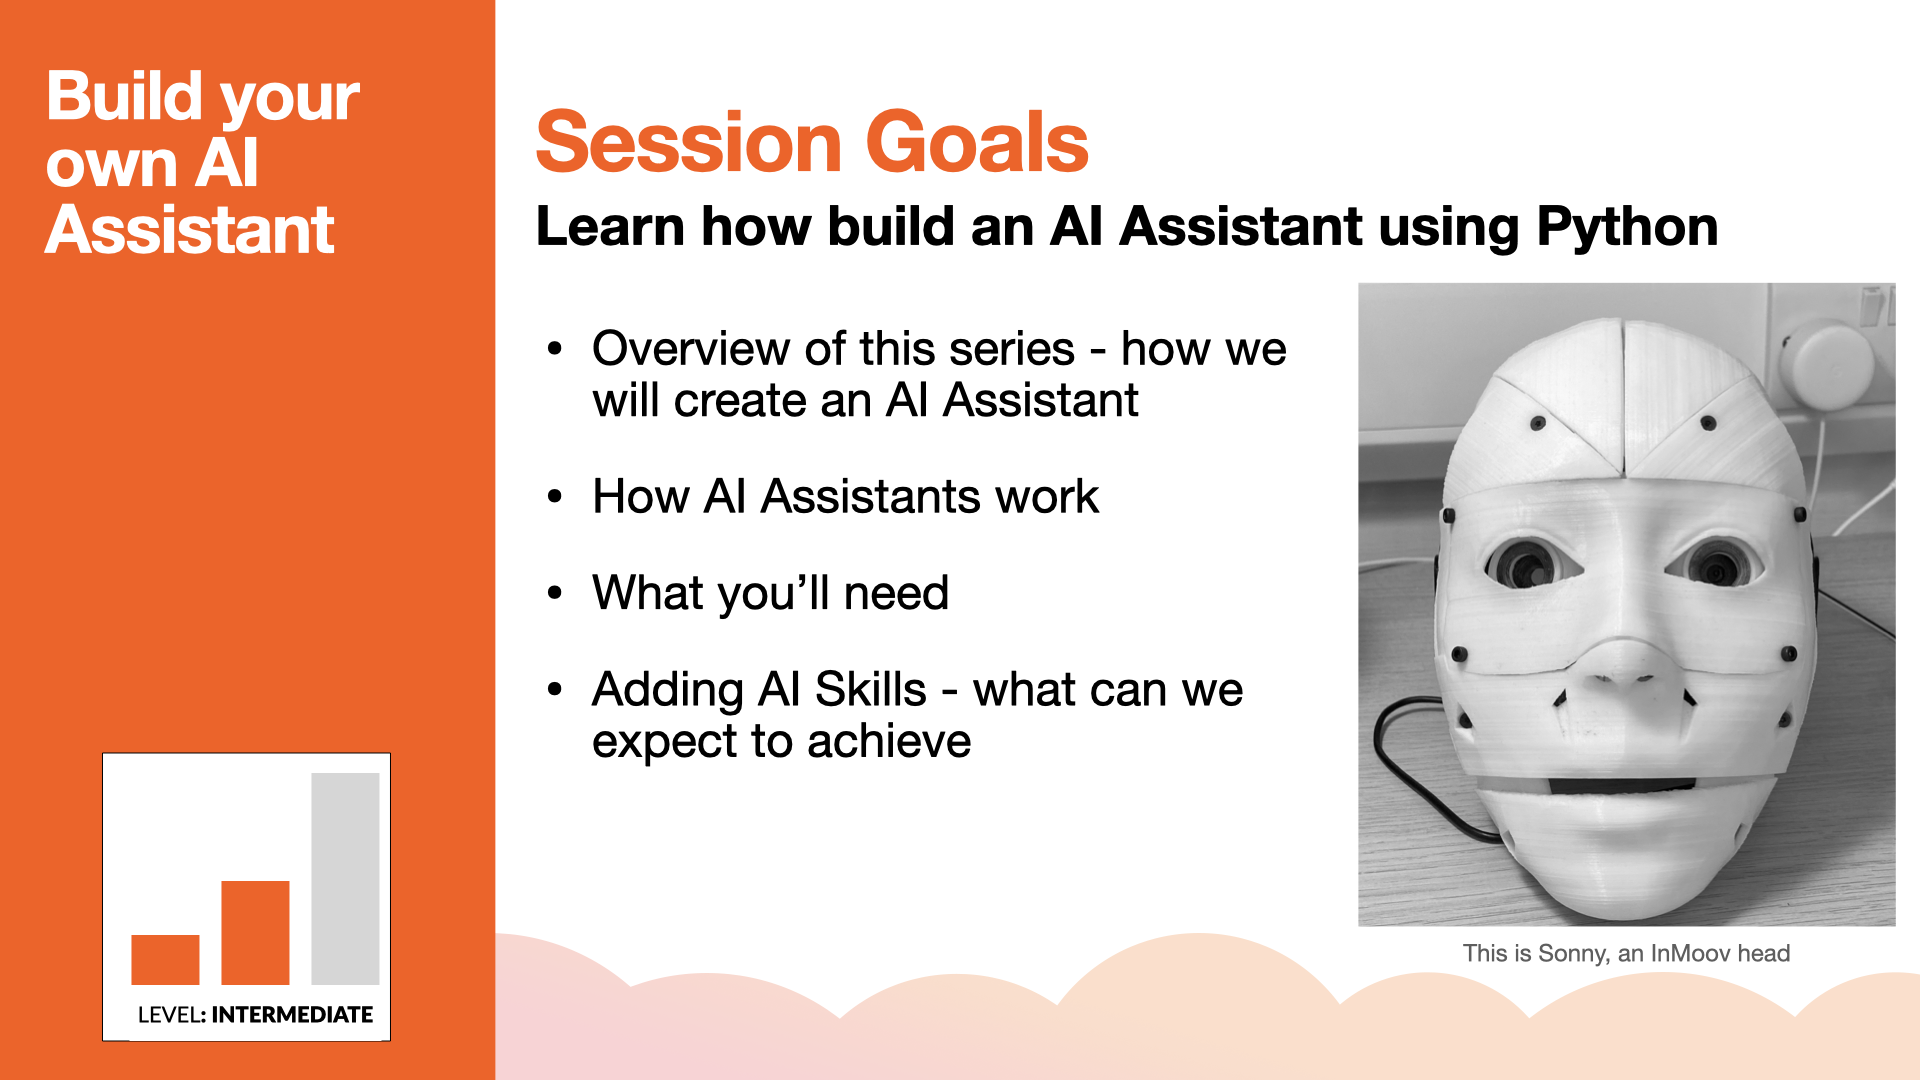
Session Goals
In this session we will learn:
- Overview of this series
- How AI Assistants work
- What you’ll need
- Adding AI Skills - what can we expect to achieve
Overview of this series
We’ll build our AI assistant one small part at a time, however at each step it will be able to do something useful. We’ll use Python; a programming language thats easy enough for beginners to understand, and powerful enough to create professional software.
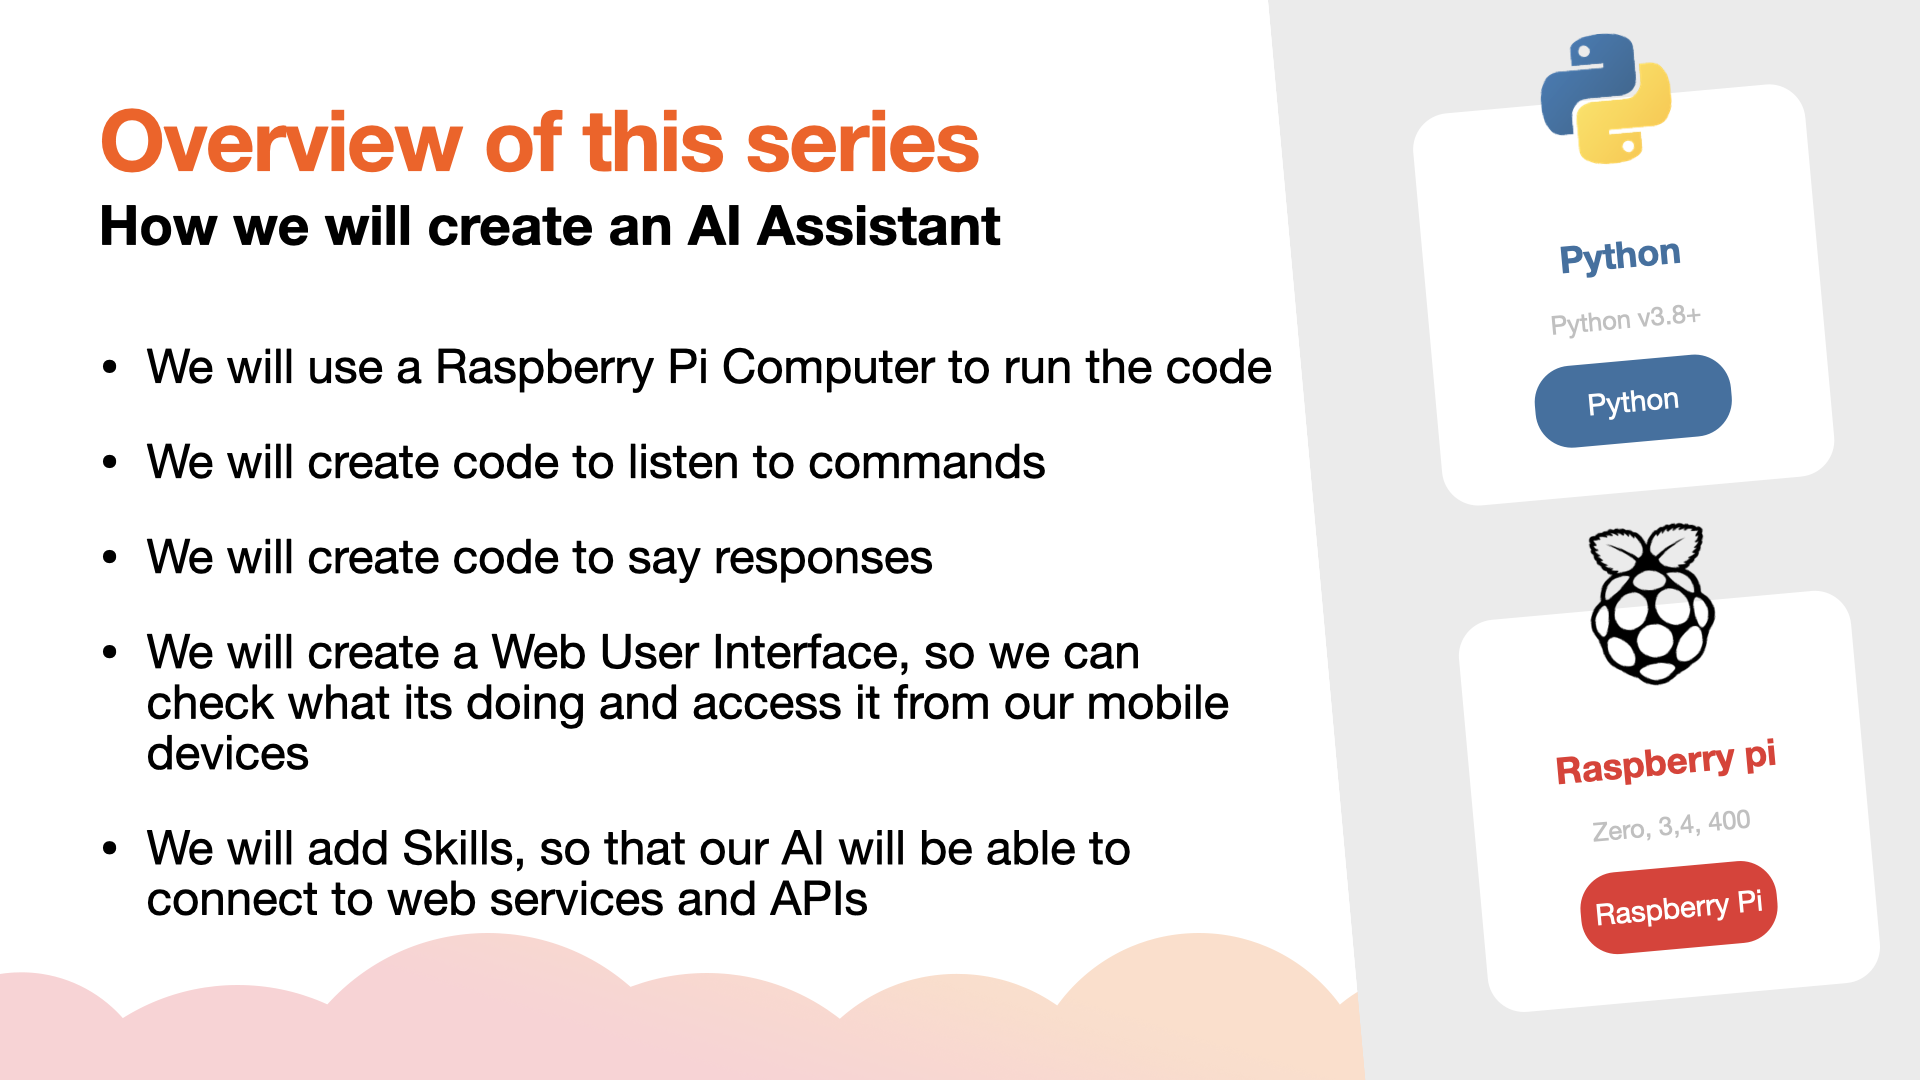
How we will create an AI Assistant:
- We will use a Raspberry Pi Computer to run the code - you can also use a Windows PC, Linux PC or macOS computer
- We will create code to listen to commands
- We will create code to say responses
- We will create a Web User Interface, so we can check what its doing and access it from our mobile devices
- We will add Skills, so that our AI will be able to connect to web services and APIs
How do AI Assistants Work?
So how do AI Assistants actually work? Lets take a look at the logical flow…
Logic Flow
An AI assistant is just a program, that follows a logical flow:
- Listen for a wake word
- If it hears the wake word, then listen for a known command
- Execute the known command
- Speak a response

A overview sketch of out AI Assistant
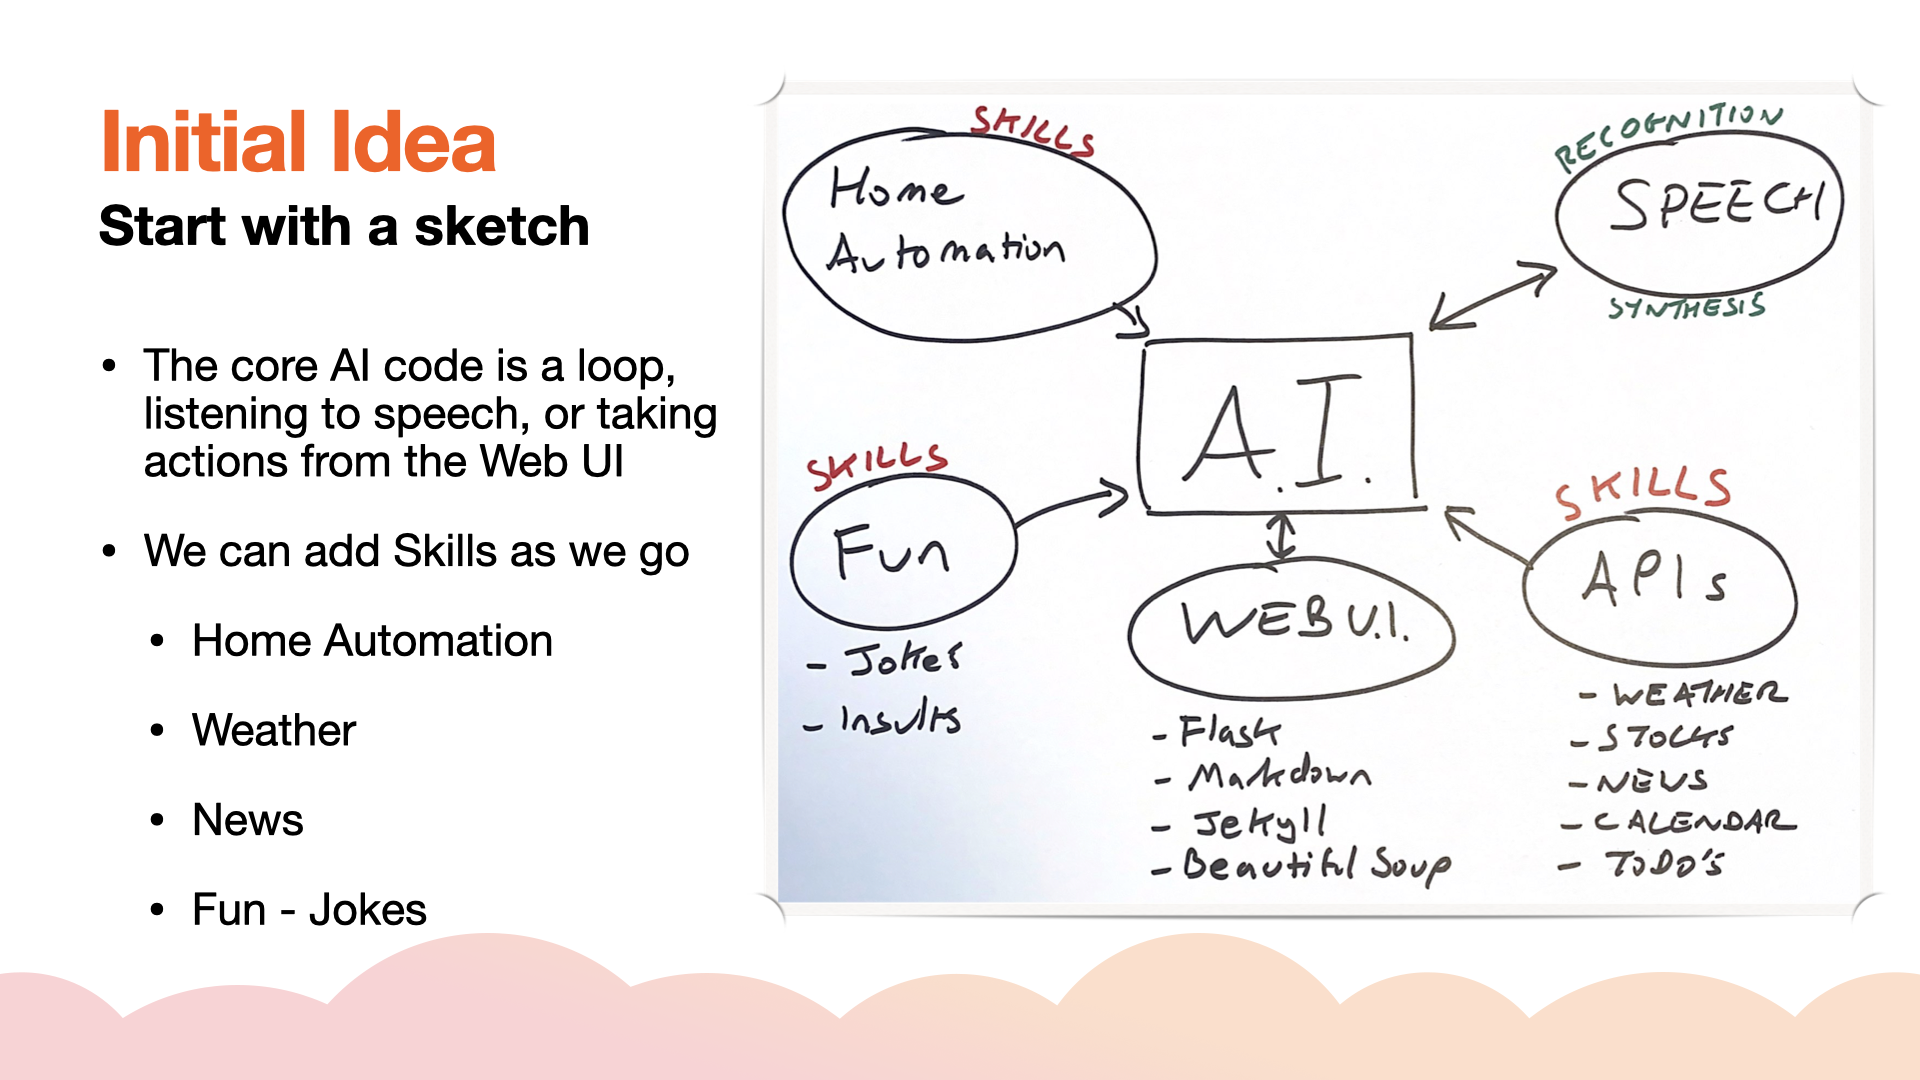
I love to sketch out ideas on paper before programming. This helps me separate out ideas into separate chunks; I can then work on each chunk one bit at a time.
The Initial idea is:
- The core AI code is a loop, listening to speech, or taking actions from the Web UI
-
We can add Skills as we go, such as:
- Home Automation
- Weather
- News
- Fun - Jokes
AI Assistant Architecture
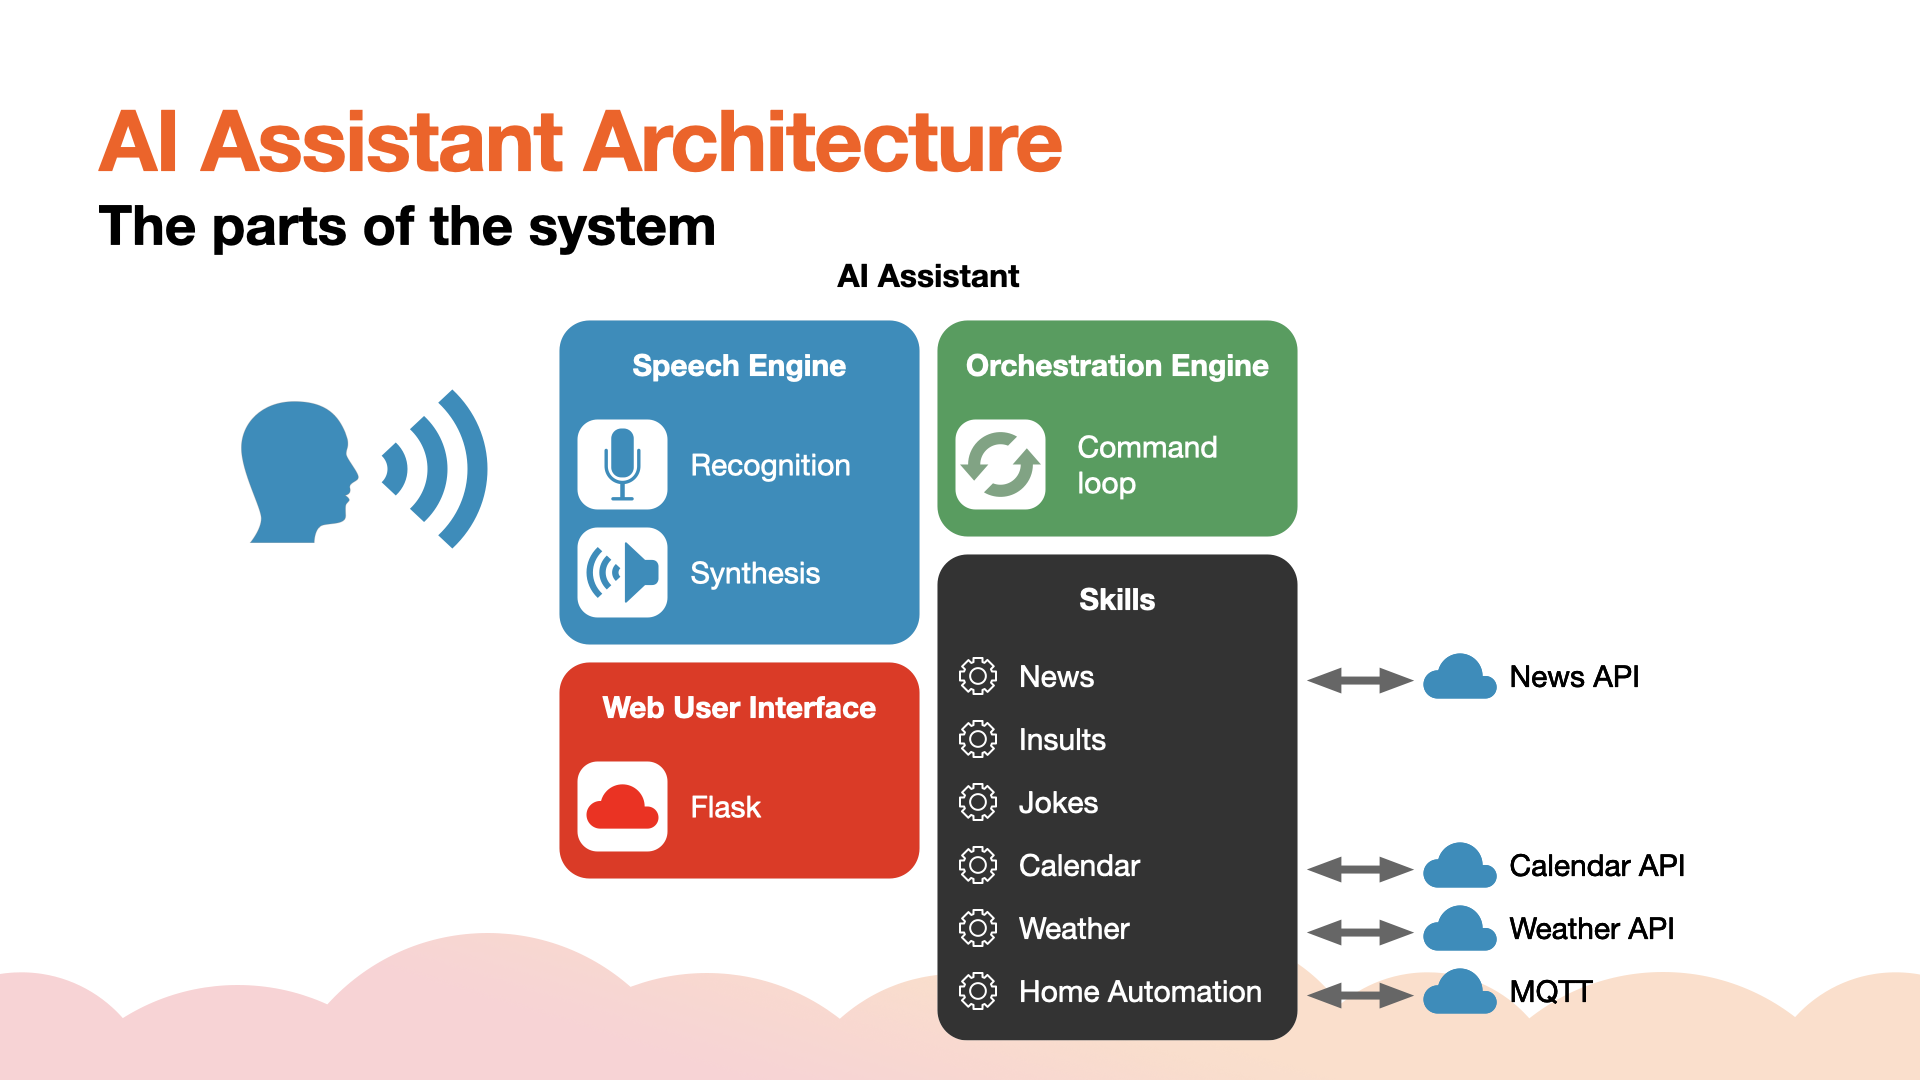
Our AI Assistant is made up of a number of parts, and we call the sum of parts, the architecture.
Architecture:
- The Speech Engine
- Speech Recognition
- Speech Synthesis
- The Orchestration Engine
- The Web UI
- The Skills
- News
- Insults
- Jokes
- Calendar
- Weather
- Home Automation
Architecture, the four pillars
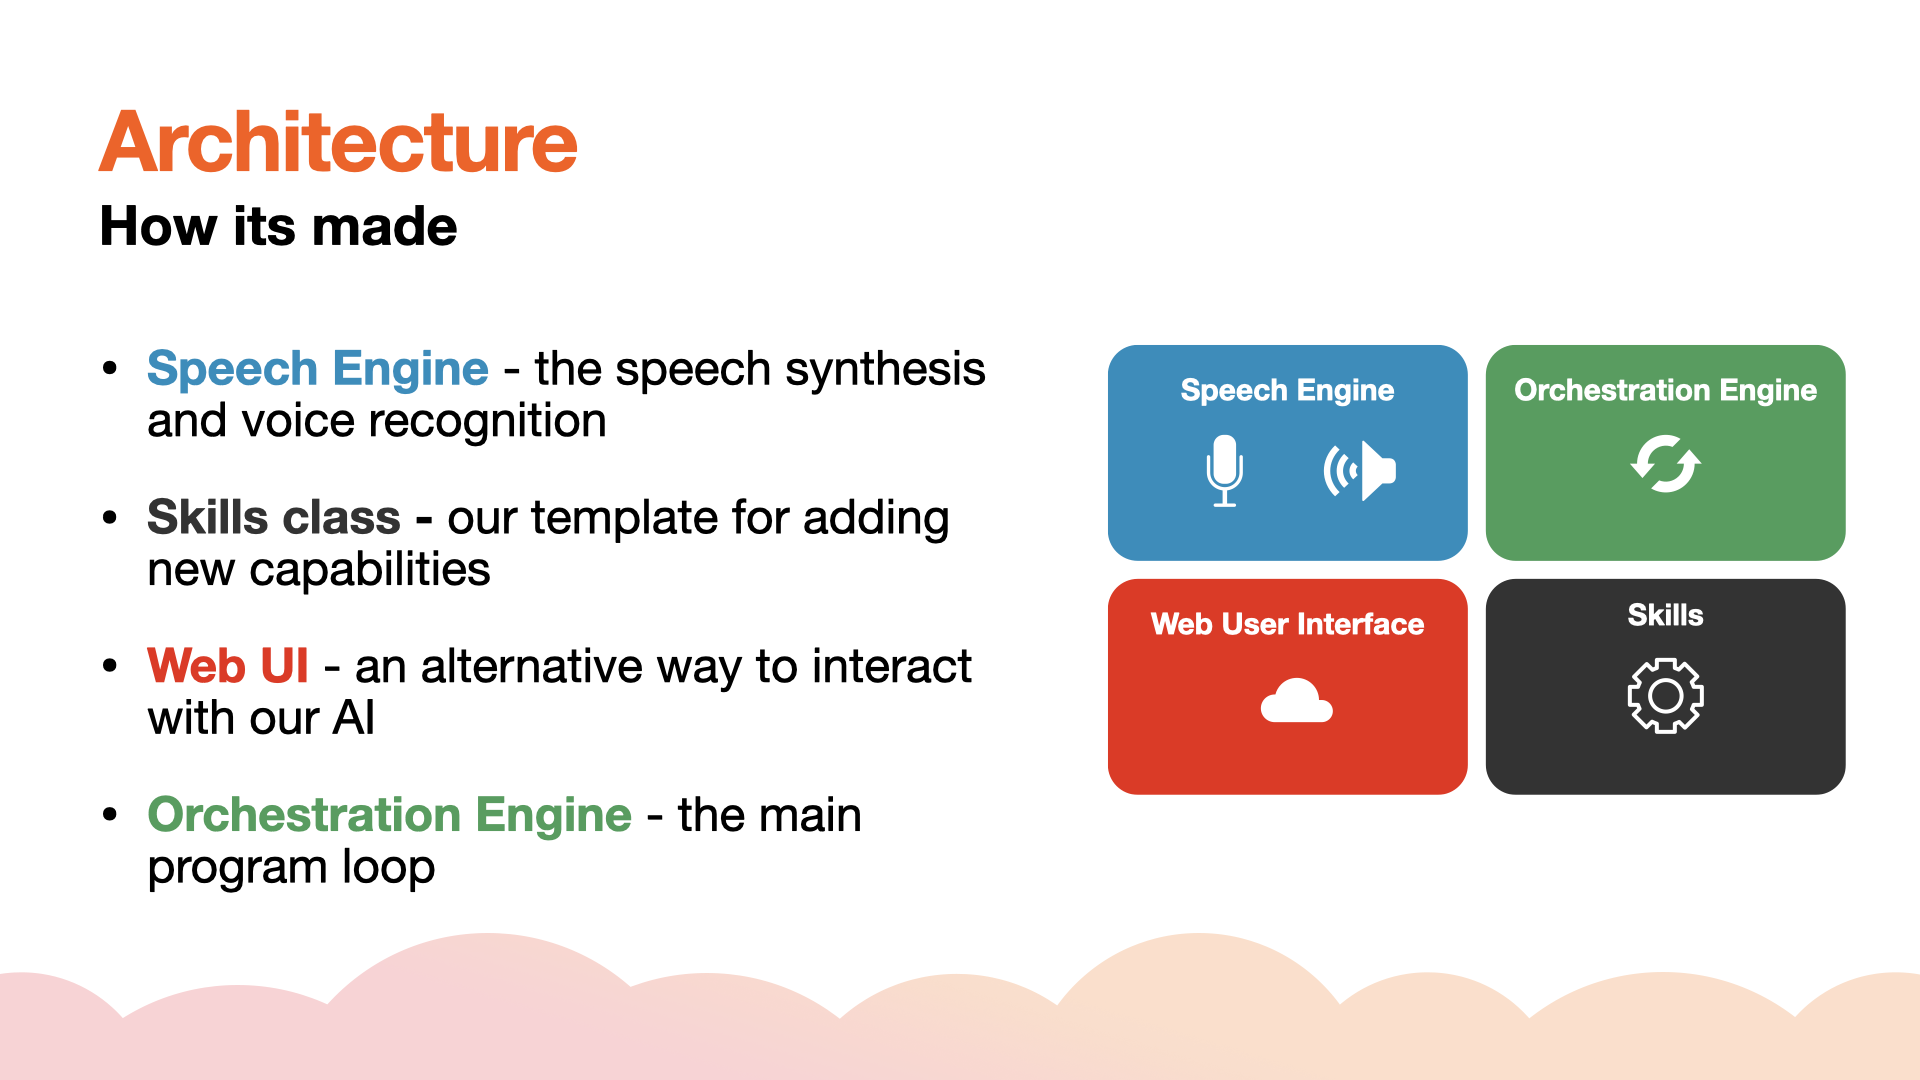
We will therefore need to create each of the four pillars, and as far as possible ensure they have low coupling and high cohesion.
Low coupling means each module/pillar should be self contained, other modules shouldn’t rely on specifics of how they work internally.
High Cohesion means that the code inside each module/pillar should work as effectively as possible, with each part doing only what it is supposed to do, and no more.
The four pillars are:
- Speech Engine
- Skills class
- Web UI
- Orchestration Engine
Hardware and software toolkit
For this project we’ll need a couple of things, some hardware to run our AI Assistant on, and some software tools to build it.
Hardware
For hardware, you can run the Assistant on your own computer, Mac, Windows PC or Linux PC,
- Raspberry Pi - the faster the better, recommend a Raspberry Pi 4
- USB Microphone - to enable the Python to hear speech
- A Speaker - need to be able to hear what is being said

Software
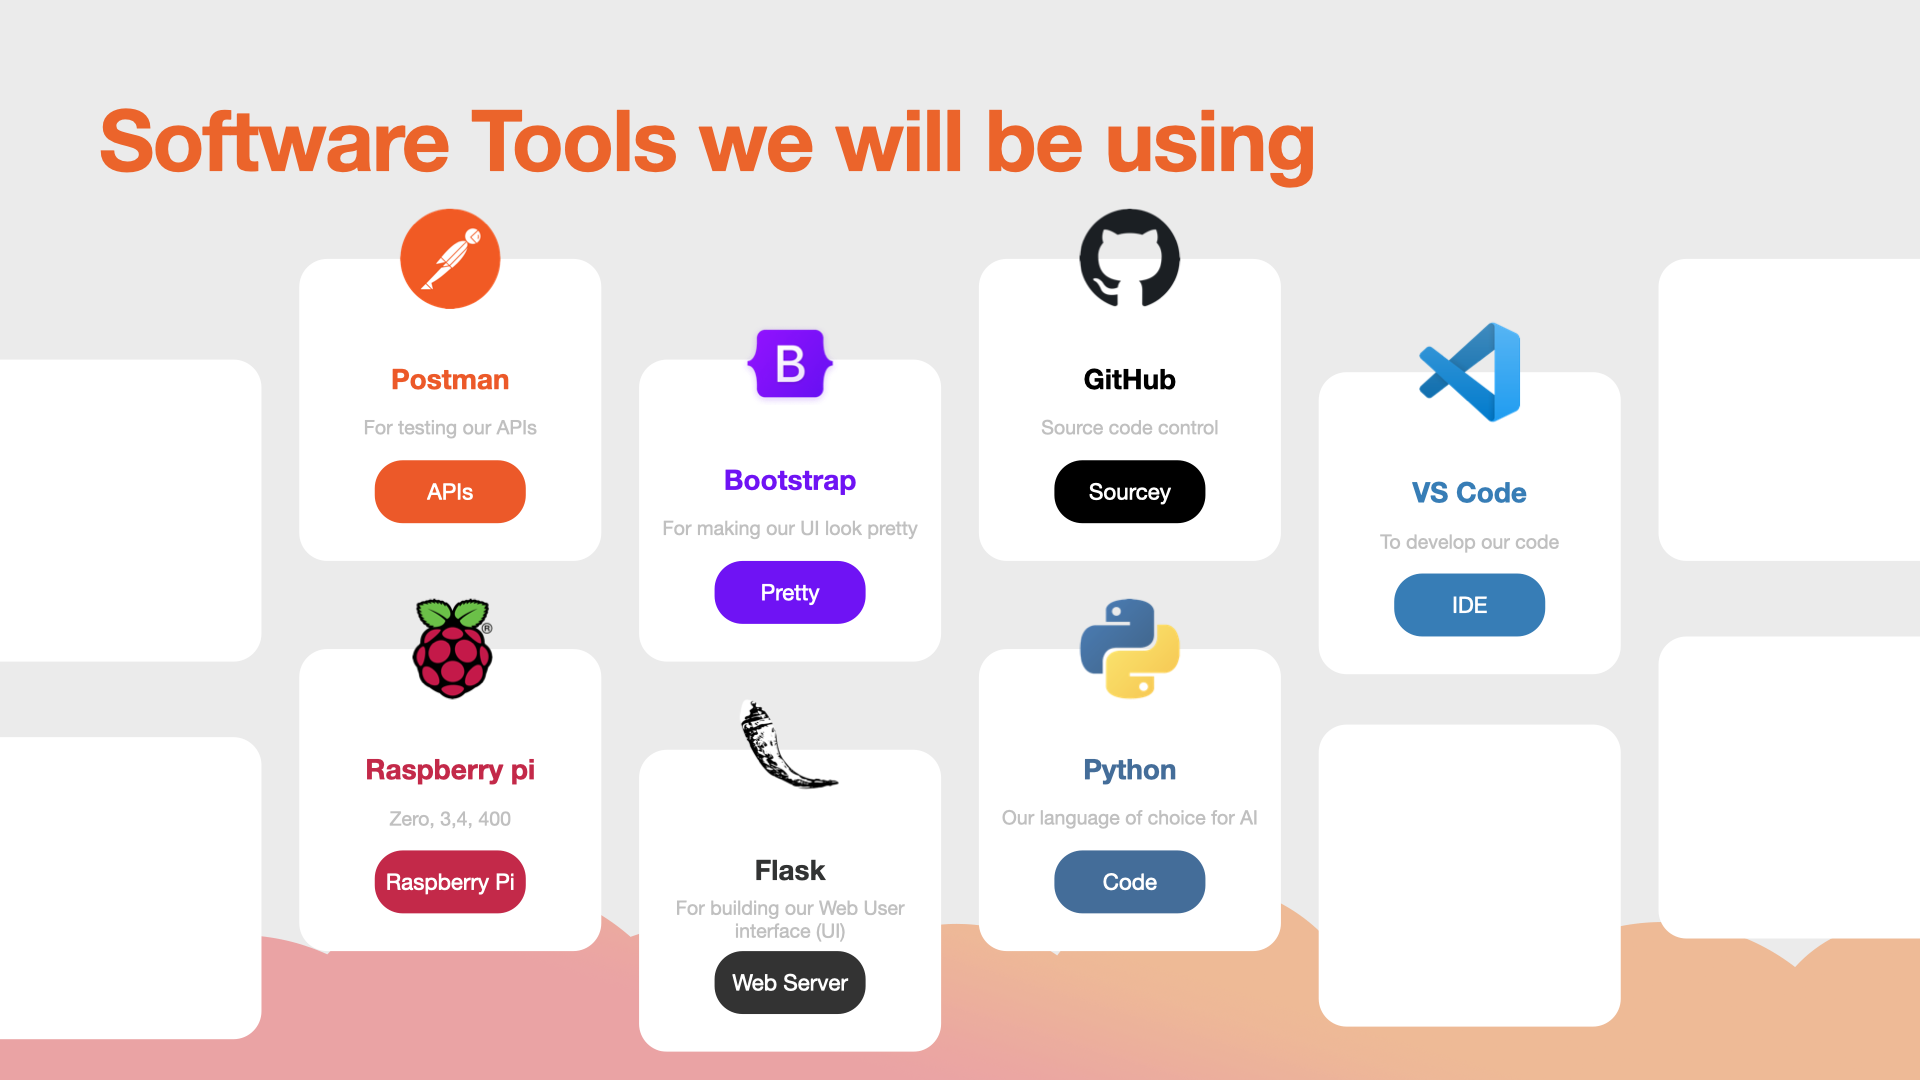
For software, we will be using the following software applications:
- Postman - for poking and prodding APIs
- Bootstrap - for building nice web interfaces
- GitHub - for storing our code securely
- Mirosoft Visual Studio Code - for writing our code
- Flask - for building nice APIs and websites in Python
- Python - The latest version of Python
Skills
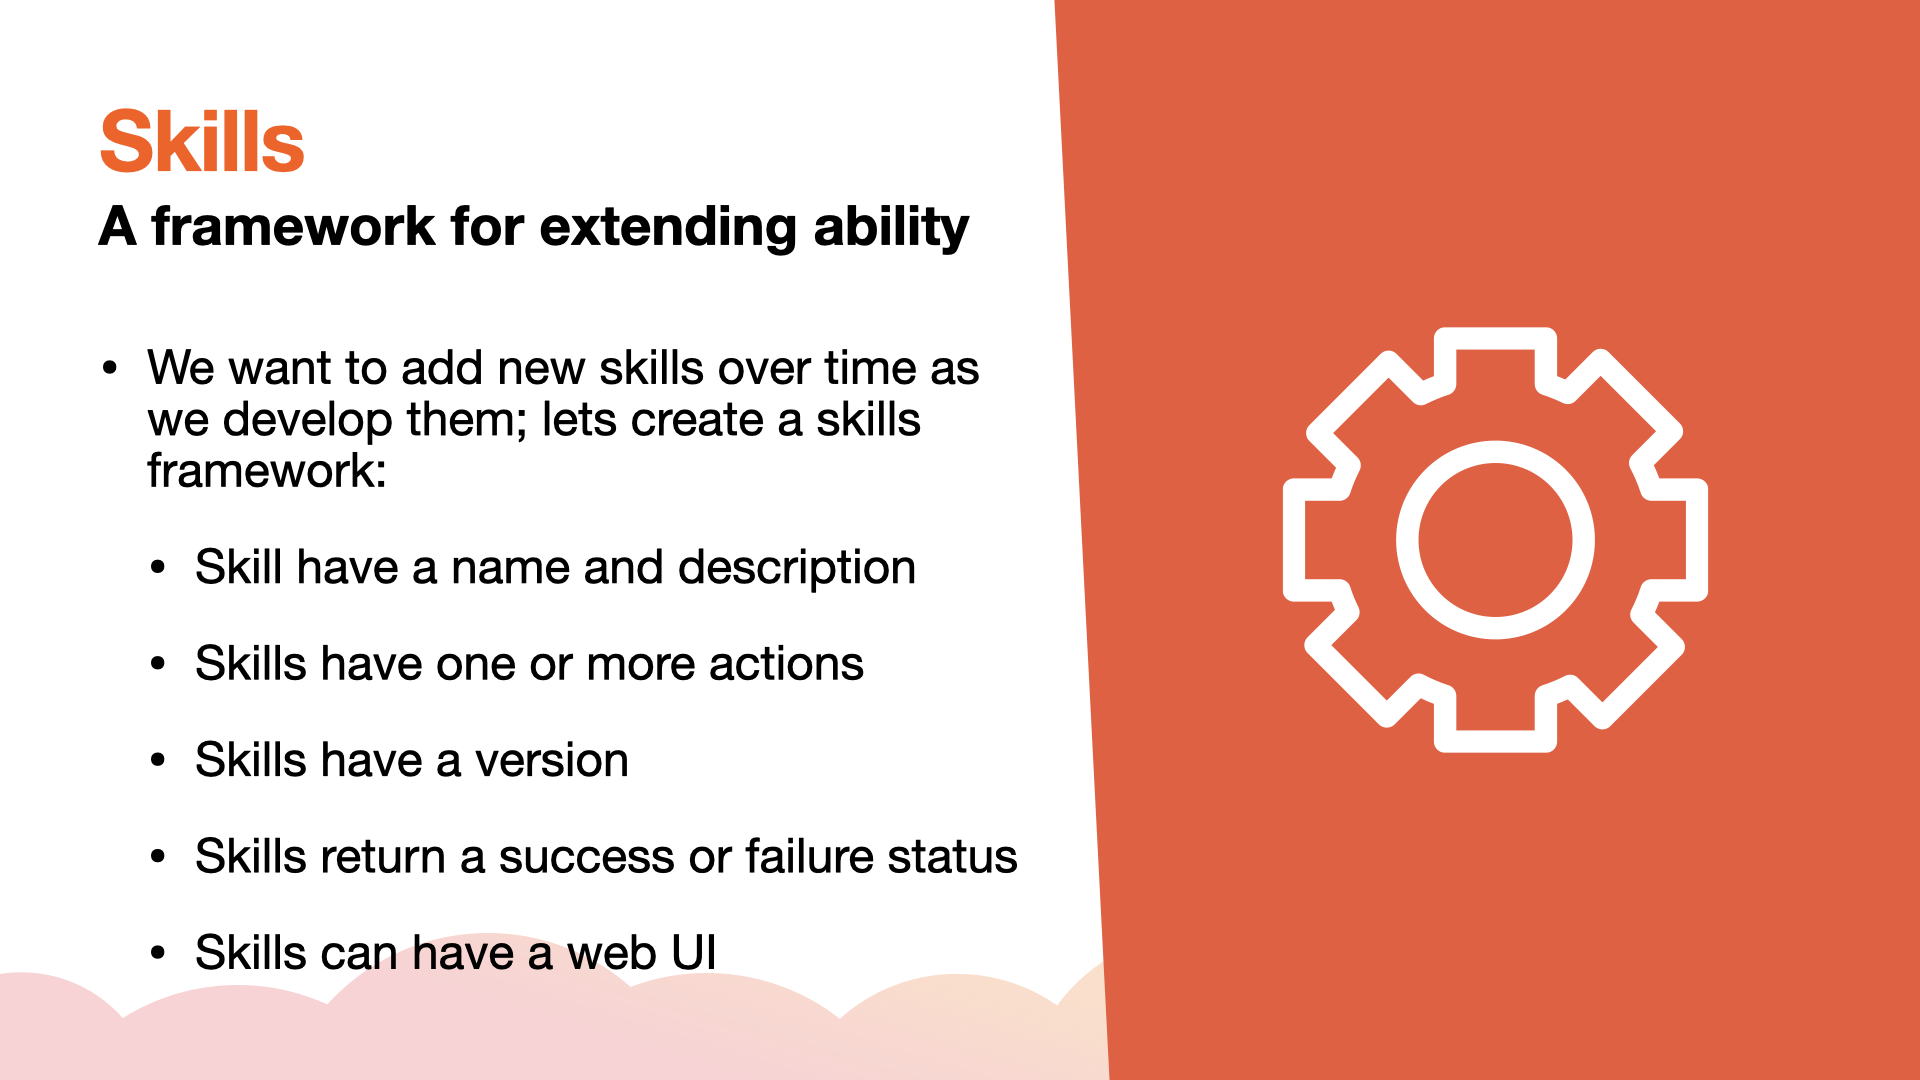
We want to add new skills over time as we develop them; lets create a skills framework:
- Skill have a name
- Skills have one or more actions
- Skills return a success or failure status
- Skills can have a web UI
Speech engine
For the Raspberry Pi, and other Linux systems you will need to ensure that both portaudio and espeak are installed:
Install the Pre-requisites
sudo apt-get install portaudio
sudo apt-get install espeak
Create the virtual environment:
Virtual Environments enable us to keep specific versions of Python libraries separate between projects. If that doesn’t mean a lot right now, don’t worry it will make sense later.
Type the commands below into your terminal session to create the venv virtual environment, and then activate the environment using the source command.
sudo python3 -m venv venv
source activate venv\bin\activate
To deactivate the environment we can use the deactivate command:
deactivate
Install the packages
Once we’ve activated our virtual environment, we can install the libraries our project depends on.
Type these commmands:
pip install pyaudio
pip install speechrecognition
pip install pyttsx3
Or
pip install -r requirements.txt
The code
The source code repository for this project is hosted at GitHub. Click this link: https://github.com/kevinmcaleer/pythonai to download the latest version of the code.
Please note that as the series progresses, code is changes, so you will be working from the latest version of the code.
Initial Release of the code:
We’ll start by creating a piece of code that will contain the main parts of our AI, and then we’ll create a program that uses this code.
Grab a copy of version 1 of our code here: https://github.com/kevinmcaleer/PythonAI/releases/tag/v1.0
ai.py
- Import the python text to speech library
pyttsx3and then the speech recognition libraryspeech_recognition - We’ll then create the
classwhich is like a template for reuseable code. - The
AIclass will contain 5 functions:__init__- this will initialise the speech engine and speech recognition enginename (property)- this returns the name of our AIname (setter)- this sets the name of our AIsay- speaks any messages we pass to itlisten- listens to human speech and returns it as text
import pyttsx3
import speech_recognition as sr

class AI():
    __name = ""
    __skill = []

    def __init__(self, name=None):
        self.engine = pyttsx3.init()
        self.r = sr.Recognizer()
        self.m = sr.Microphone()

        if name is not None:
            self.__name = name

        print("Listening")
        with self.m as source:
            self.r.adjust_for_ambient_noise(source)

    @property
    def name(self):
        return self.__name

    @name.setter
    def name(self, value):
        sentence = "Hello, my name is" + self.__name
        self.__name = value
        self.engine.say(sentence)
        self.engine.runAndWait()

    def say(self, sentence):
        self.engine.say(sentence)
        self.engine.runAndWait()

    def listen(self):
        print("Say Something")
        with self.m as source:
            audio = self.r.listen(source)
        print("got it")
        try:
            phrase = self.r.recognize_google(audio, show_all=True, language="en_US")
            sentence = "Got it, you said" + phrase
            self.engine.say(sentence)
            self.engine.runAndWait()
        except e as error:
            print("Sorry, didn't catch that",e)
            self.engine.say("Sorry didn't catch that")
            self.engine.runAndWait()
        print("You Said", phrase)
        return phrase
alf.py
Now to build our first AI. It will have one skill - telling bad jokes. To enable us to tell jokes we can use the python pyjokes library
Add the pyjokes by typing the following from the terminal:
pip install pyjokes
Now type the program below.
- import
pyjokesand alsoAI - create our ai by typing
alf = AI() - create our
jokeskill function, that will say a random joke - finally we’ll create a
whileloop that will listen for commands such astell me a jokeuntil we saygoodbye - try adding your own commands and responses
import pyjokes
from ai import AI


alf = AI()

def joke():
    funny = pyjokes.get_joke()
    print(funny)
    alf.say(funny)

command = ""
while True and command != "goodbye":
    command = alf.listen()
    print("command was:", command)

    if command == "tell me a joke":
        joke()

alf.say("Goodbye, I'm going to sleep now")
Comments