KevsRobots Learning Platform
Overview
Getting Started
Flowcharts
Diagrams for Code and Data
Planning and Ideas
Looking Good and Sharing
Project
Course Overview
What you'll learn in this beginner's course on drawing diagrams with Mermaid
By Kevin McAleer, 4 Minutes
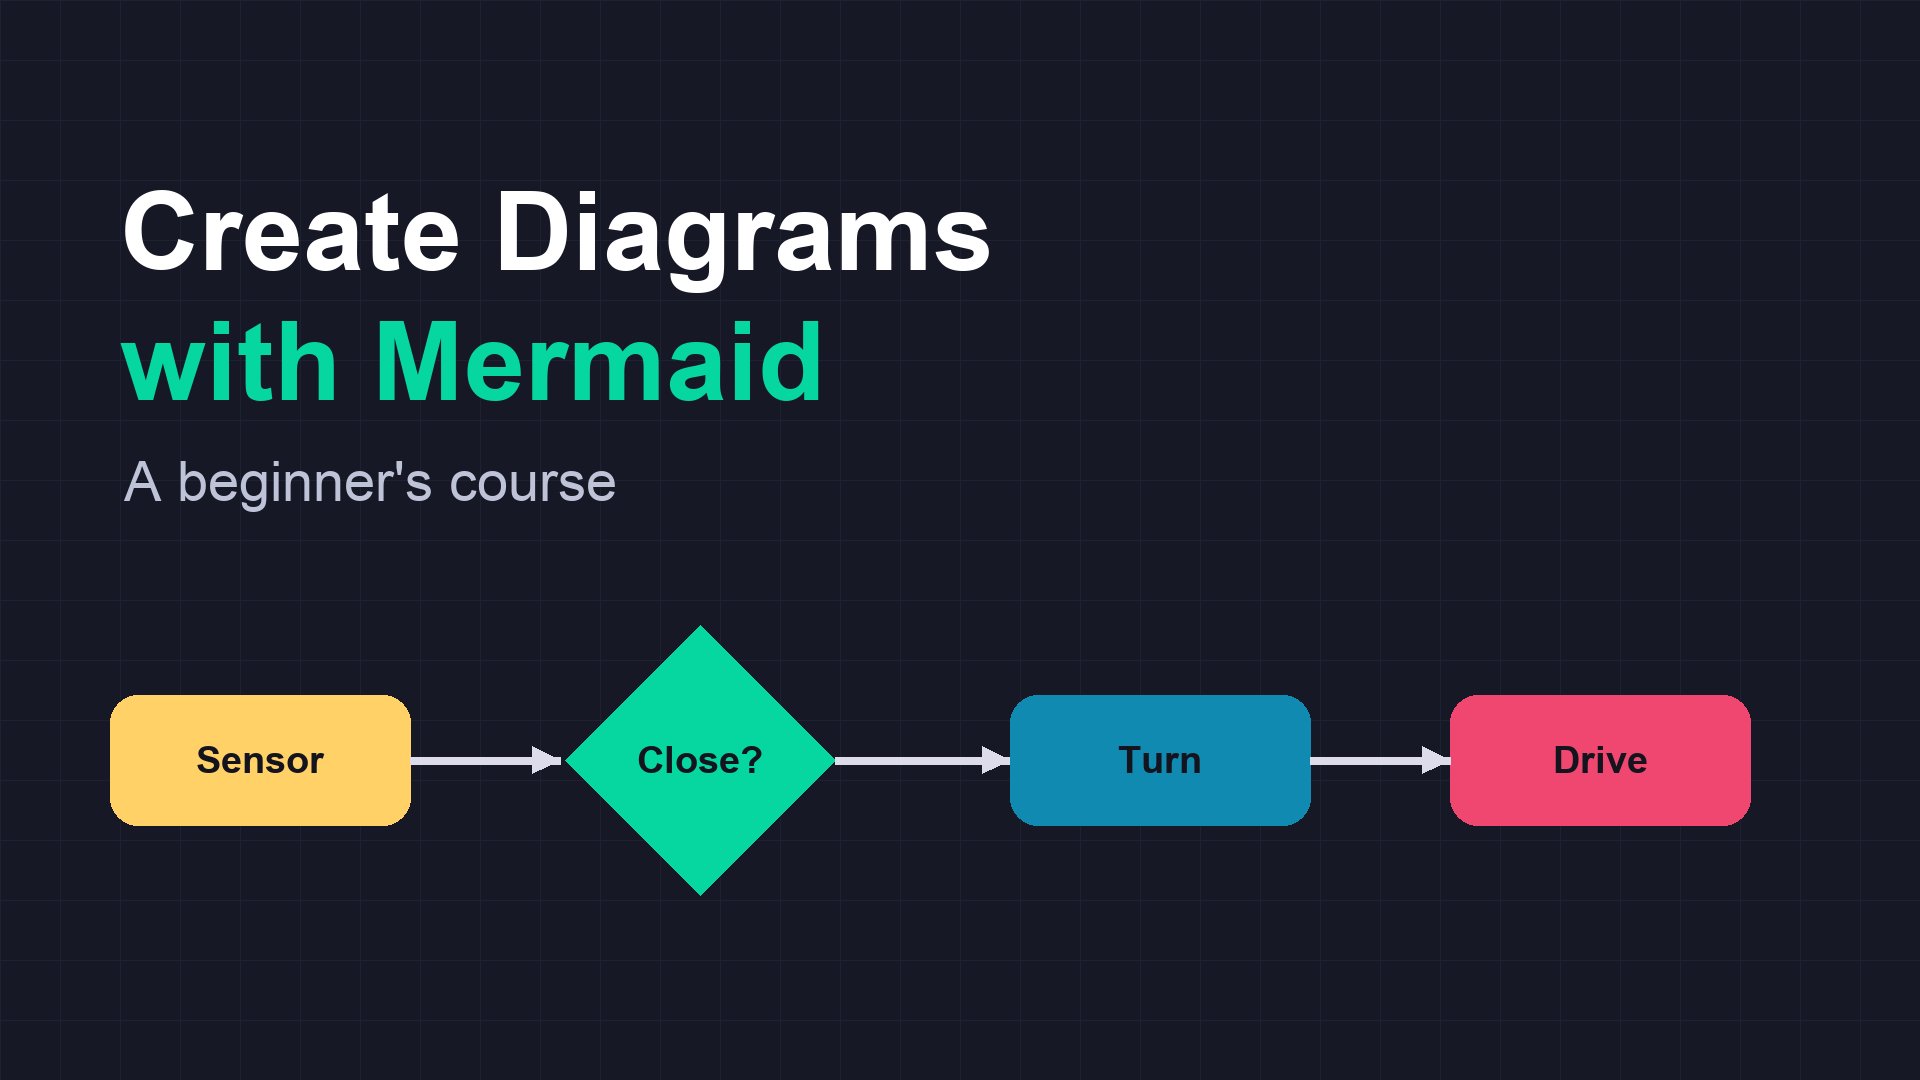
Overview
Welcome to Create Diagrams with Mermaid! A good diagram can explain in seconds what takes a page of text: how a robot decides what to do next, how a Pico talks to a sensor, or how the tables in a parts database fit together. The trouble is that drawing diagrams by hand, dragging boxes around in a drawing app, is slow, and the diagram goes out of date the moment your project changes.
Mermaid fixes that. You write your diagram as a few lines of plain text, and Mermaid draws it for you. Because it’s just text, you can keep it right next to your code, change it in seconds, and track it in Git. GitHub, GitLab, Obsidian, Notion and this website all draw Mermaid diagrams automatically.
In this course you’ll learn the most useful diagram types, one at a time, using maker and robot examples. By the end you’ll document a complete Pico robot project with diagrams in its README.
Course Content
| Module | Title | What you’ll learn |
|---|---|---|
| 1 | What is Mermaid? | Diagrams as code, and where Mermaid diagrams are drawn for you |
| 2 | Your First Diagram | The Mermaid Live Editor, code fences, and how a diagram is put together |
| 3 | Flowcharts | Directions, node shapes, arrows and labels |
| 4 | Flowcharts in Depth | Subgraphs, colours and styles, and the classic gotchas |
| 5 | Sequence Diagrams | Showing messages between a Pico, a sensor and a computer |
| 6 | State Diagrams | Drawing a robot’s states and what makes it change between them |
| 7 | Class Diagrams | Picturing your Python classes and how they relate |
| 8 | Entity Relationship Diagrams | Designing database tables, such as a parts inventory |
| 9 | Gantt Charts and Timelines | Planning a build and showing a project’s history |
| 10 | More Diagram Types | Pie charts, mind maps, Git graphs and quadrant charts |
| 11 | Themes and Styling | Built-in themes, config and theme variables |
| 12 | Exporting and Sharing | Images from the Live Editor and the command line, and diagrams in READMEs |
| 13 | Project: Document a Robot | A complete README for a Pico robot, with five diagrams |
| 14 | Cheat Sheet and Next Steps | A quick reference for everything in the course |
Key Results
After completing this course, you will be able to:
- Write Mermaid diagrams and preview them in the Mermaid Live Editor
- Draw flowcharts, sequence, state, class and entity relationship diagrams
- Plan projects with Gantt charts and timelines, and brainstorm with mind maps
- Style diagrams with themes, colours and classes
- Add diagrams to GitHub READMEs, Obsidian notes and web pages, and export them as images
What you’ll need
- A computer with a web browser - that’s it! We’ll use the free Mermaid Live Editor
- Optional: a GitHub account, Obsidian or VS Code to see your diagrams in your own notes and projects
Prerequisites
None. It helps to know a little Markdown; if it’s new to you, have a look at Mastering Markdown first. If you’d like to store your diagrams in a GitHub repository, try Git for beginners too.
How the course works
Every example shows you the Mermaid code first, then the diagram that code draws, right there on the page. Copy the code into the Mermaid Live Editor and change it - that’s the quickest way to learn. Each lesson has a Try it yourself challenge, a list of Common issues with fixes, and a short quiz. Your progress and quiz score are saved in your browser and shown in the sidebar.
Let’s start drawing!
You can use the arrows ← → on your keyboard to navigate between lessons.
Comments