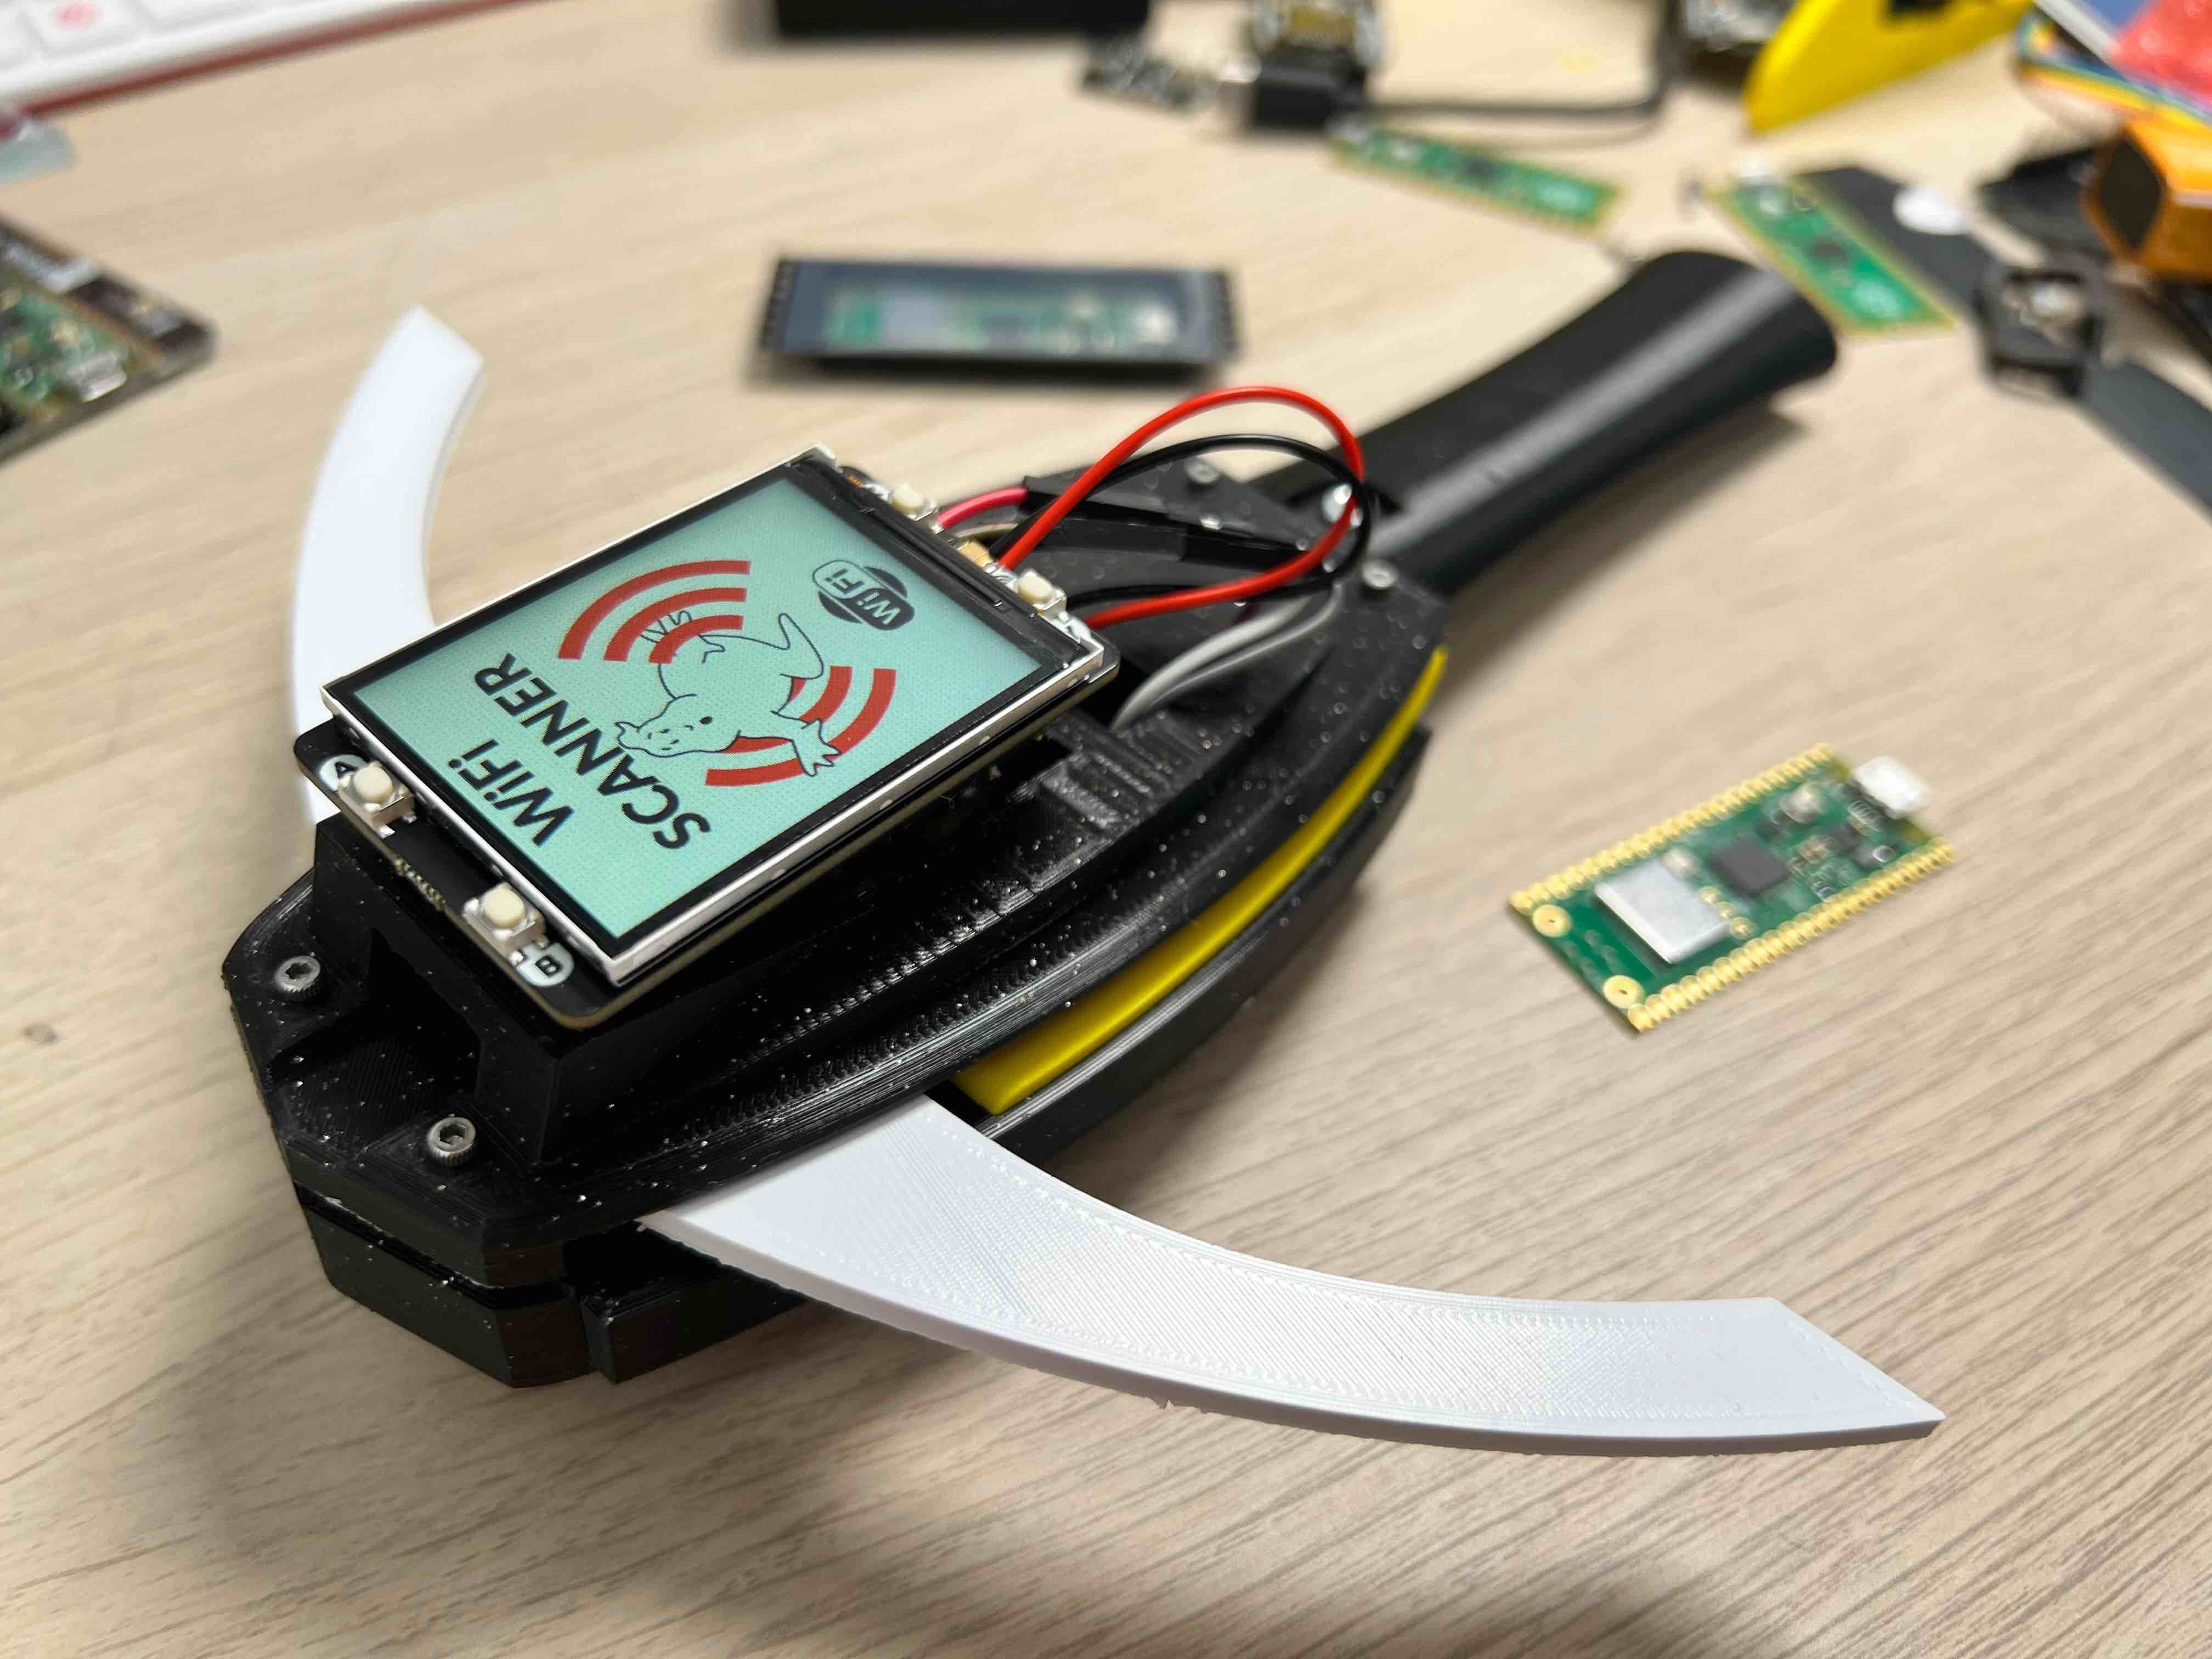
Ghostbusters Wi-Fi Scanner
Who you gonna call?
Video
For every project I create, I often make a corresponding YouTube video. Sometimes, there might be more than one video for a single project. You can find these videos in this section.
Explore more through this this dedicated video.
Overview
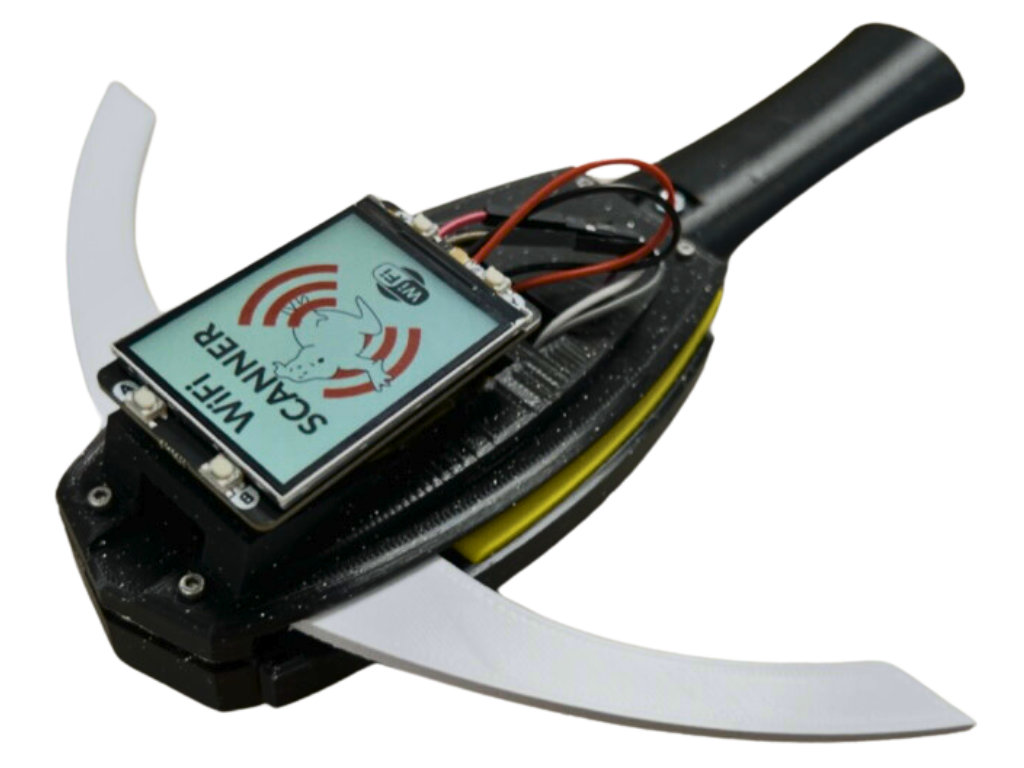
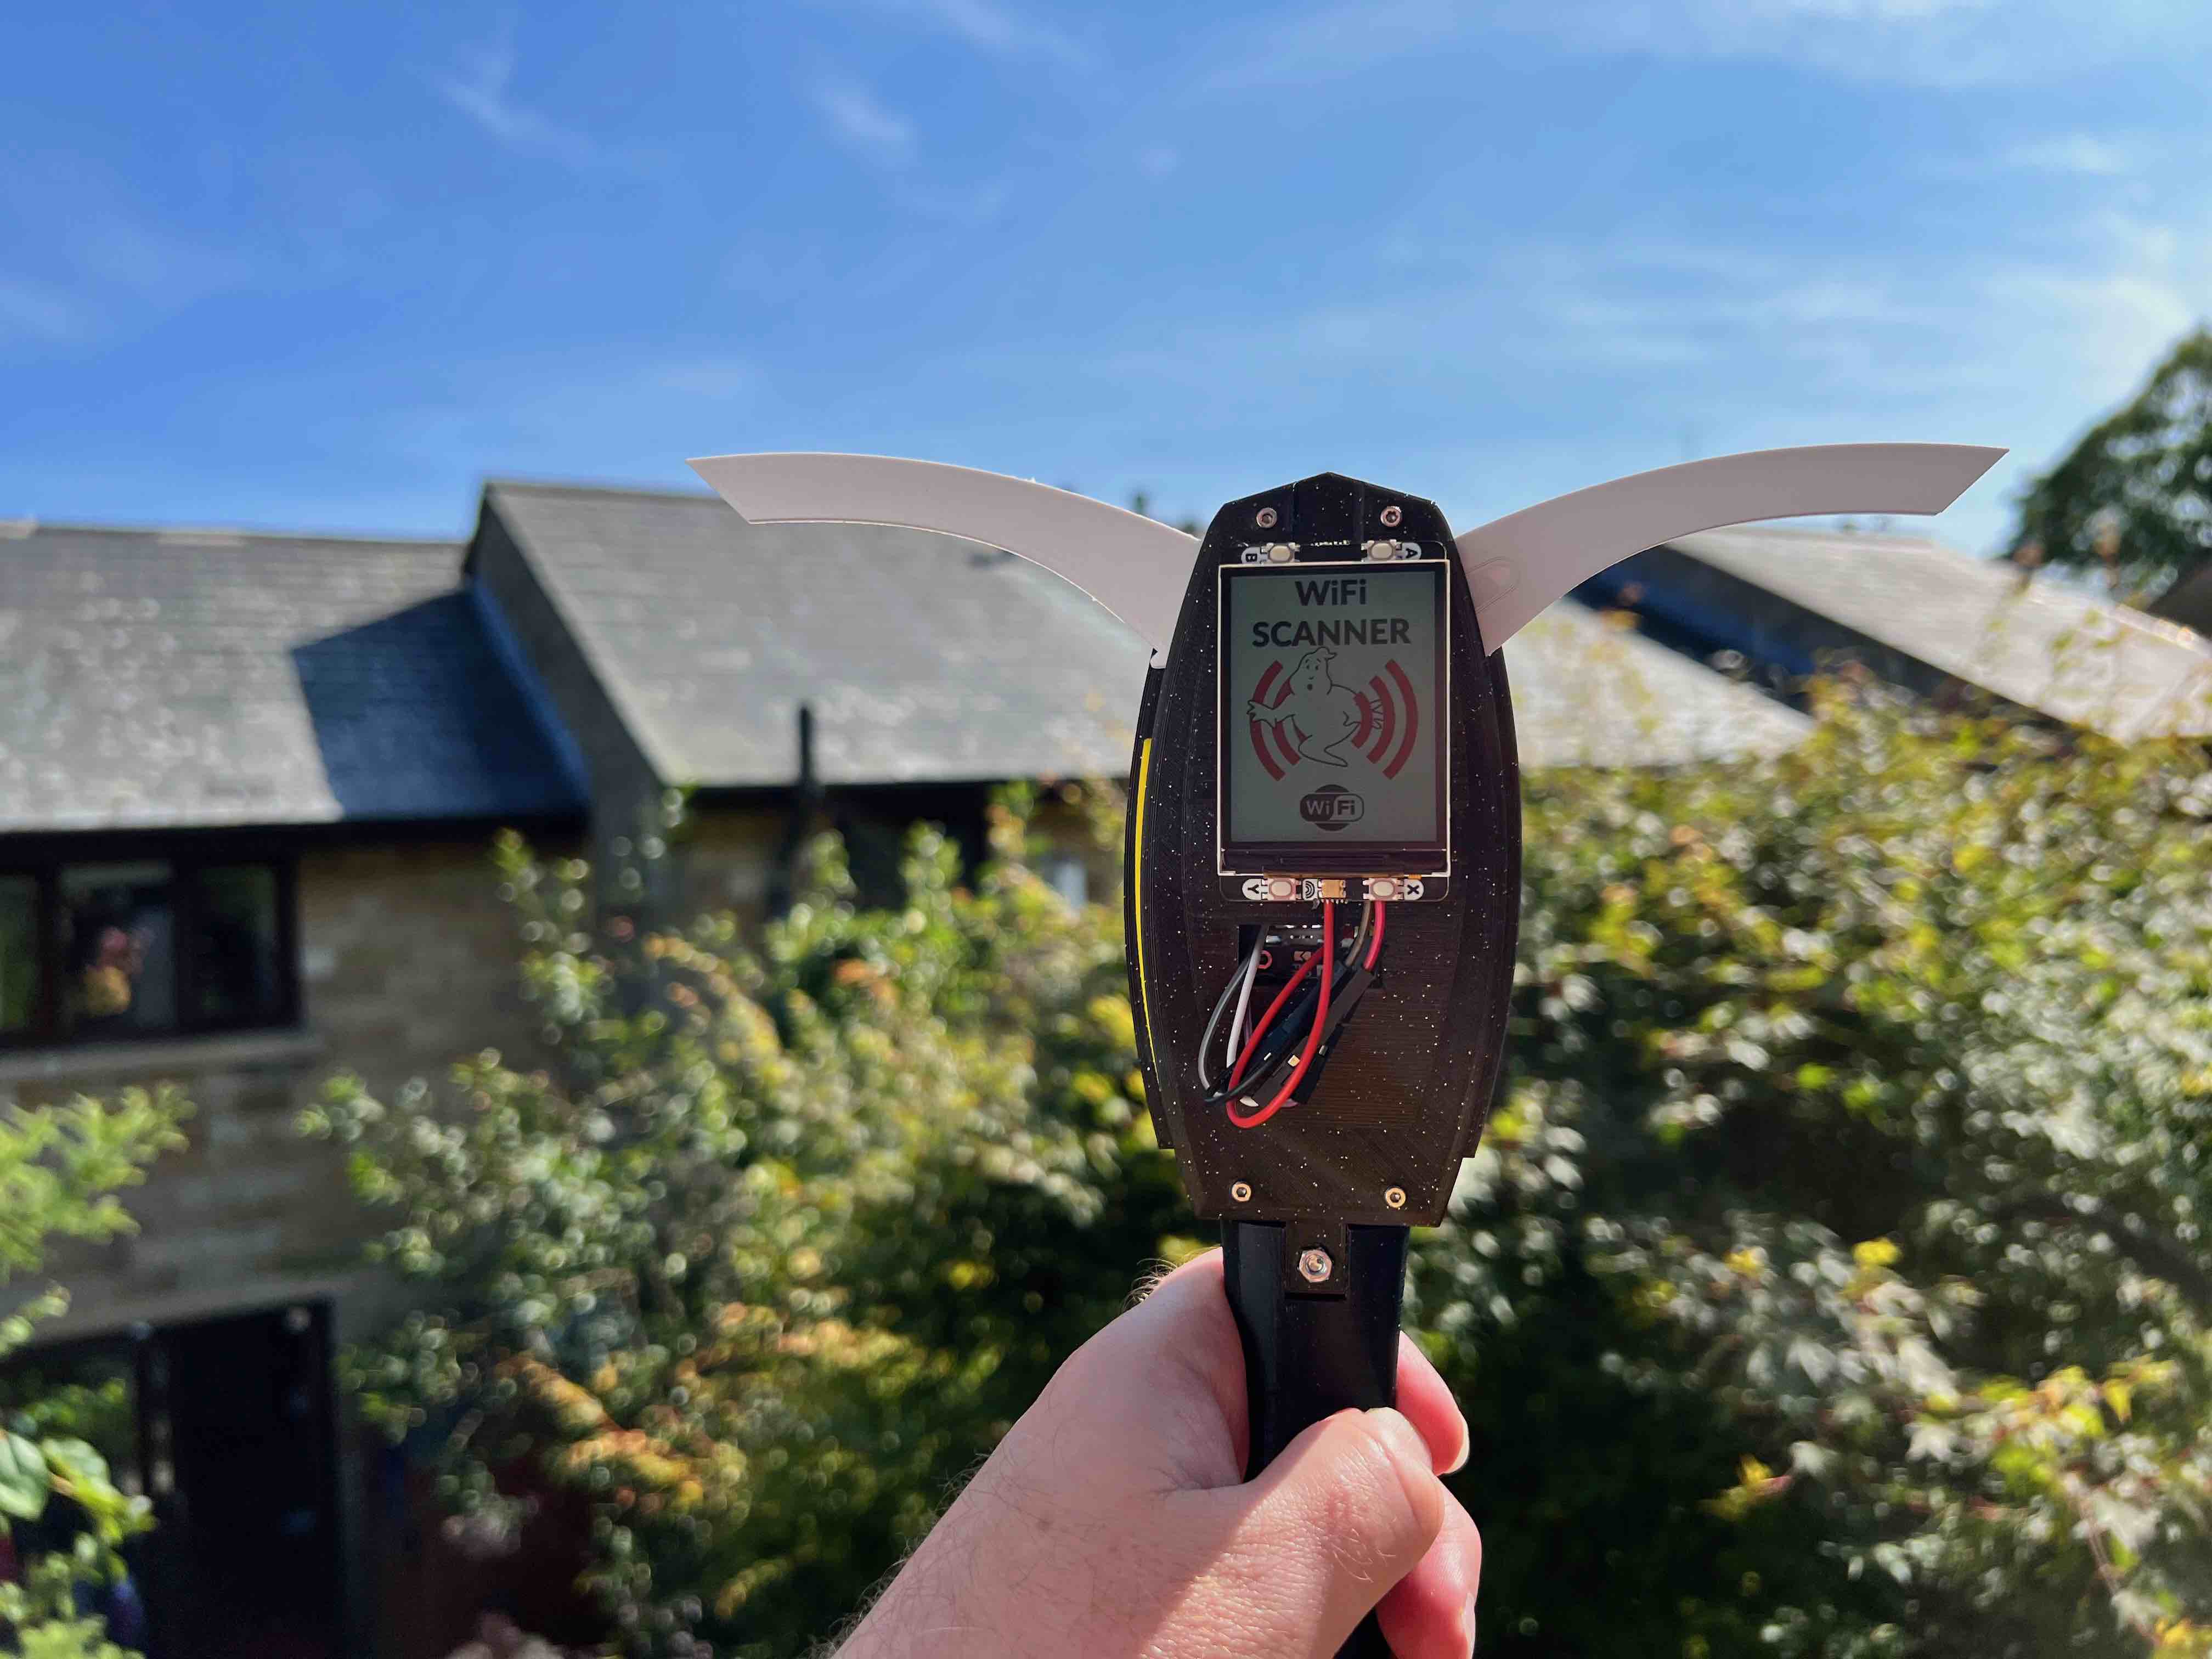
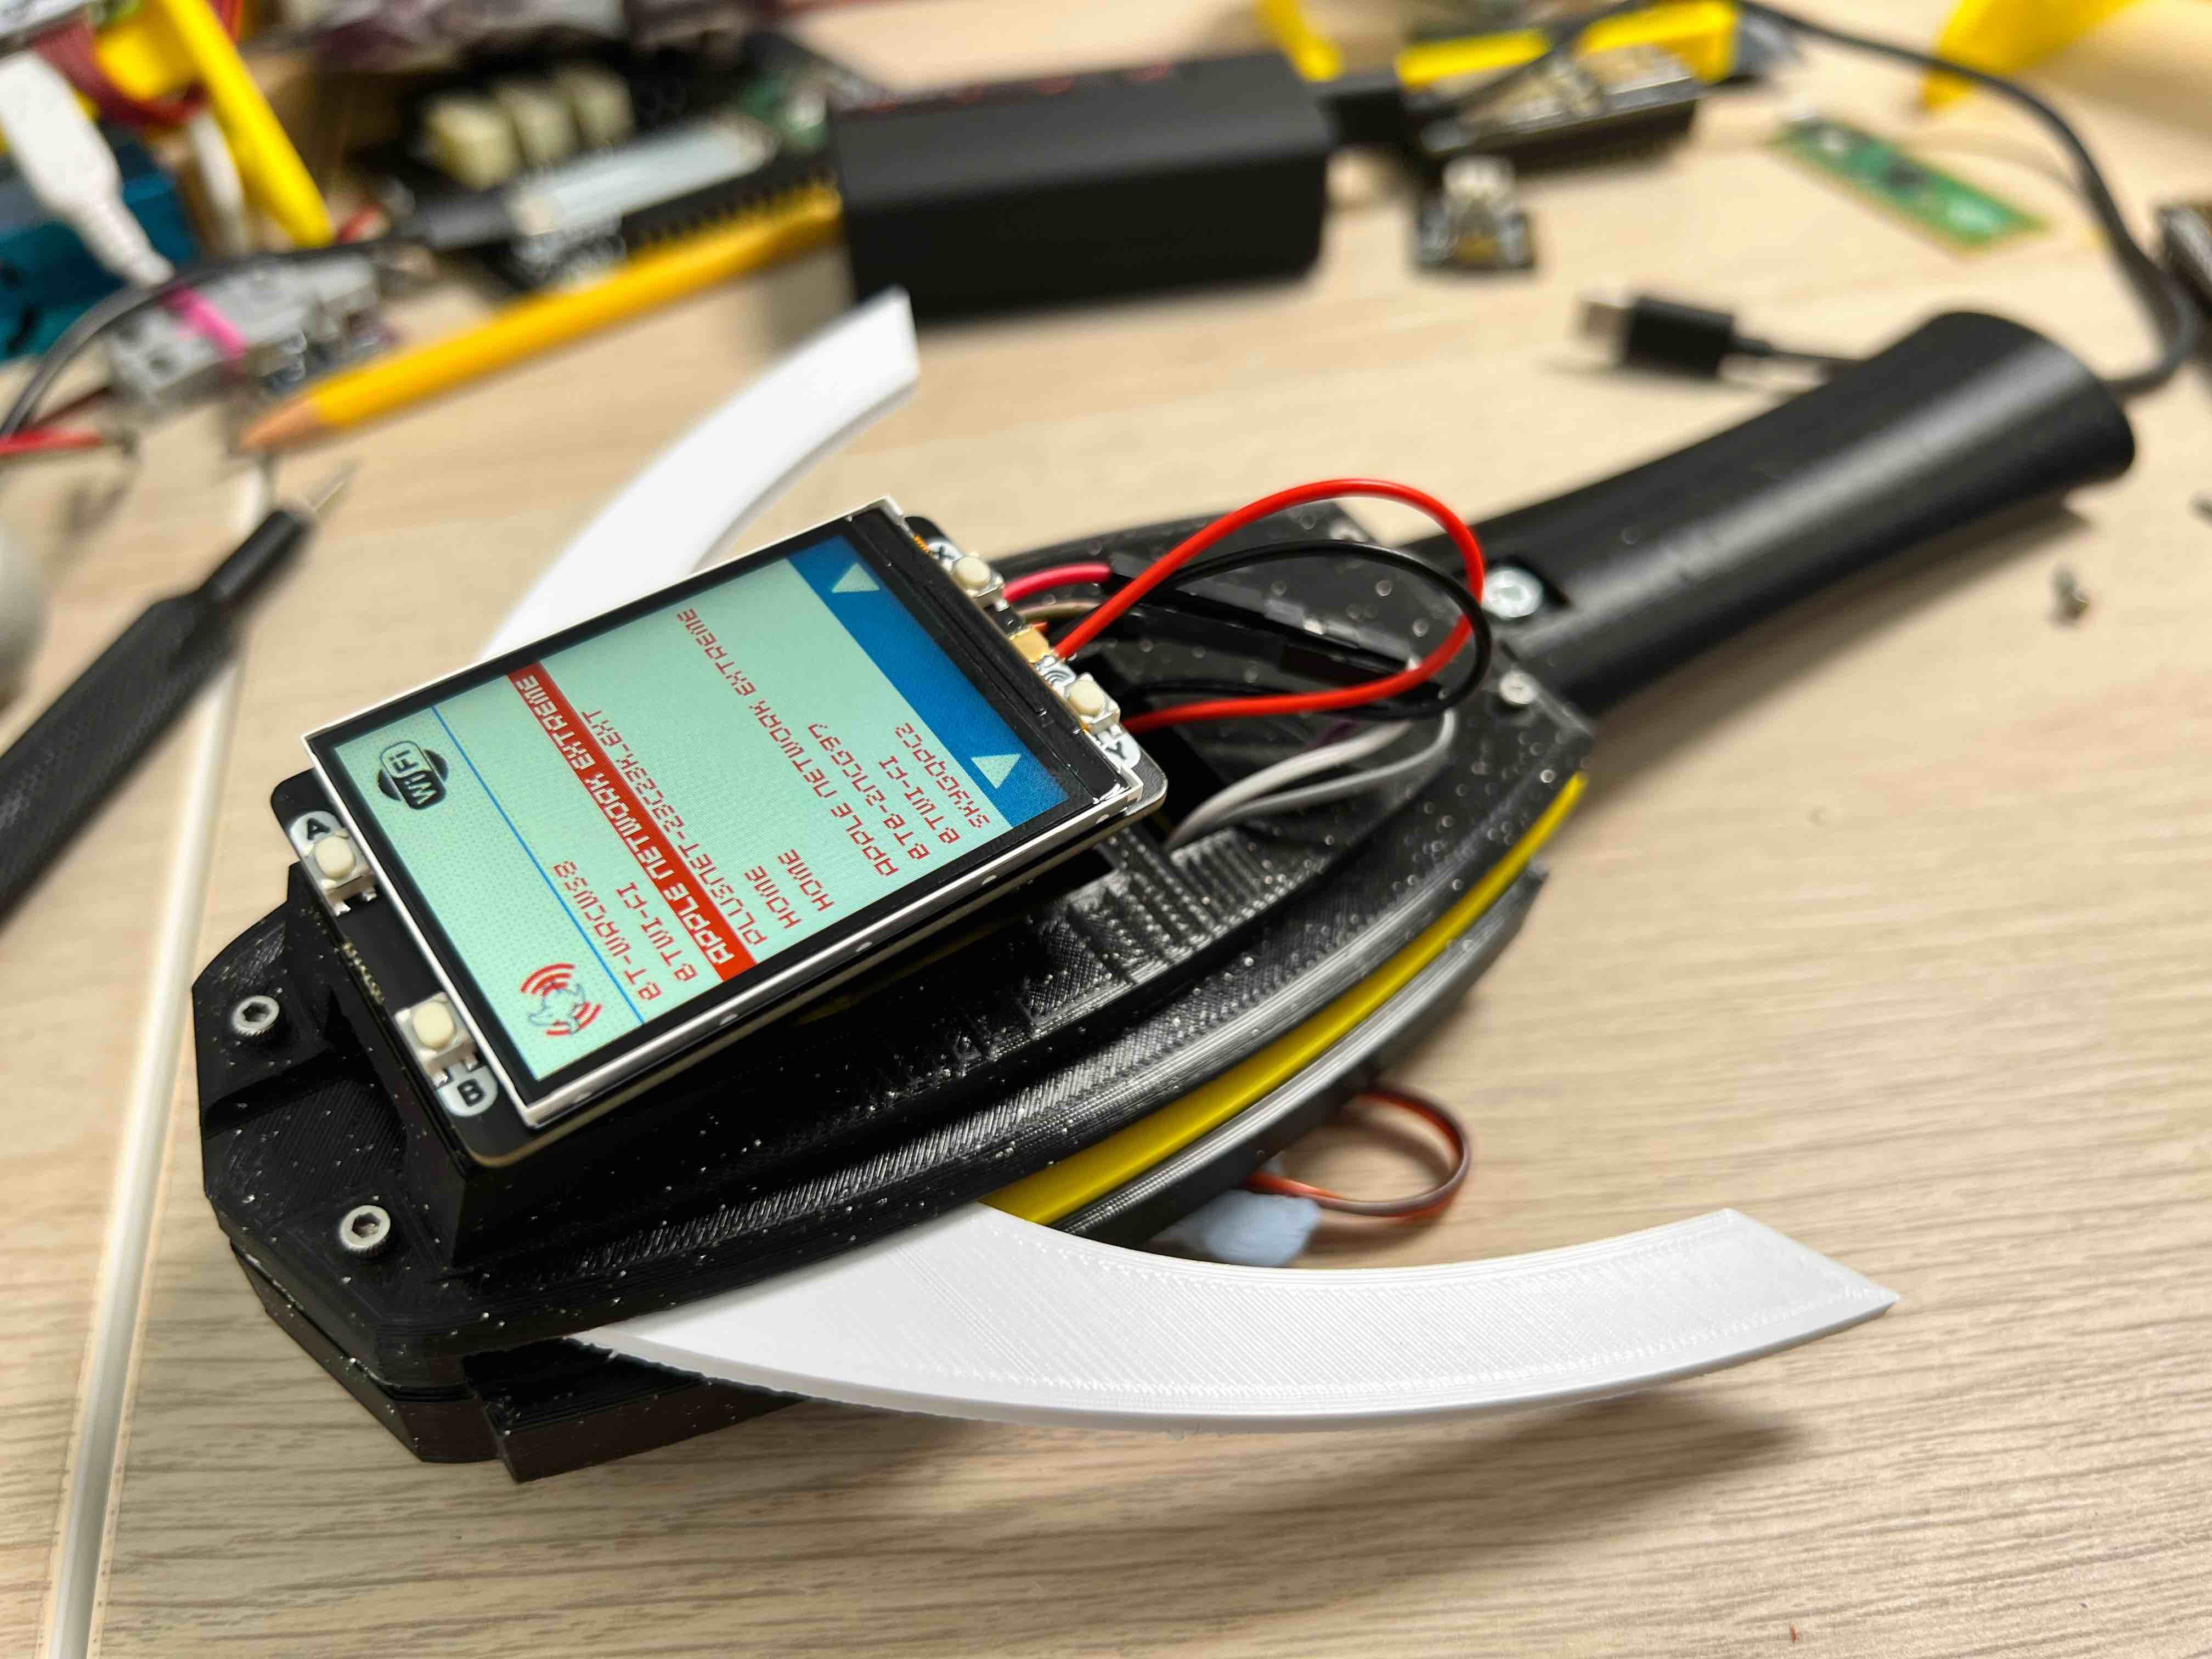
Build a fun Ghostbusters PKE style Wi-Fi scanner using a Raspberry Pi Pico, a couple of electronics and some 3d printed parts. The scanner will scan and display a list of all the local Wi-Fi hotspots, and change the position of the arms depending on the signal strength.
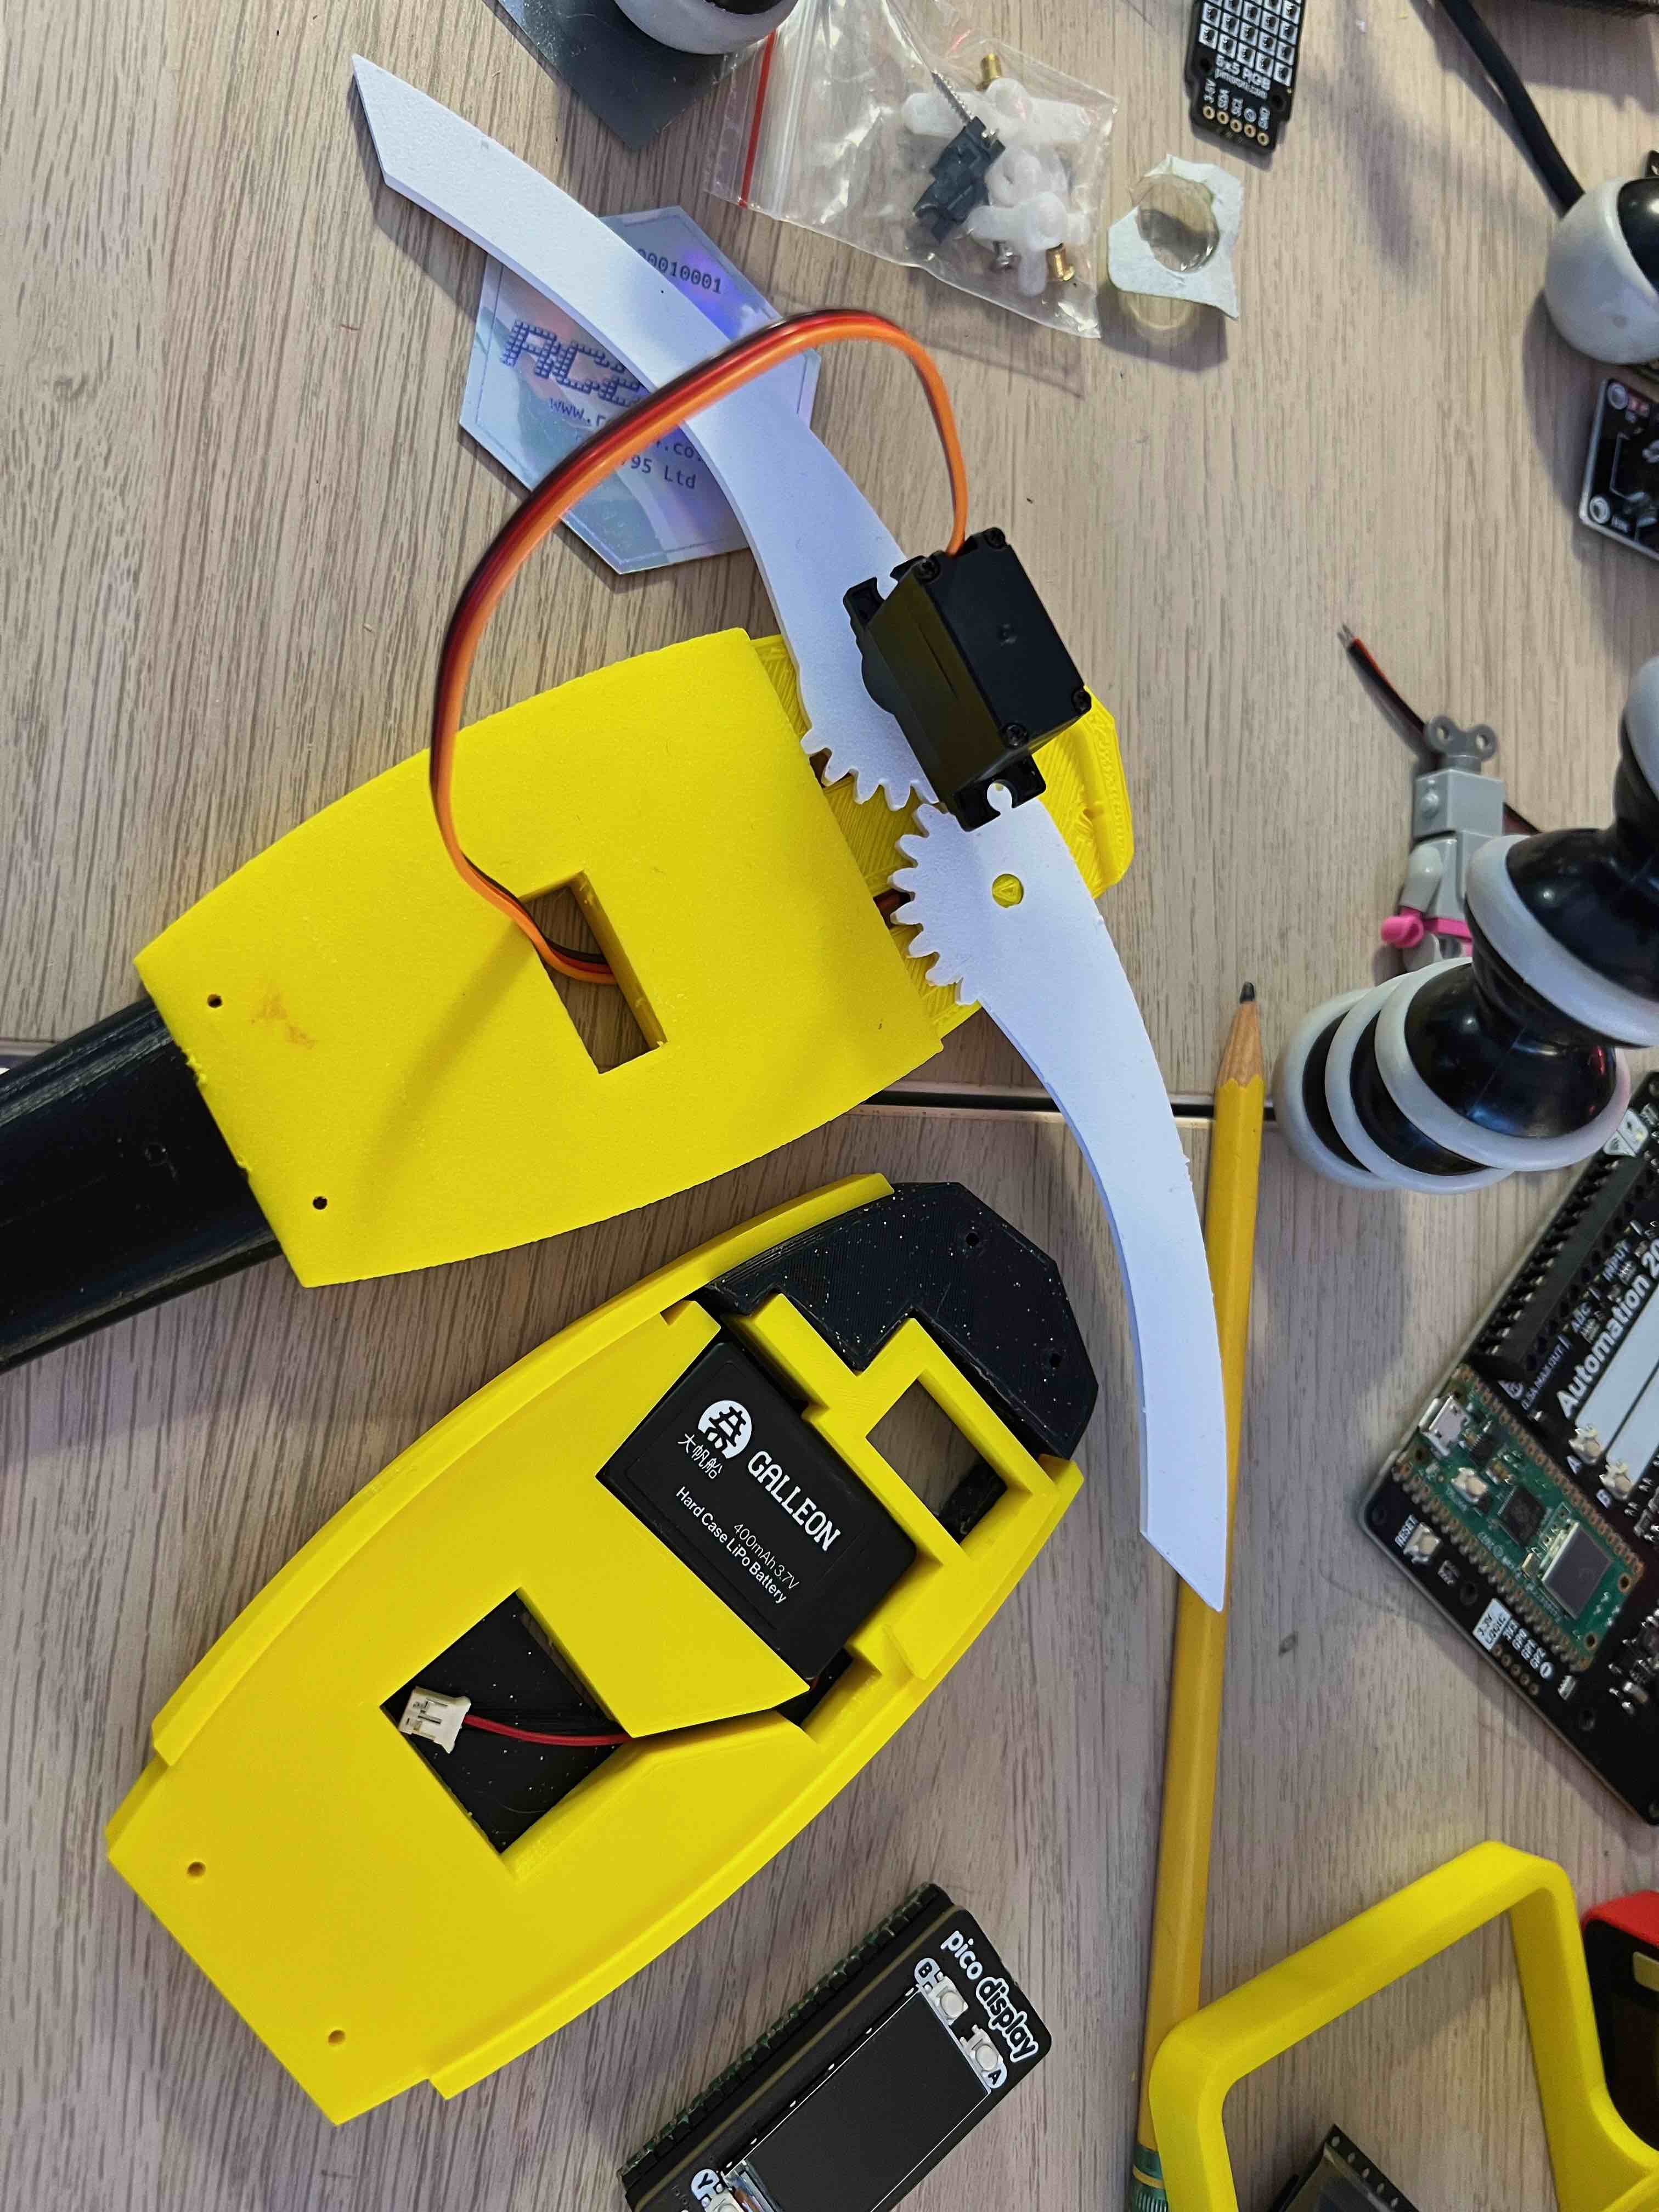
Bill of Materials
You will also need the following electronics:
| Item | Description | Qty | Price |
|---|---|---|---|
| Display Pack 2.0 | Pimoroni Display Pack for Pico | 1 | £18.90 |
| Pico W | Raspberry Pi Pico / Pico W | 1 | £6.30 |
| DS-929MG Digital Servo | DS-959MG Servo | 1 | £9.60 |
| Pico Proto | Pico Proto board | 1 | £2.10 |
| 4x M2 screws | 2M 8mm screws | 4 | £1.00 |
| 4x 2M 12mm screws | 4x 2M 12mm screws | 4 | £1.00 |
| 1x M2.5 screw and nut | M3 nut and bolt | 1 | £0.25 |
| 3 male Dupont cables | To connect the servo to the protoboard | 1 | £0.30 |
| Galleon Battery | Pimoroni 400mAh LiPo Battery | 1 | £7.50 |
| LiPo Amigo Pro | Amigo Pro LiPo battery charger | 1 | £8.40 |
| JST-PH cable | To connect the Pico Proto board to the LiPo Amigo Pro | 1 | £0.50 |
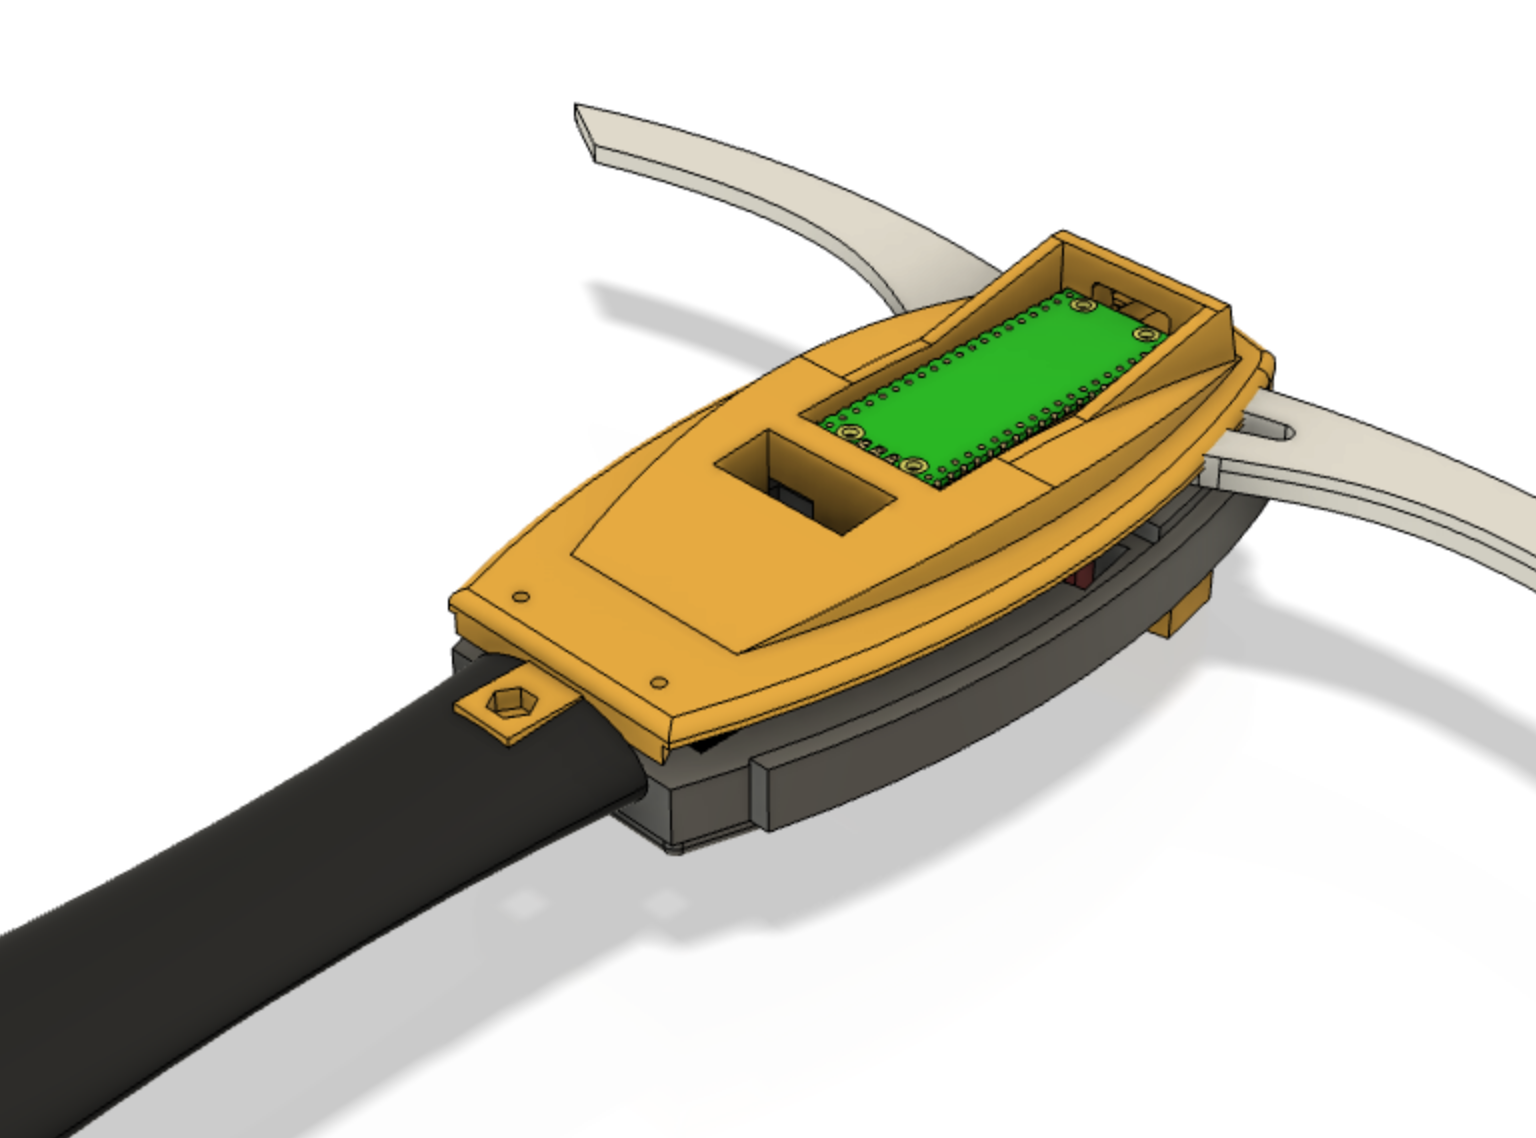
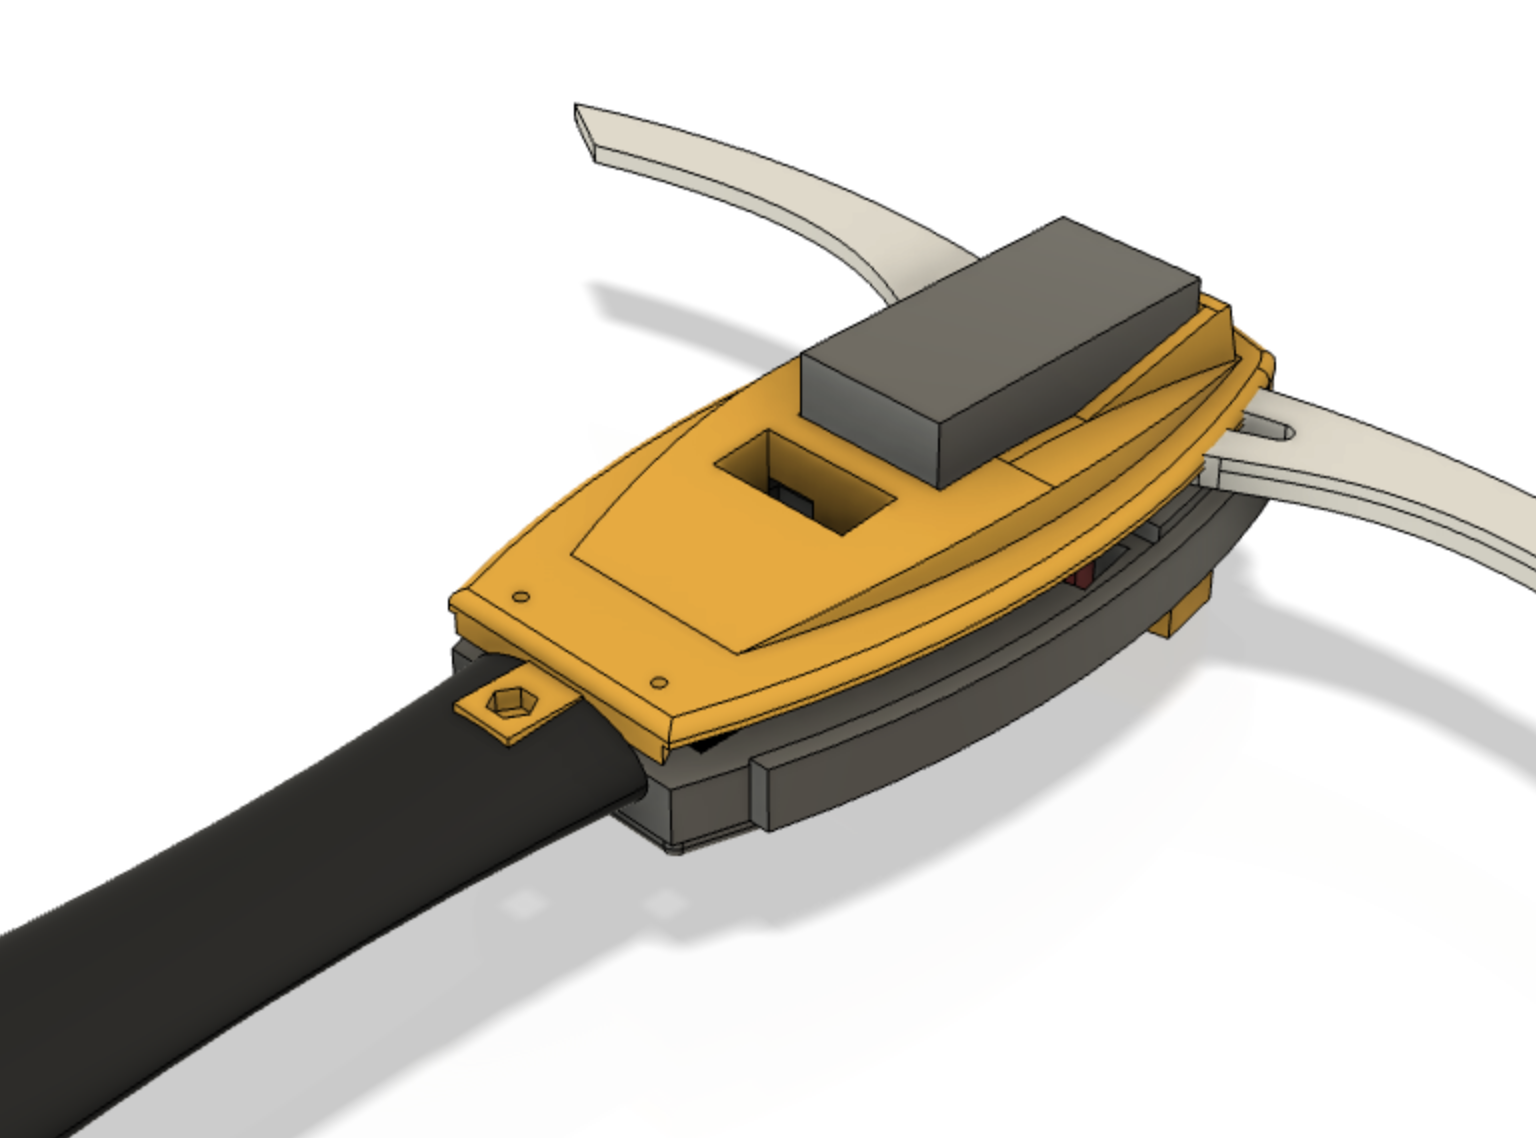
3d Design
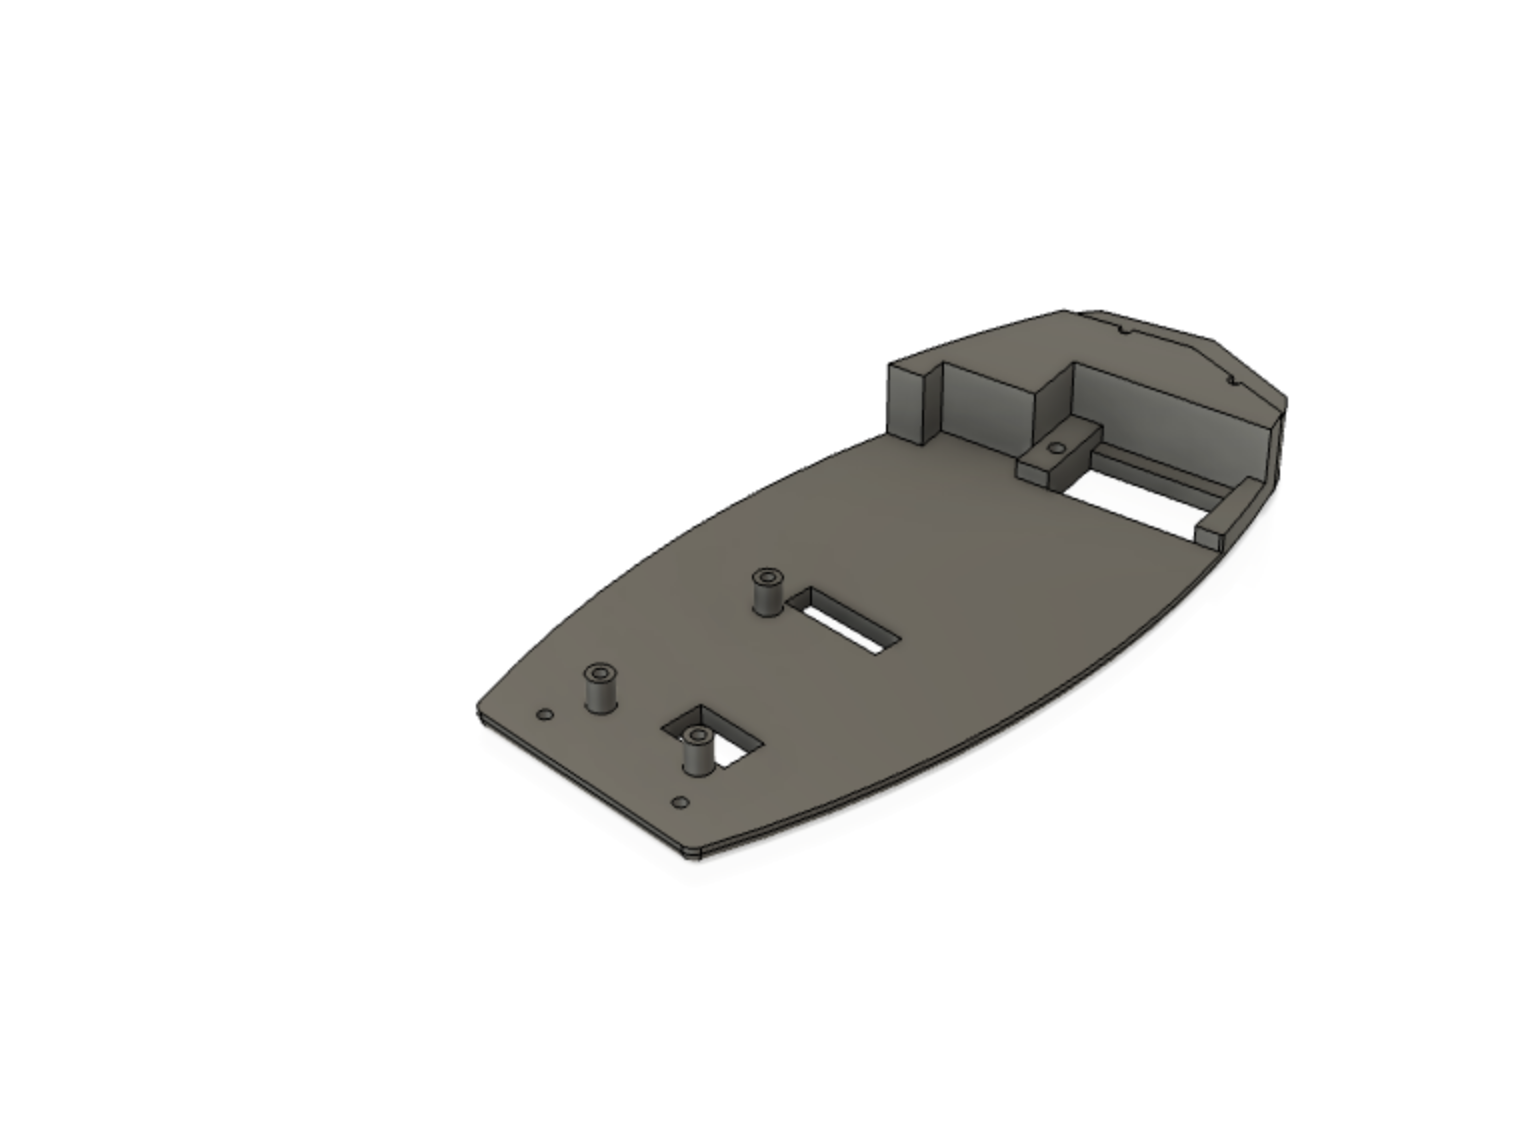
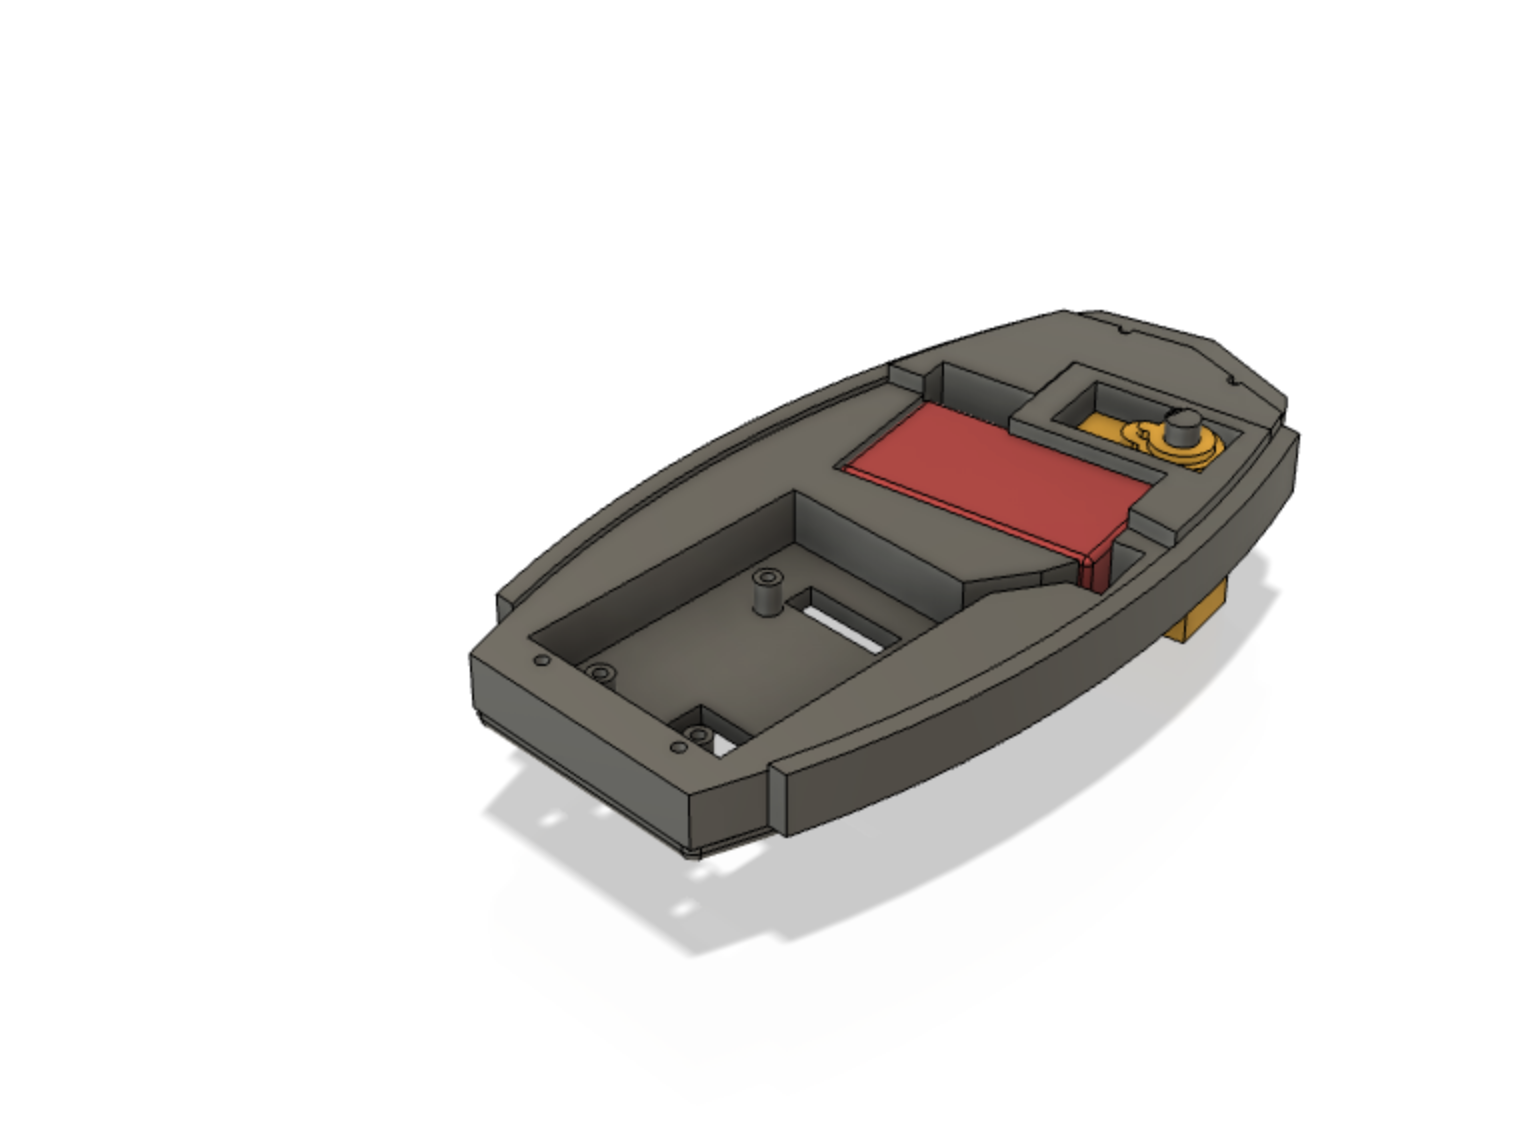
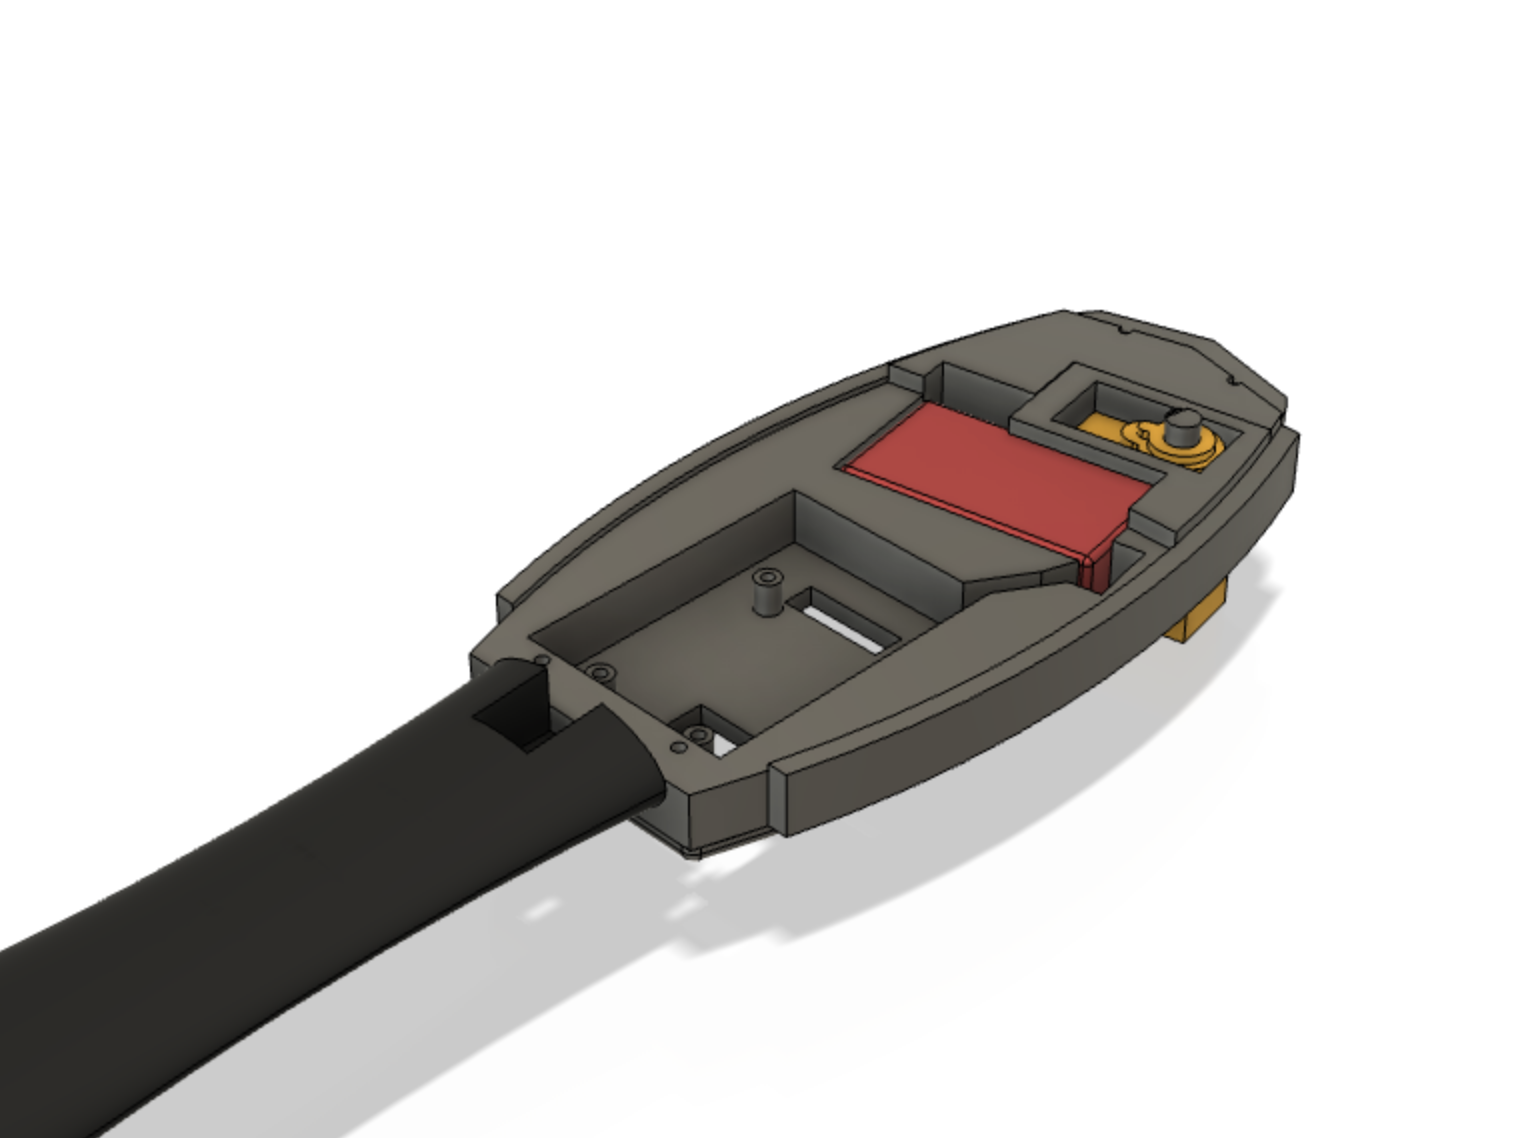
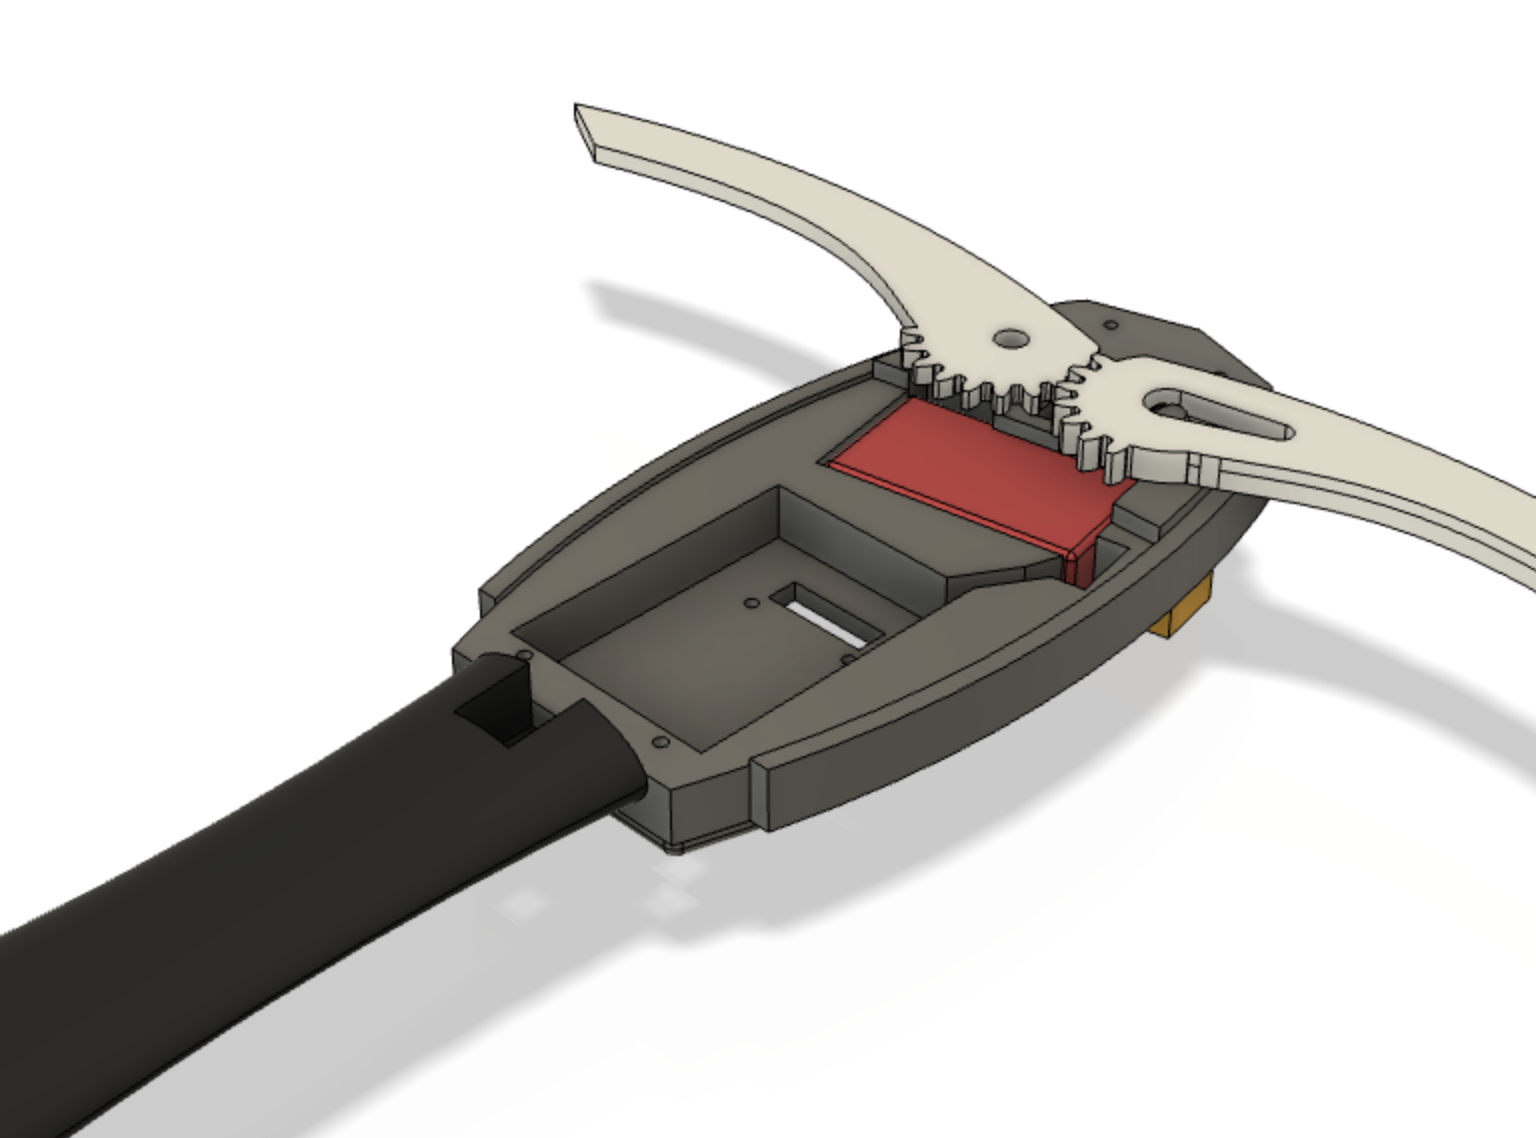
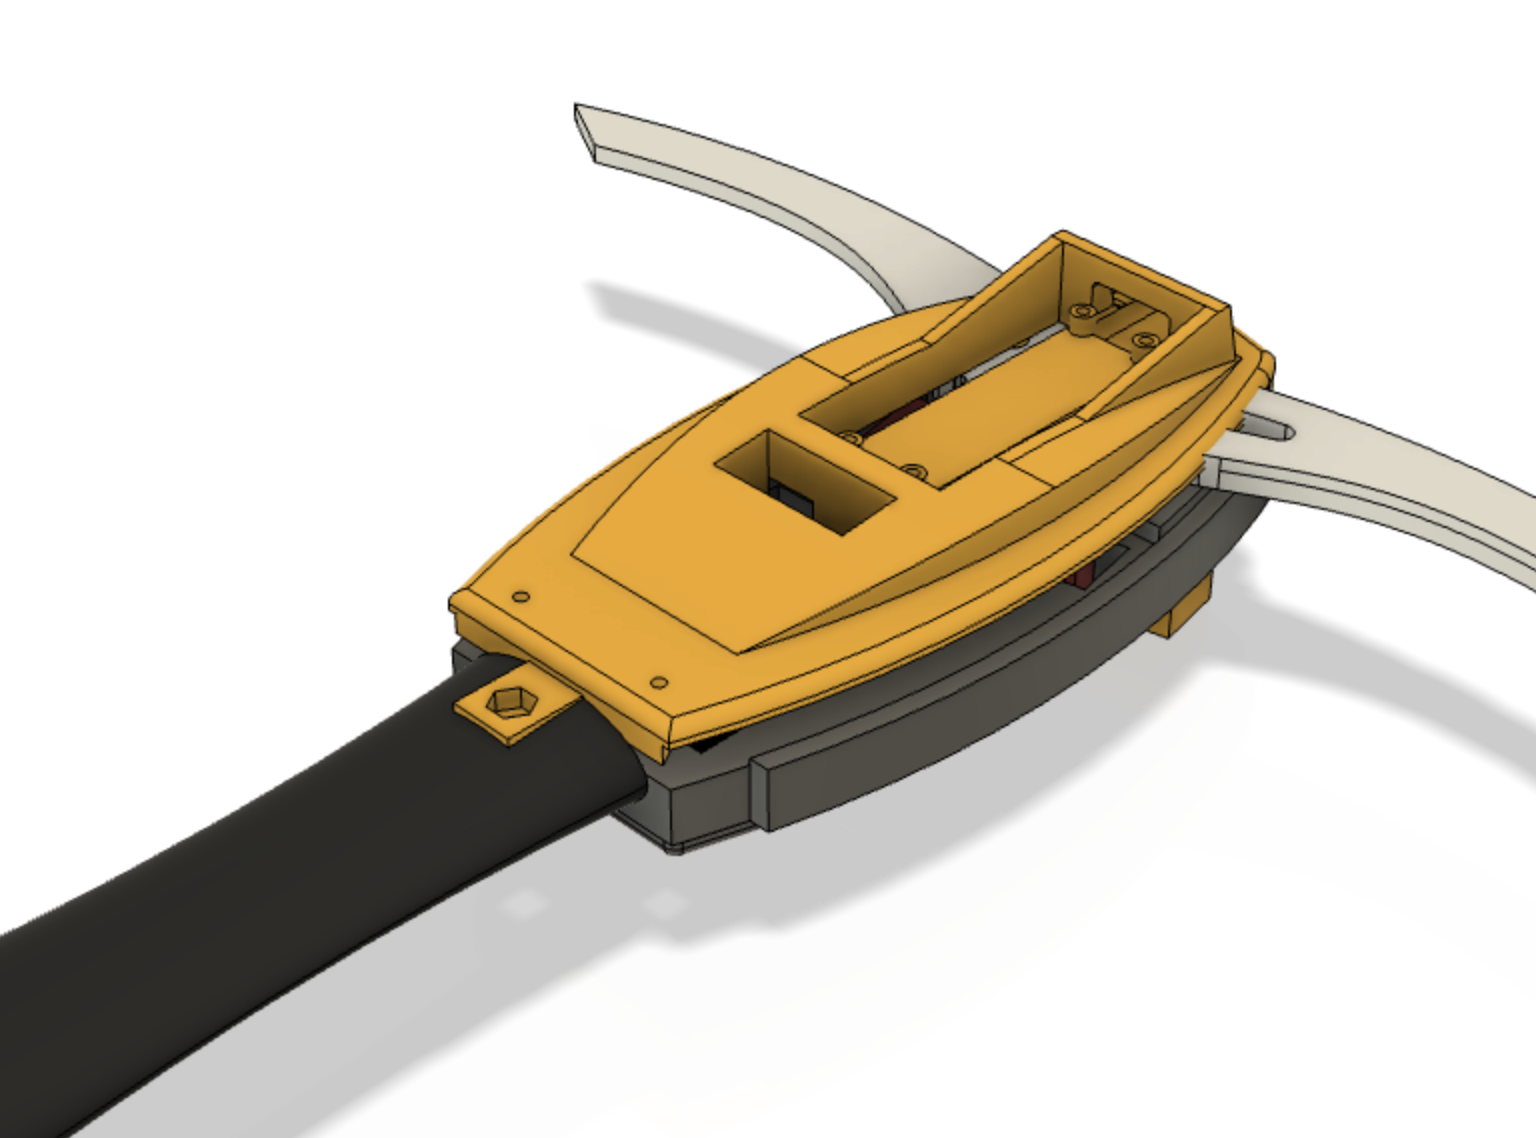
The Scanner is made up of several components:
- Back
- Left Arm
- Right Arm
- Middle section
- Back Layer
- Handle
- Top
Construction
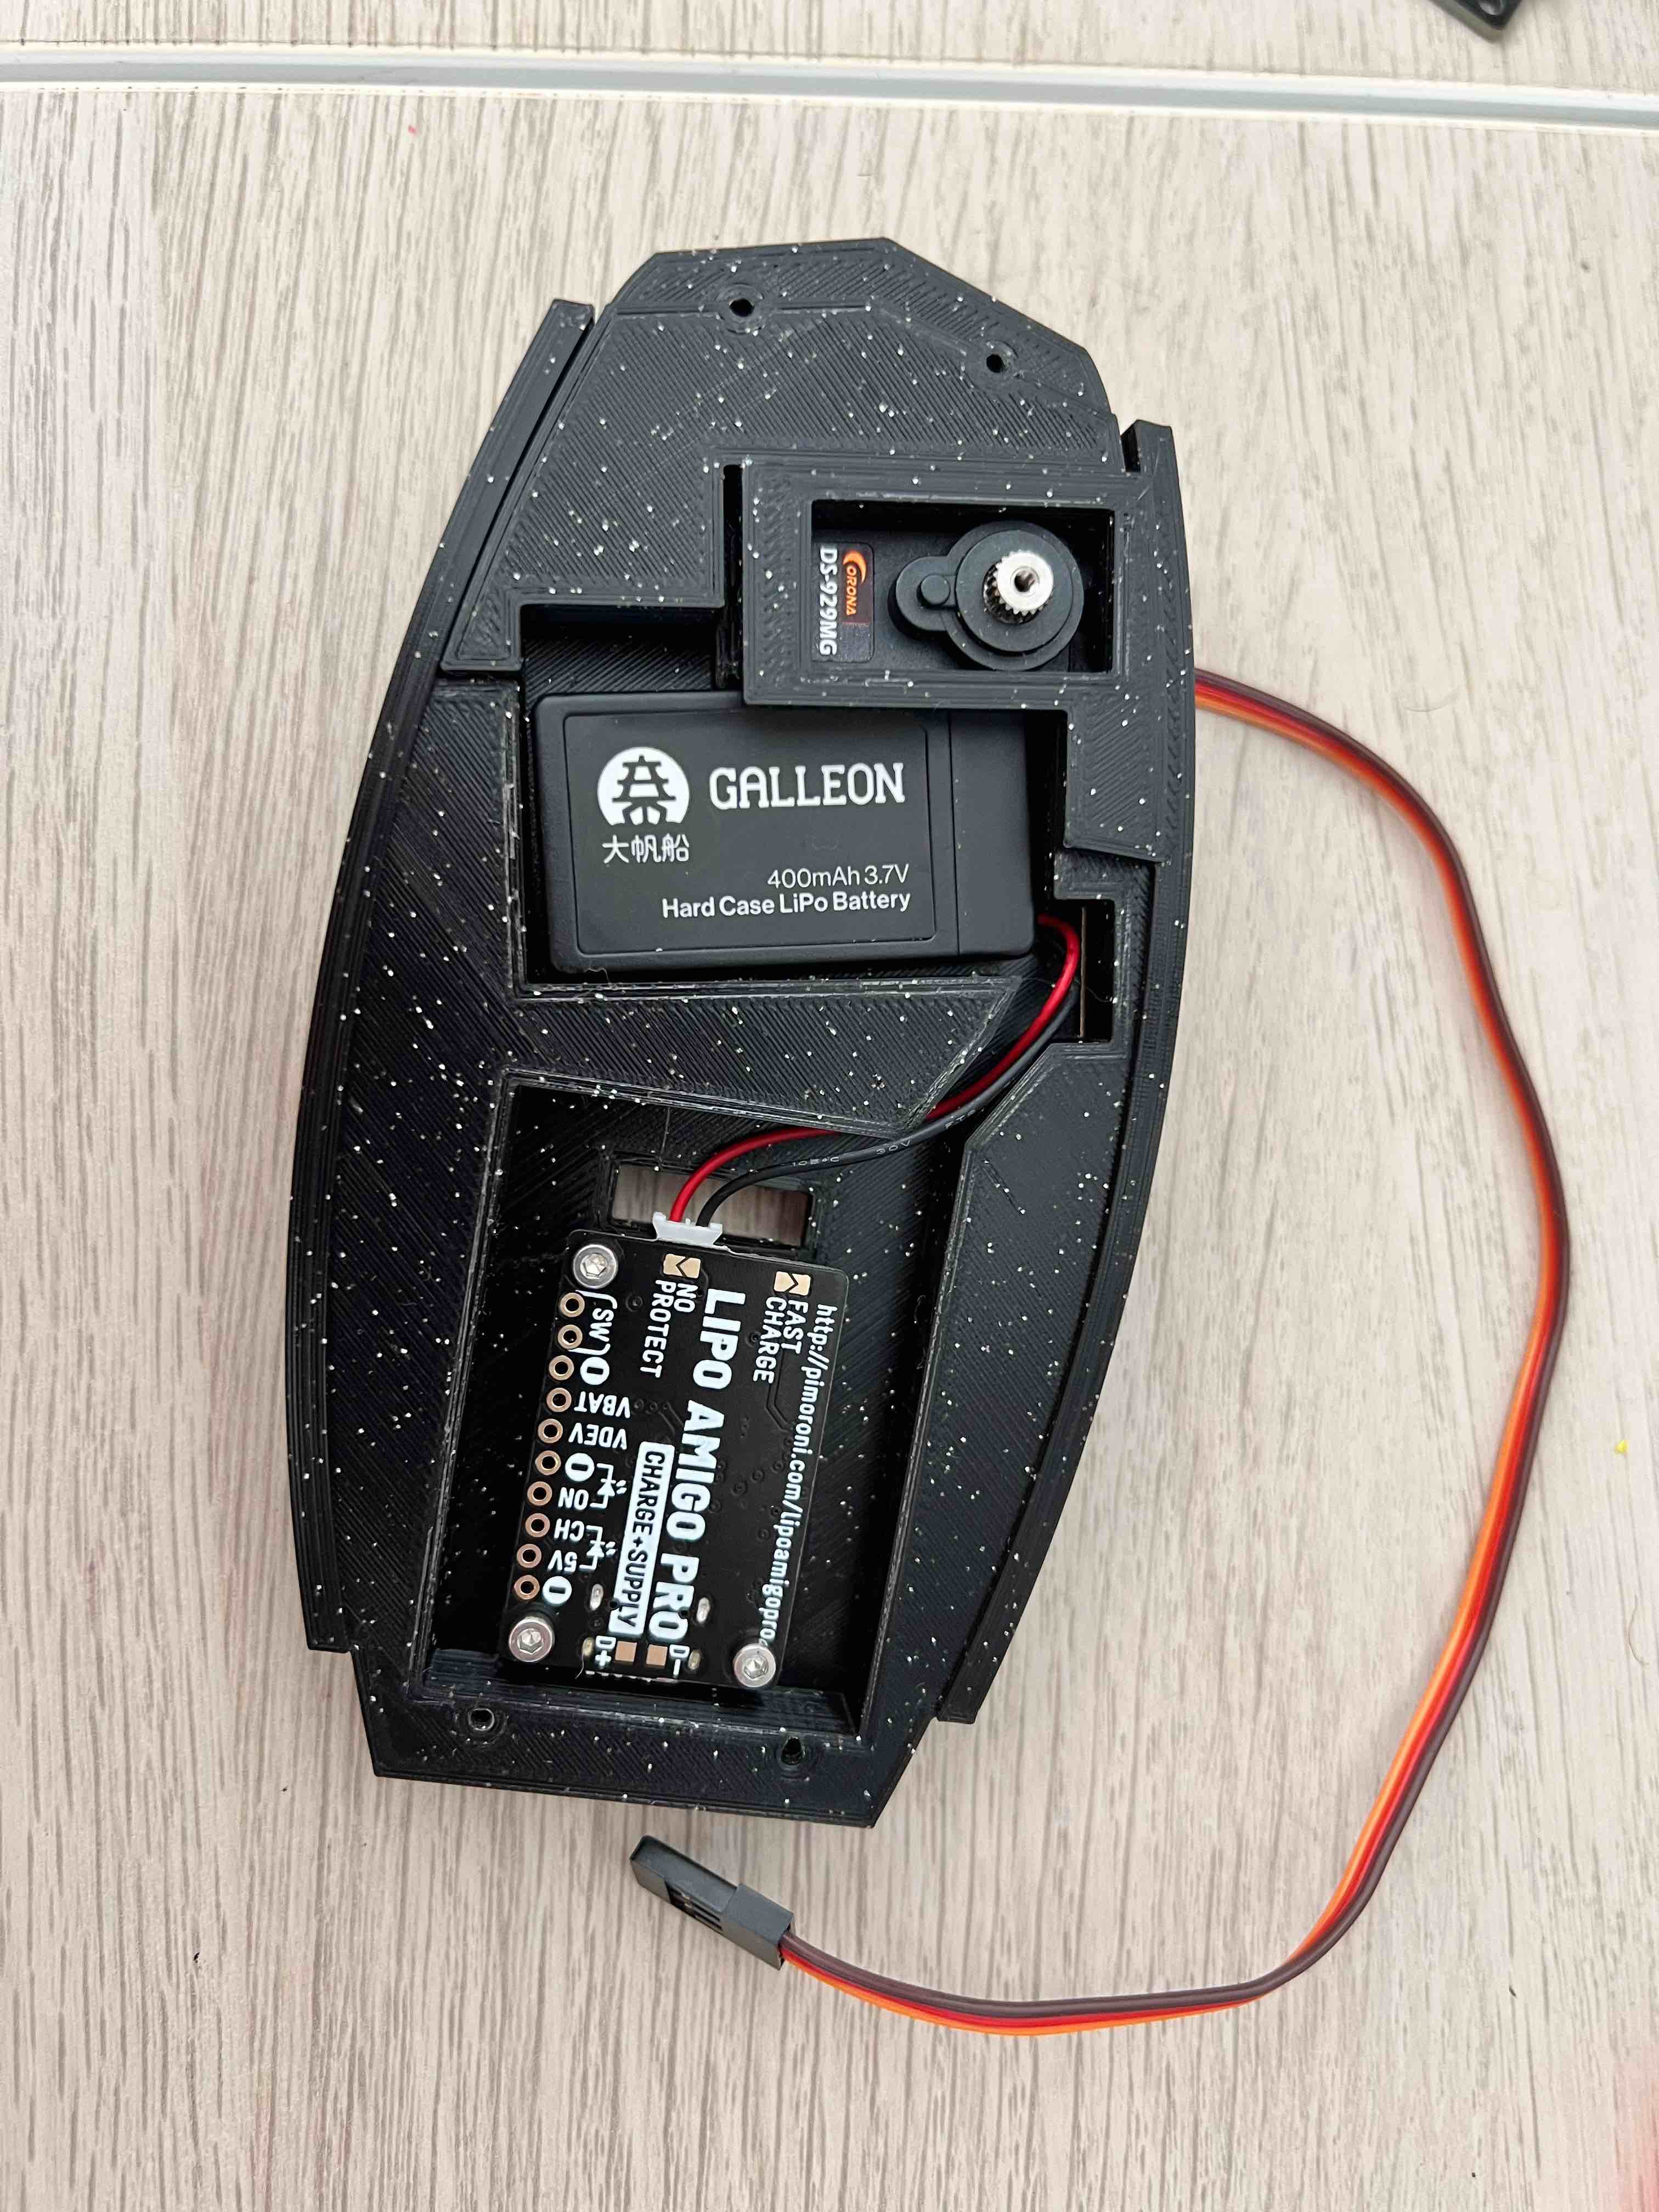
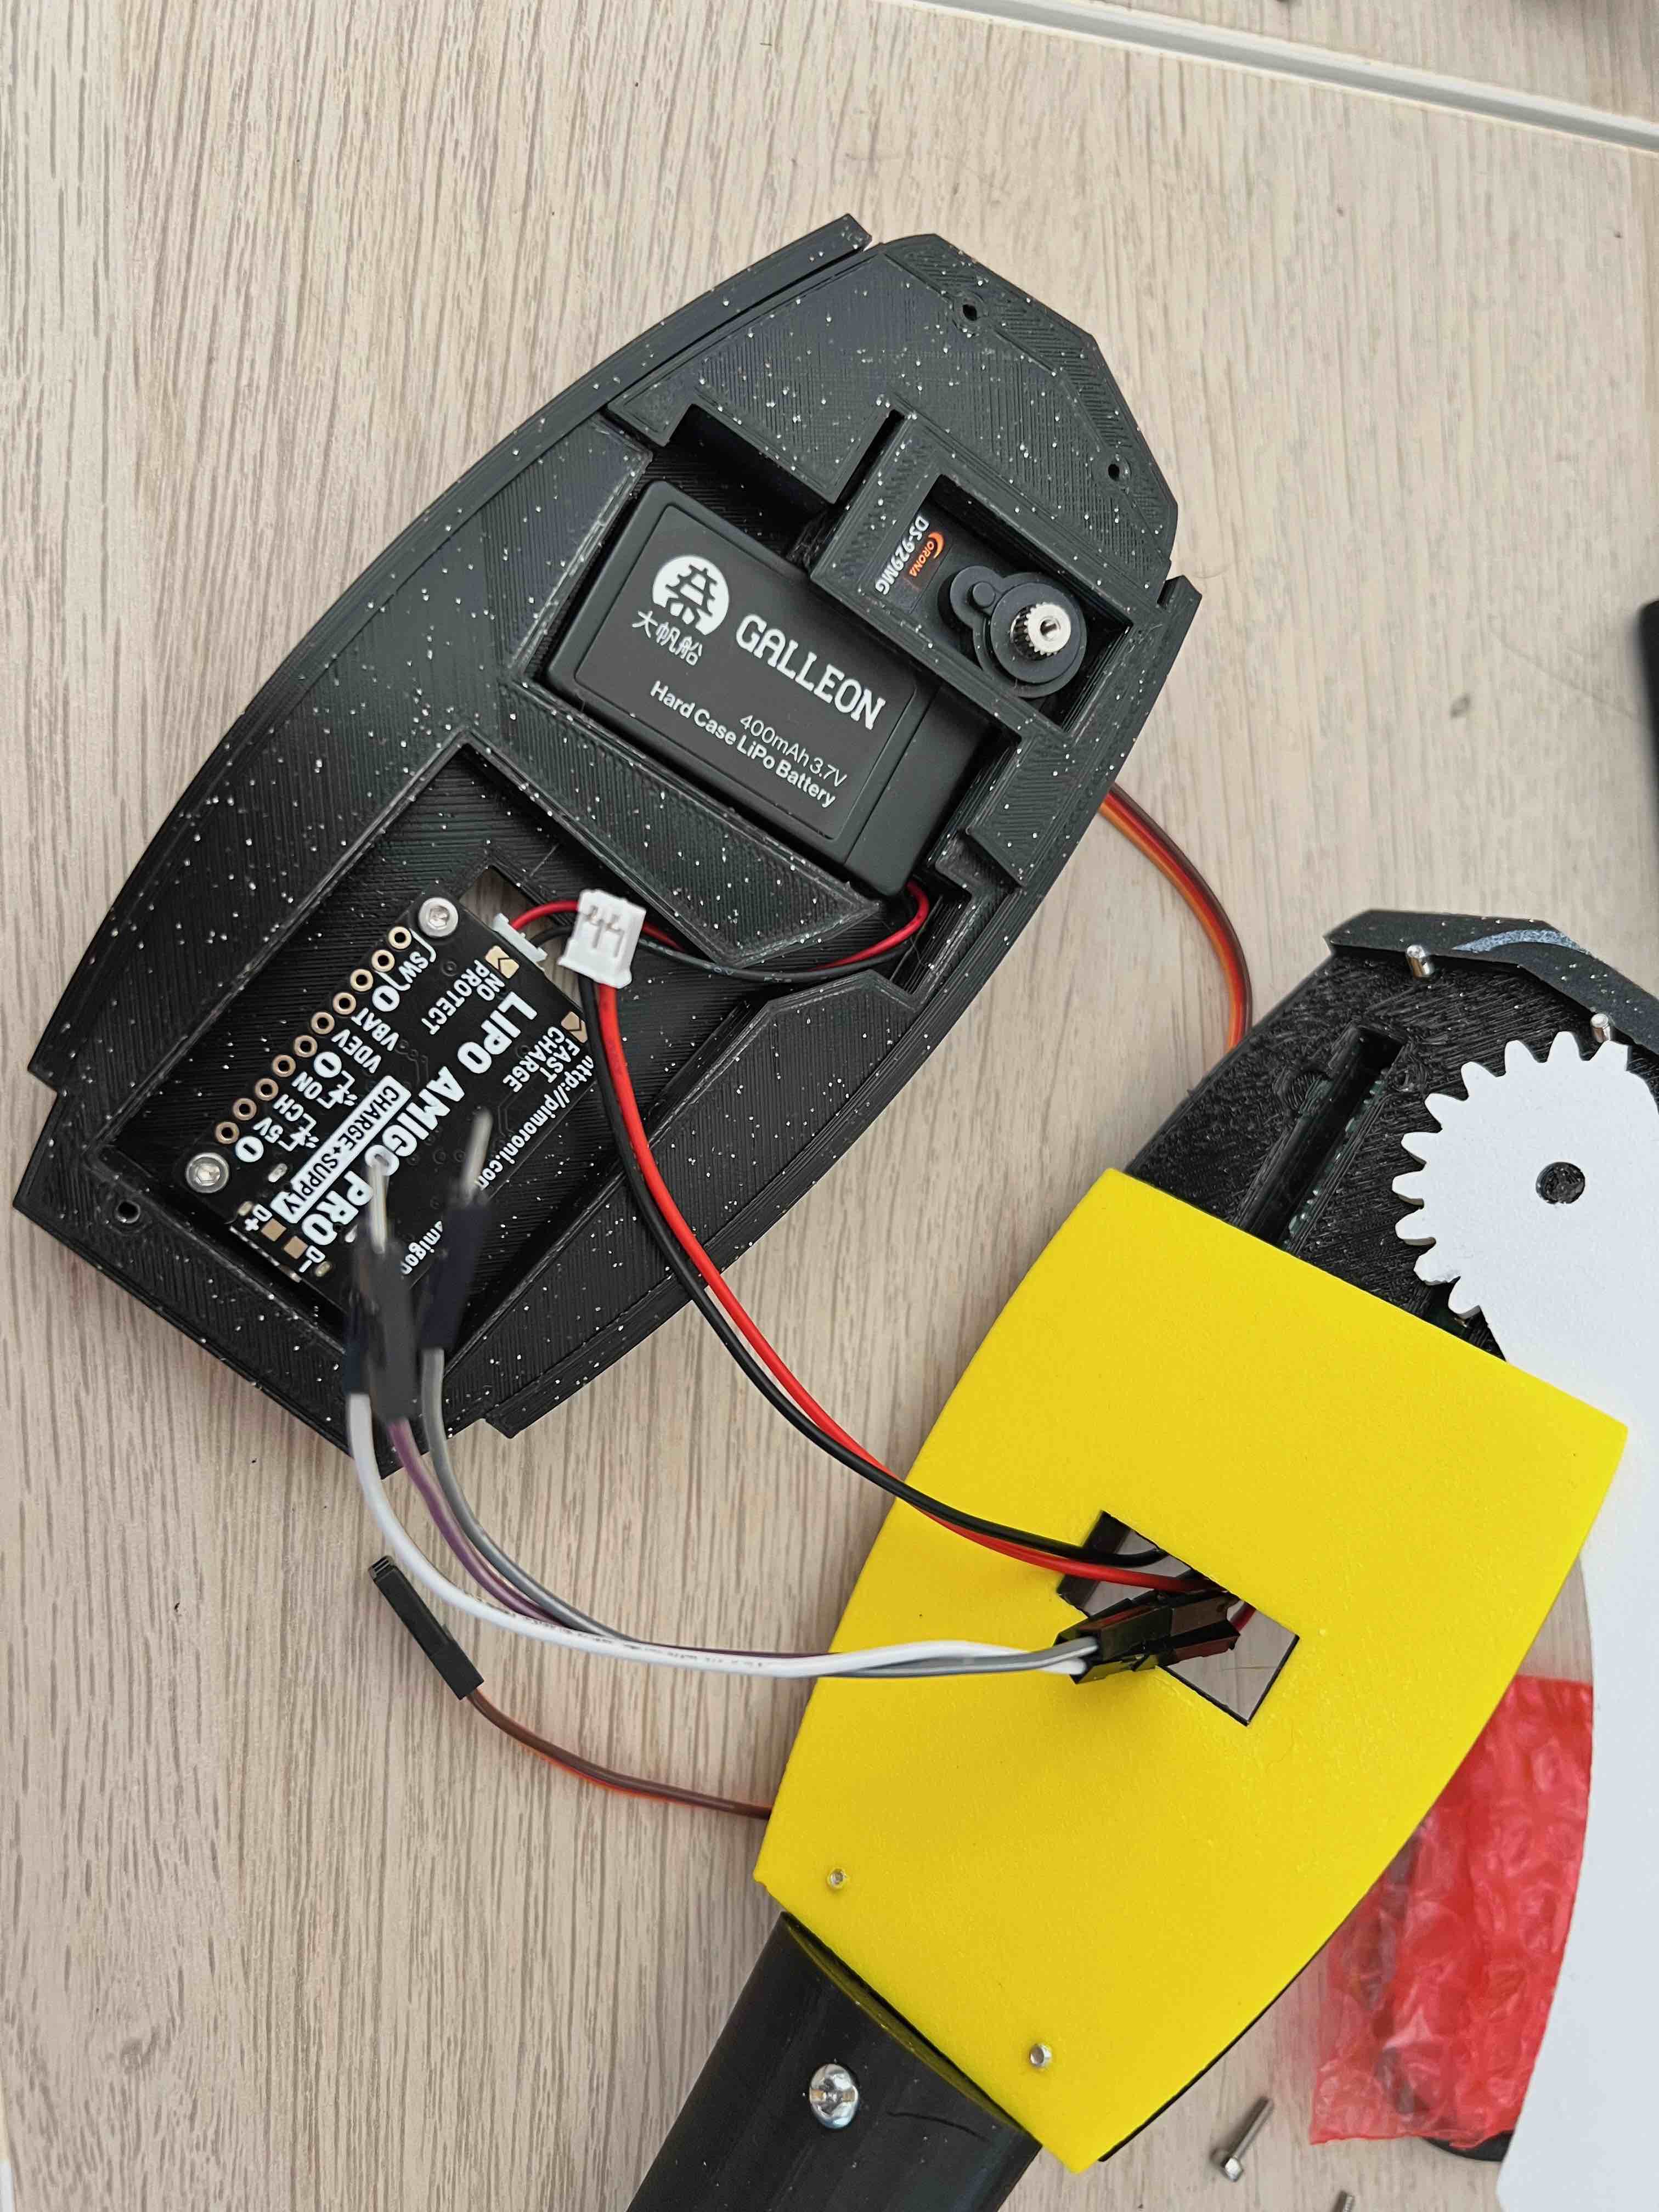
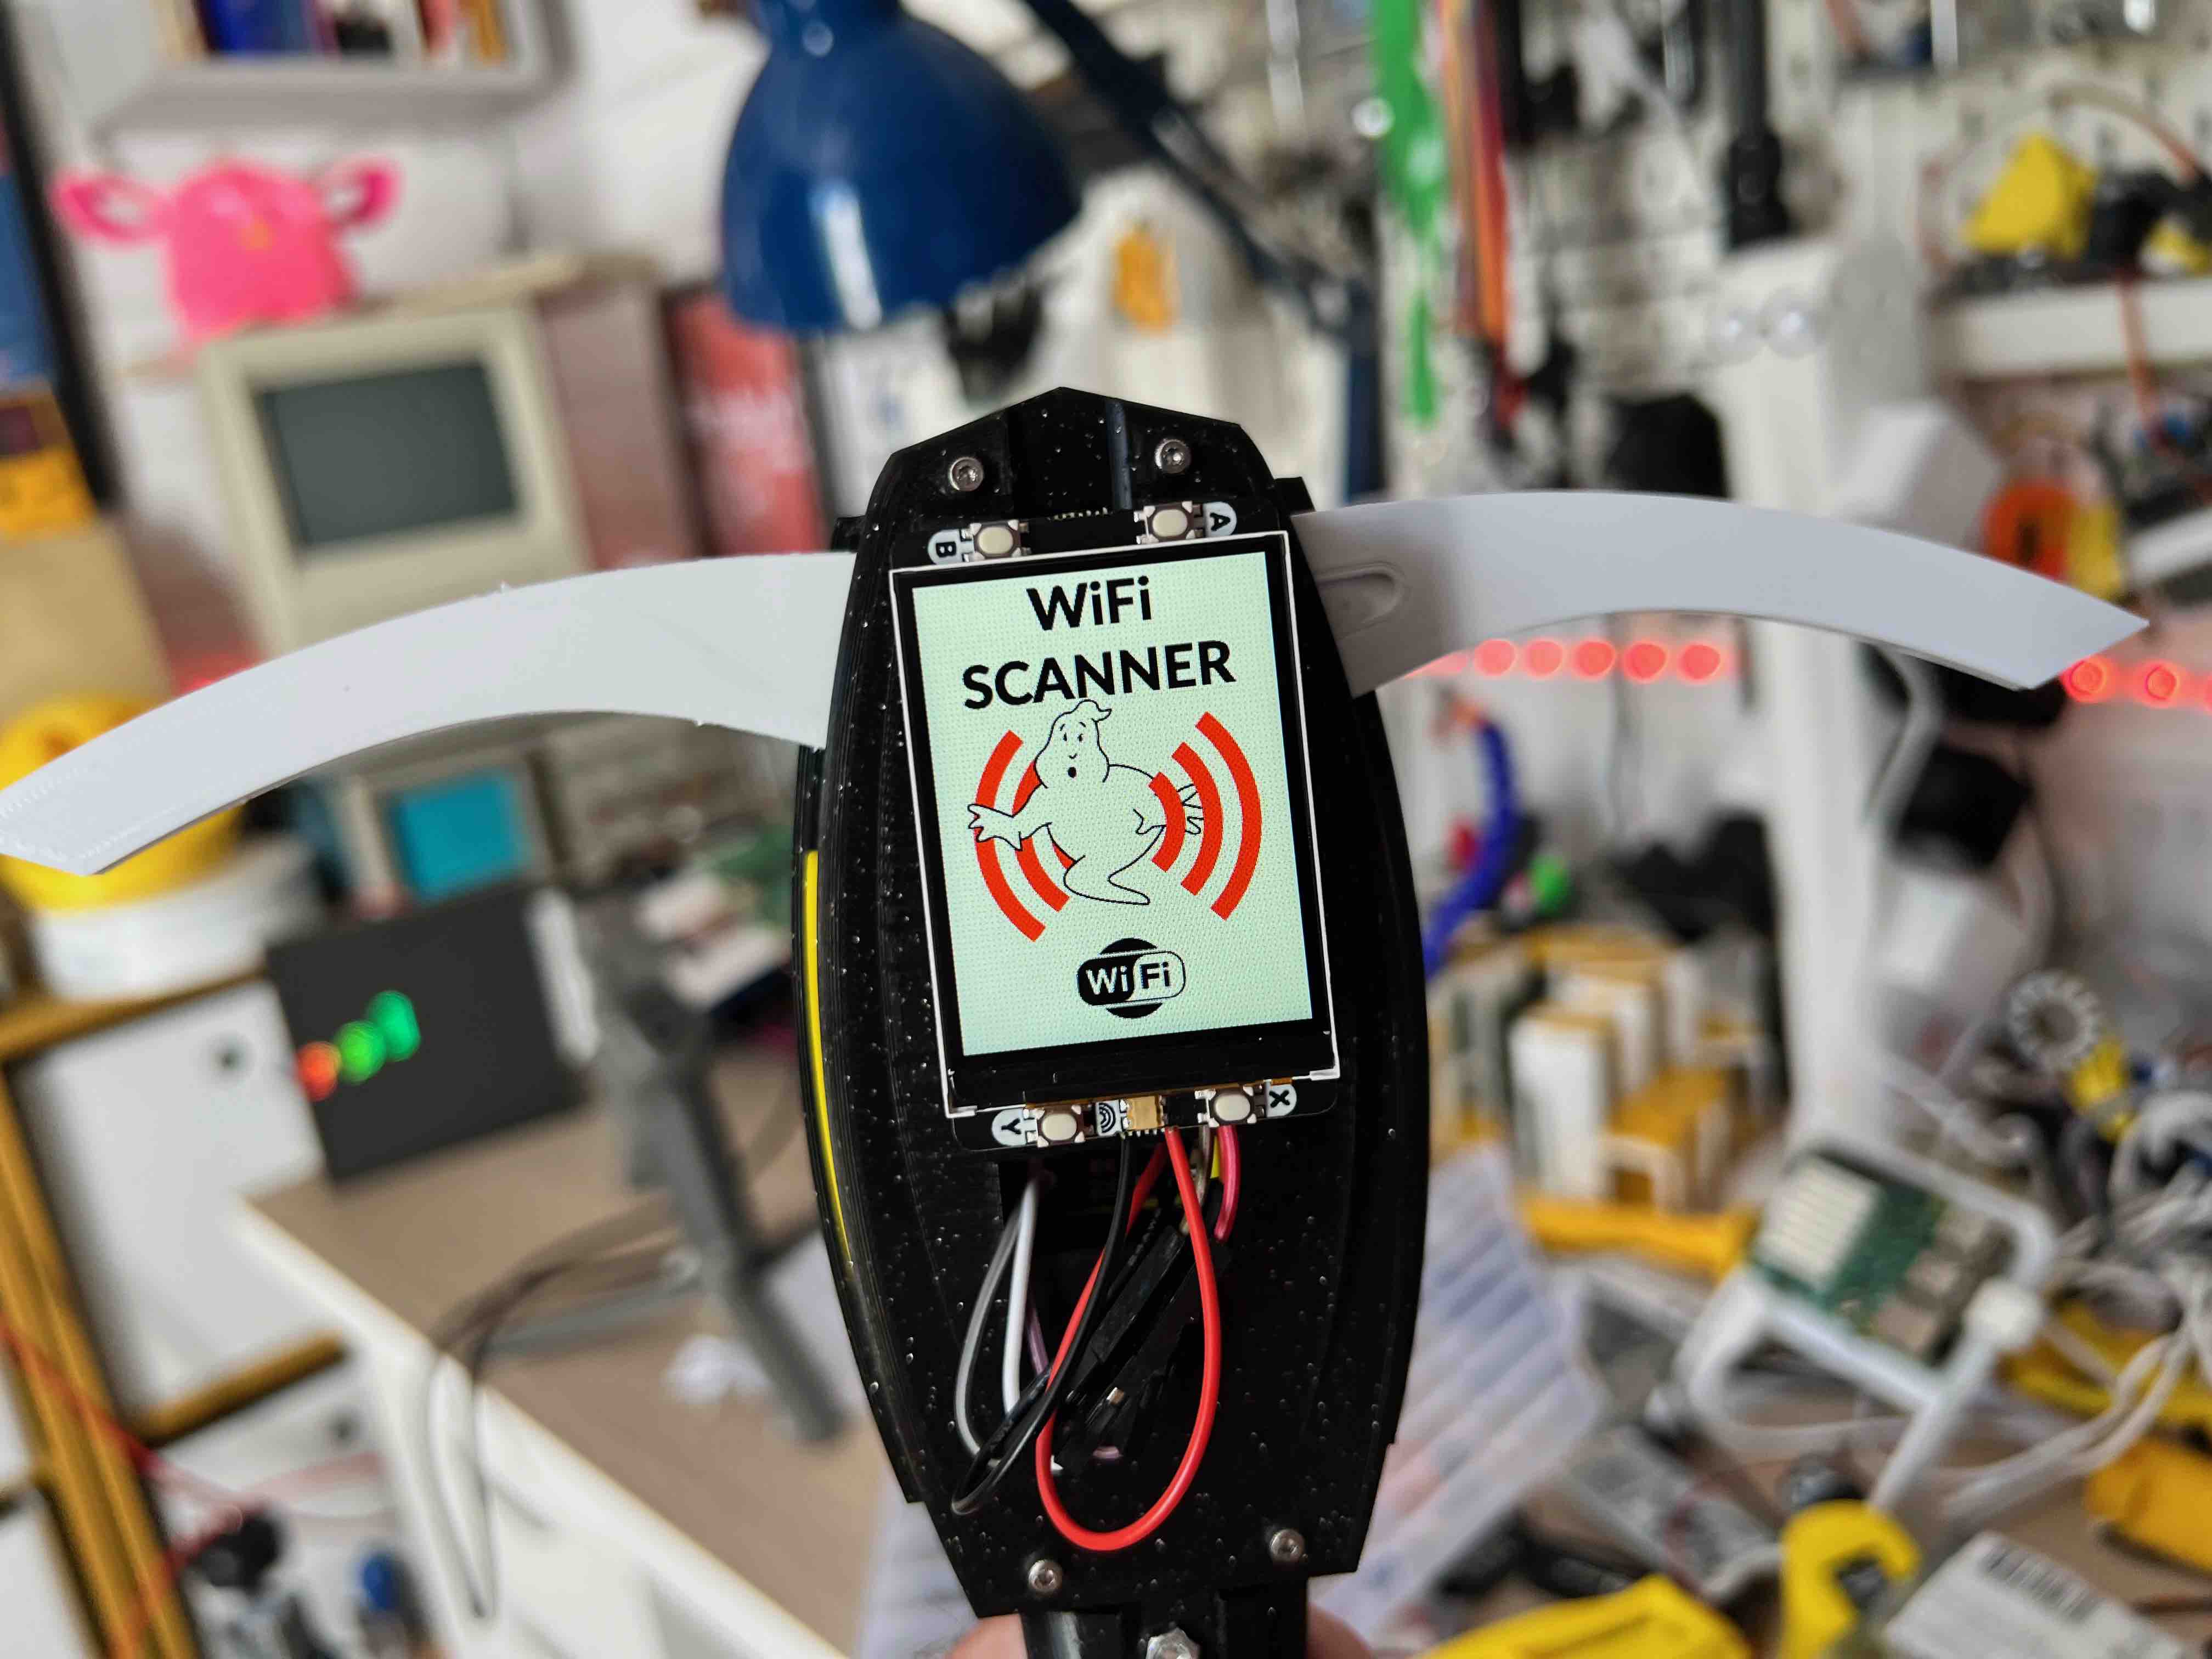
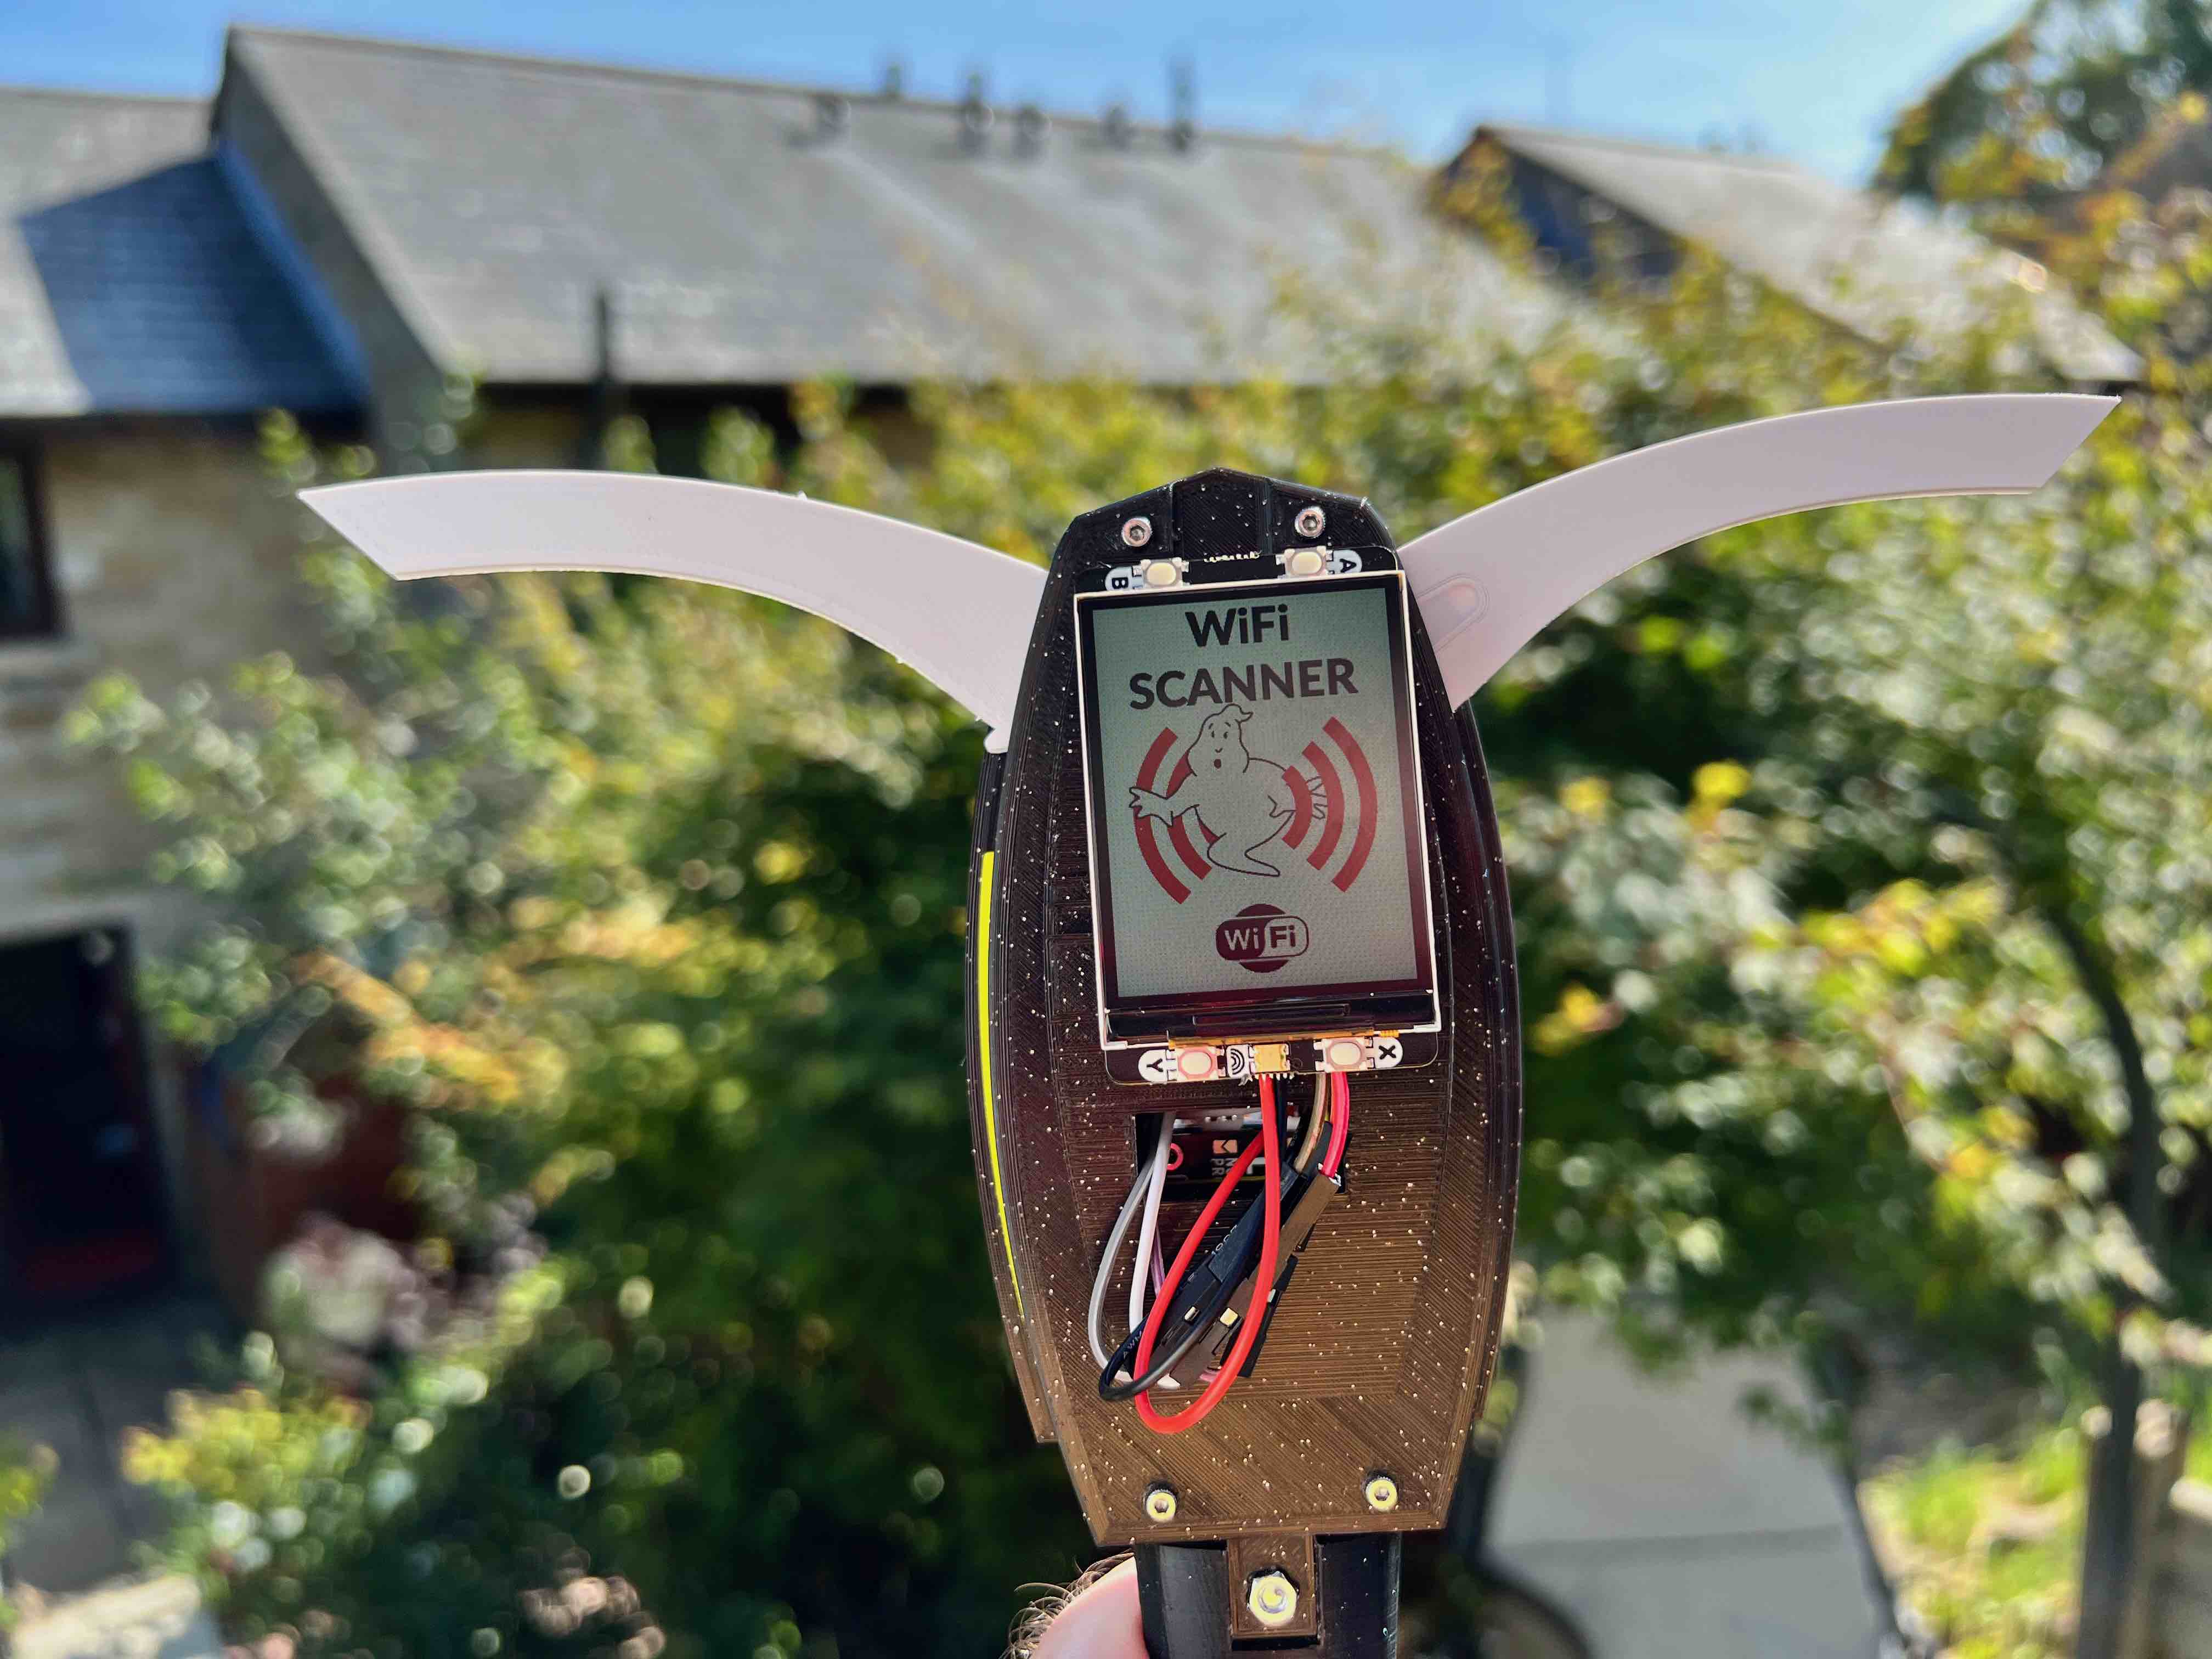
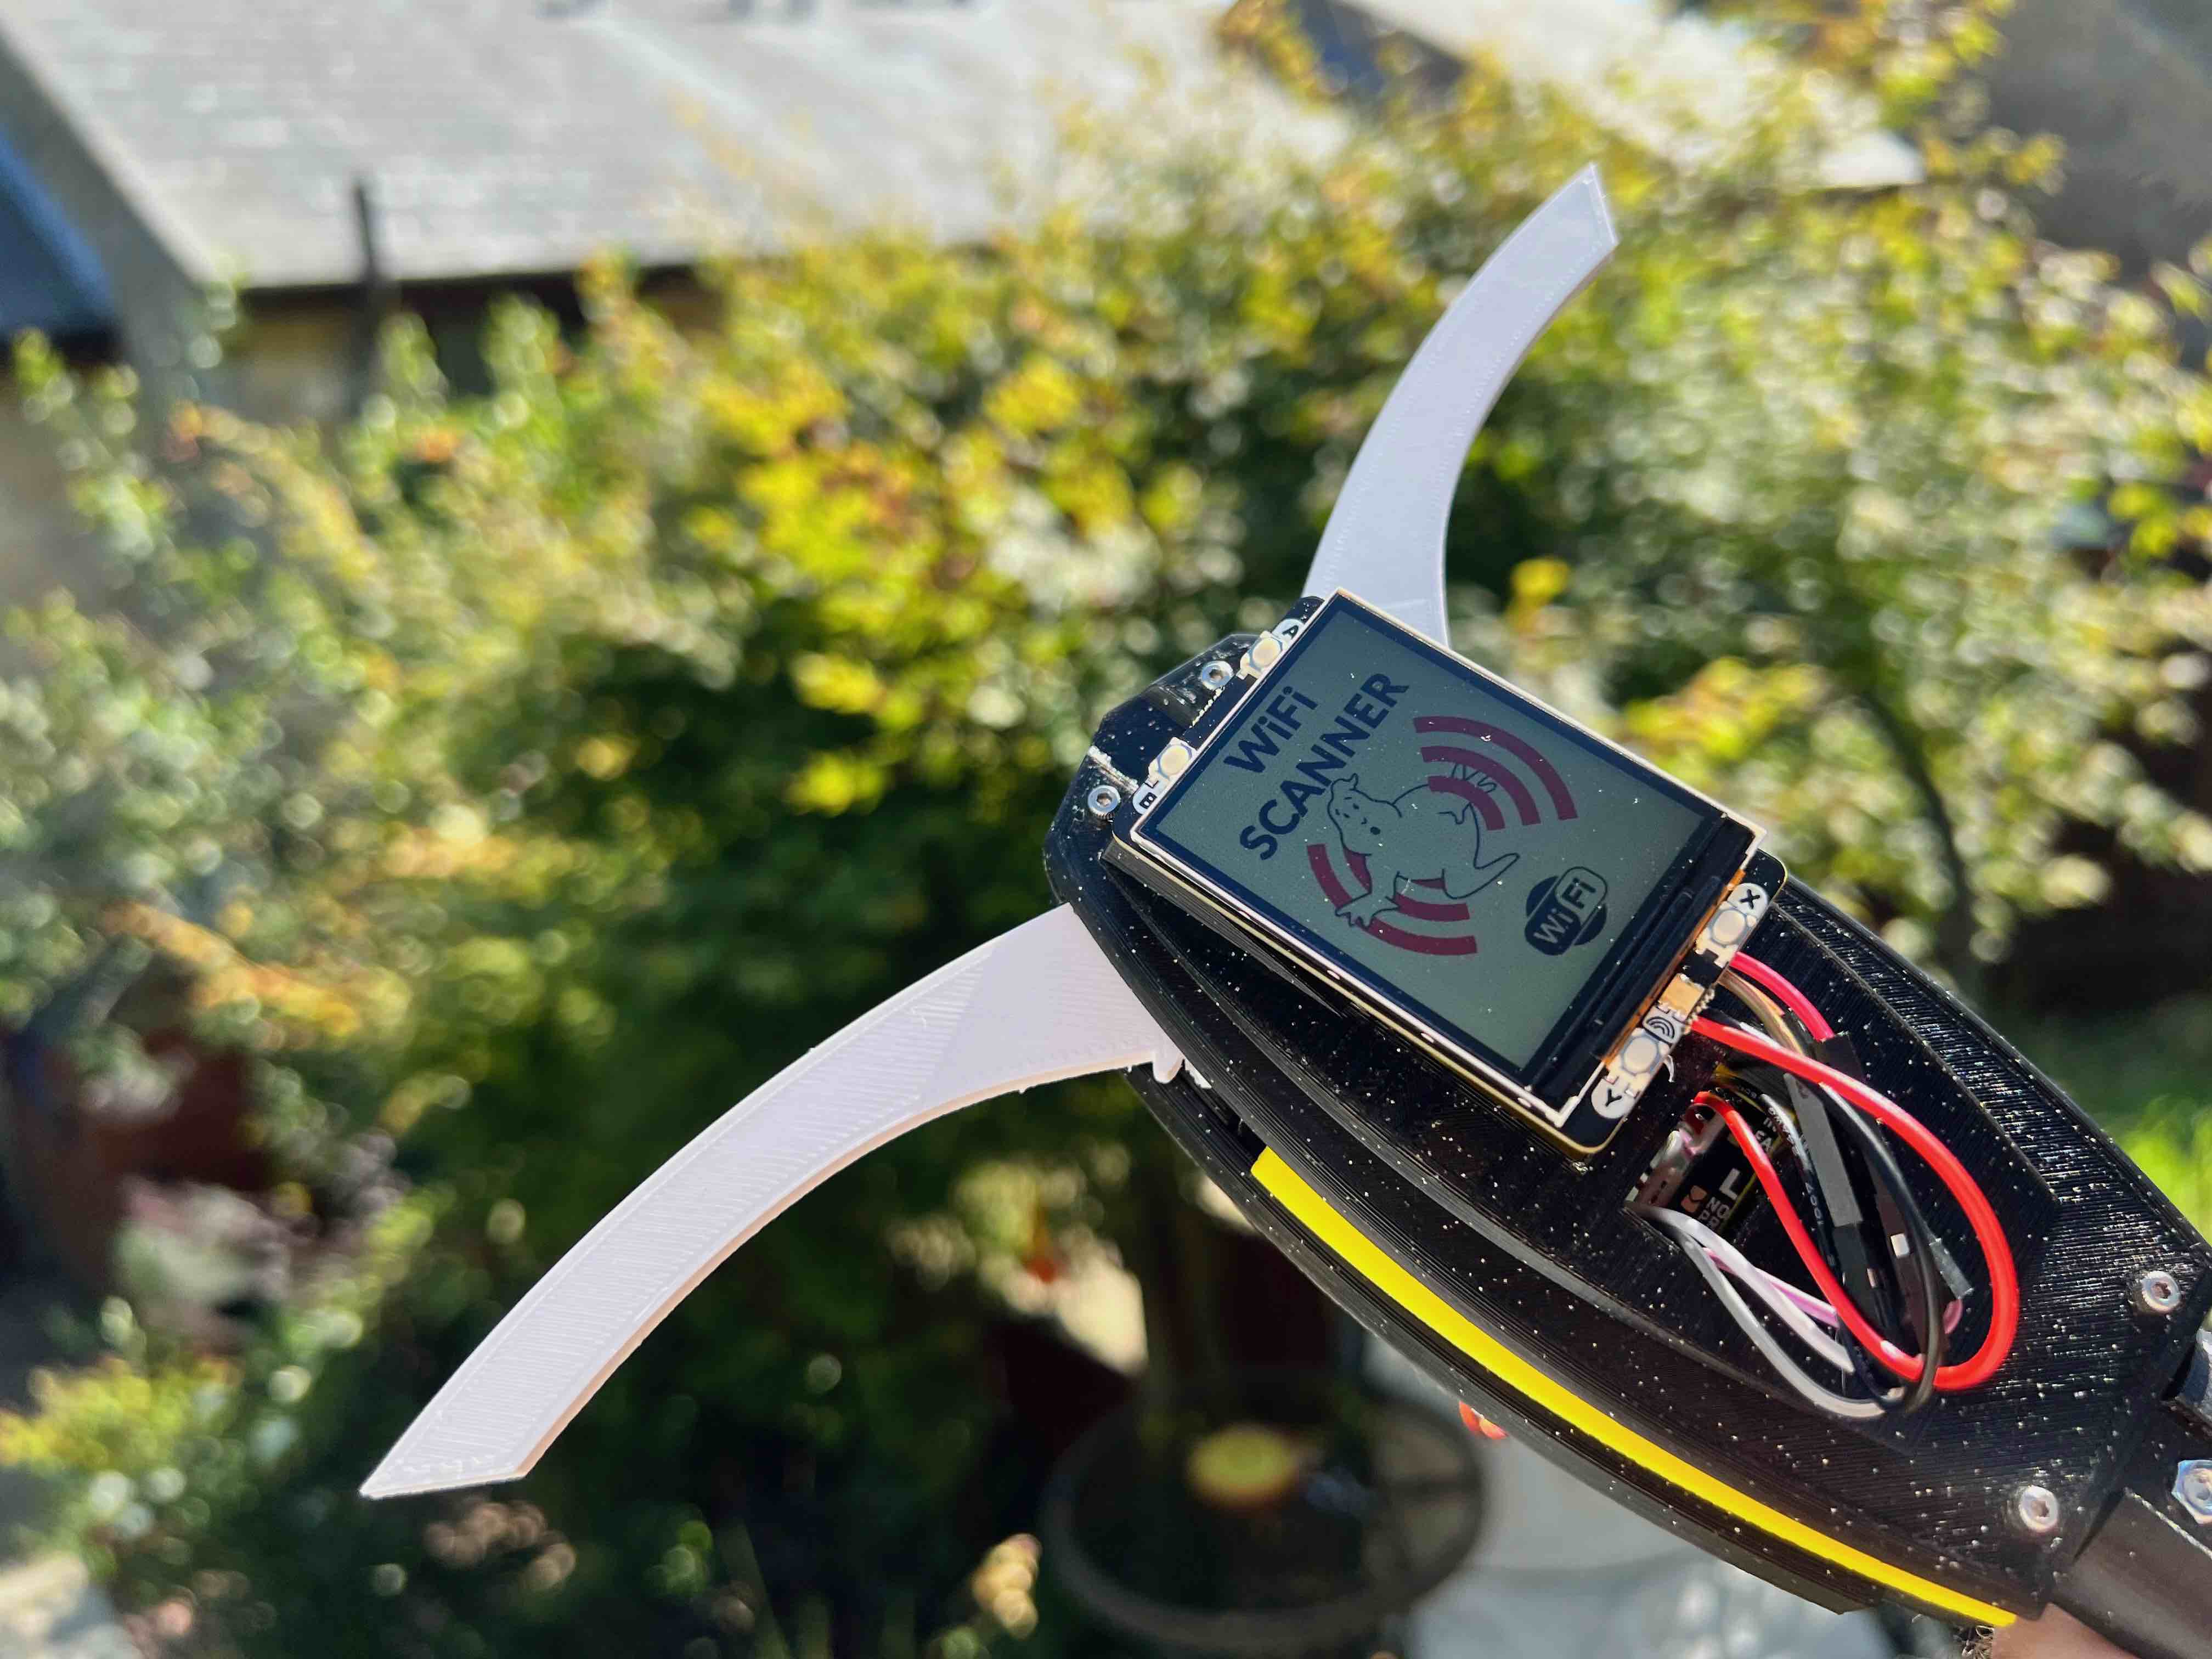
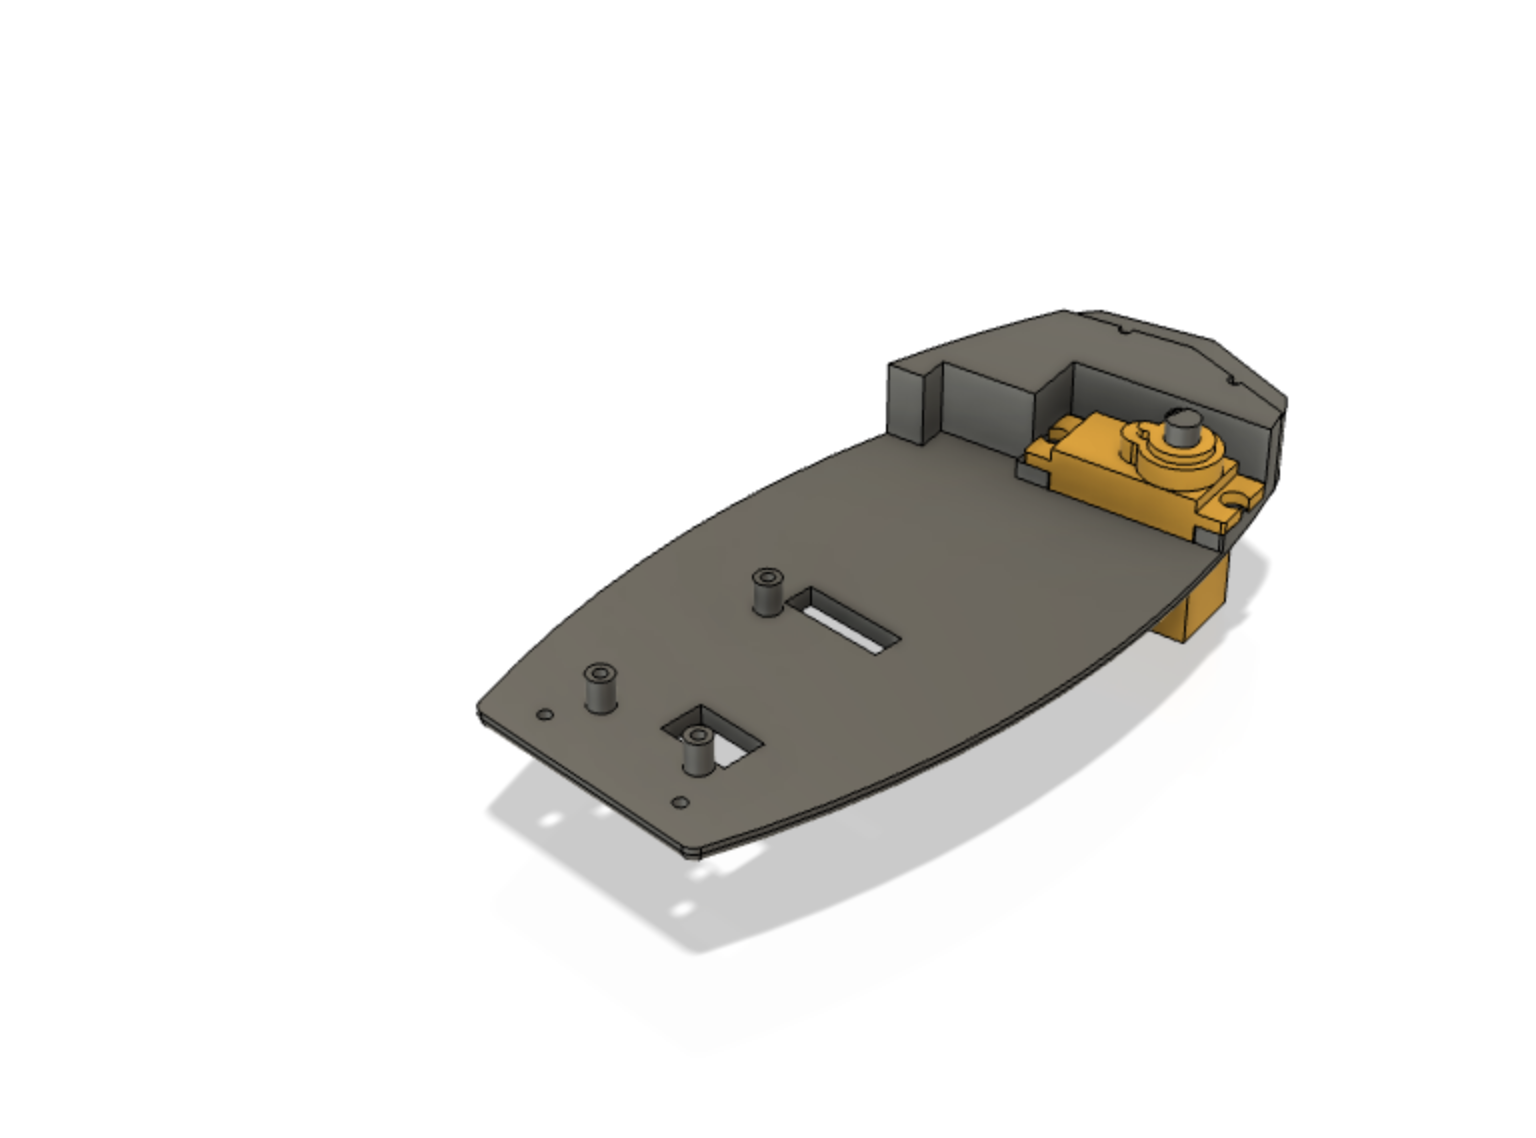
- Push the
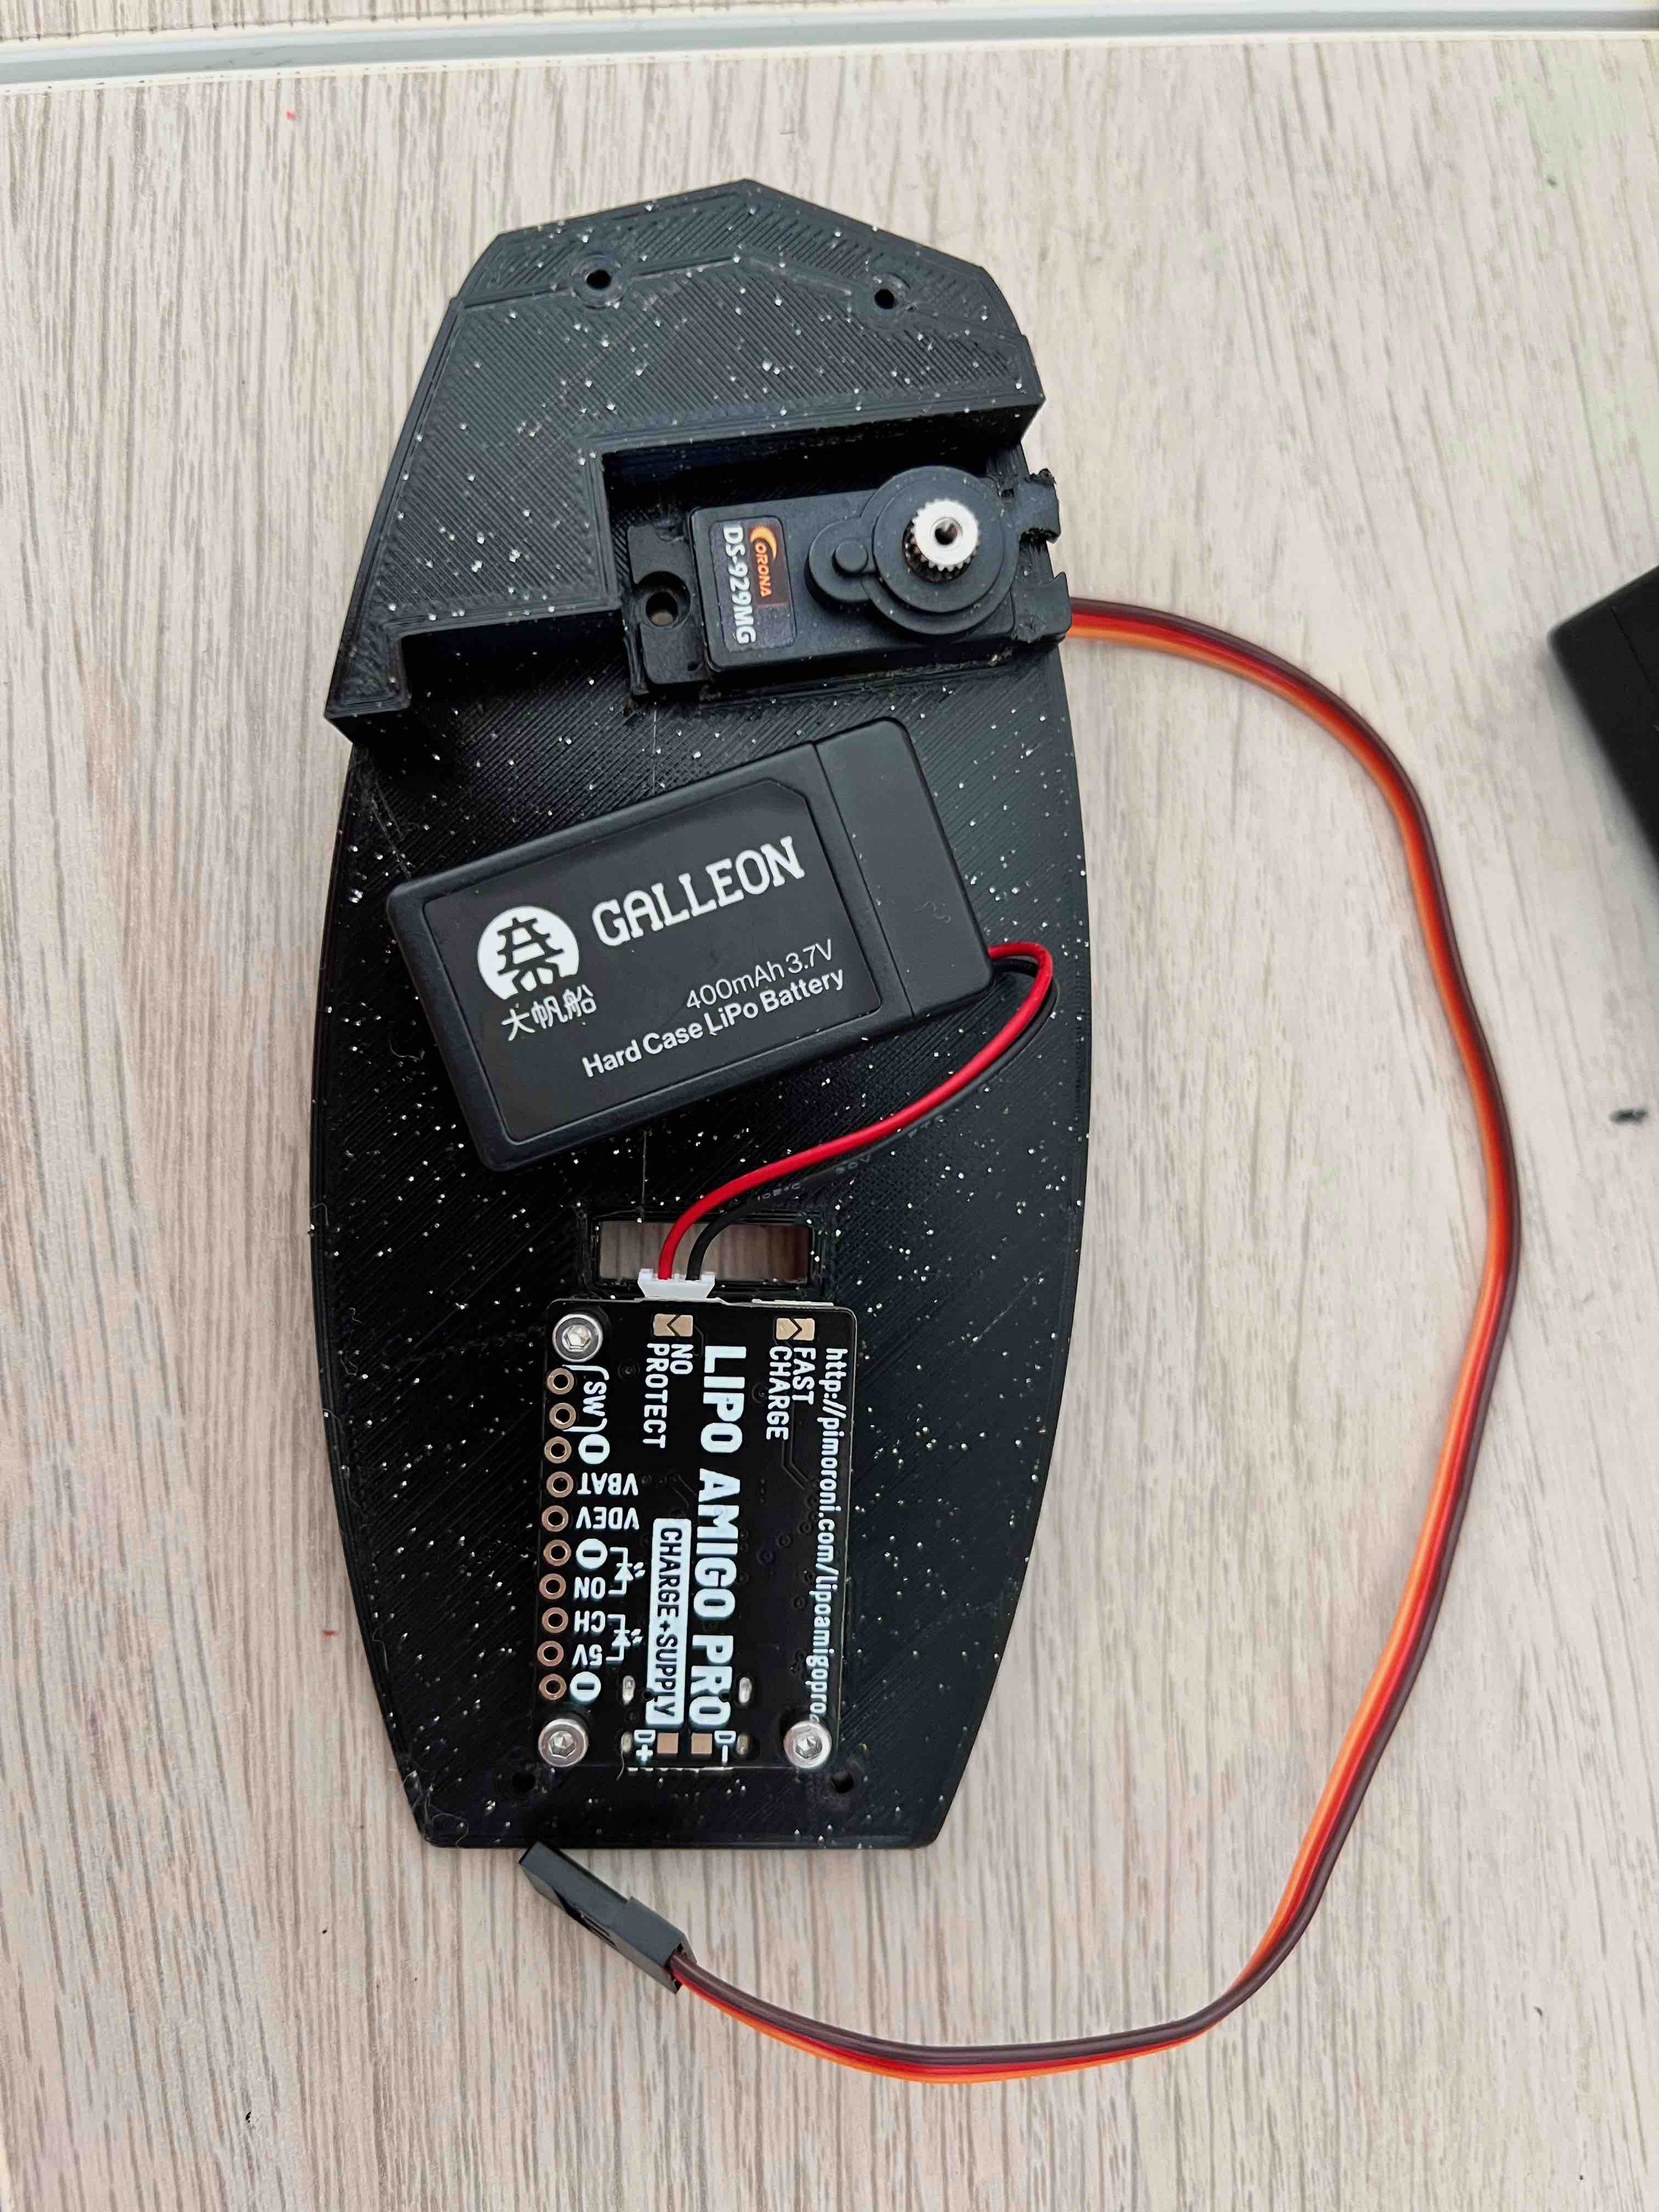
servointo the hole on thebase - Place the
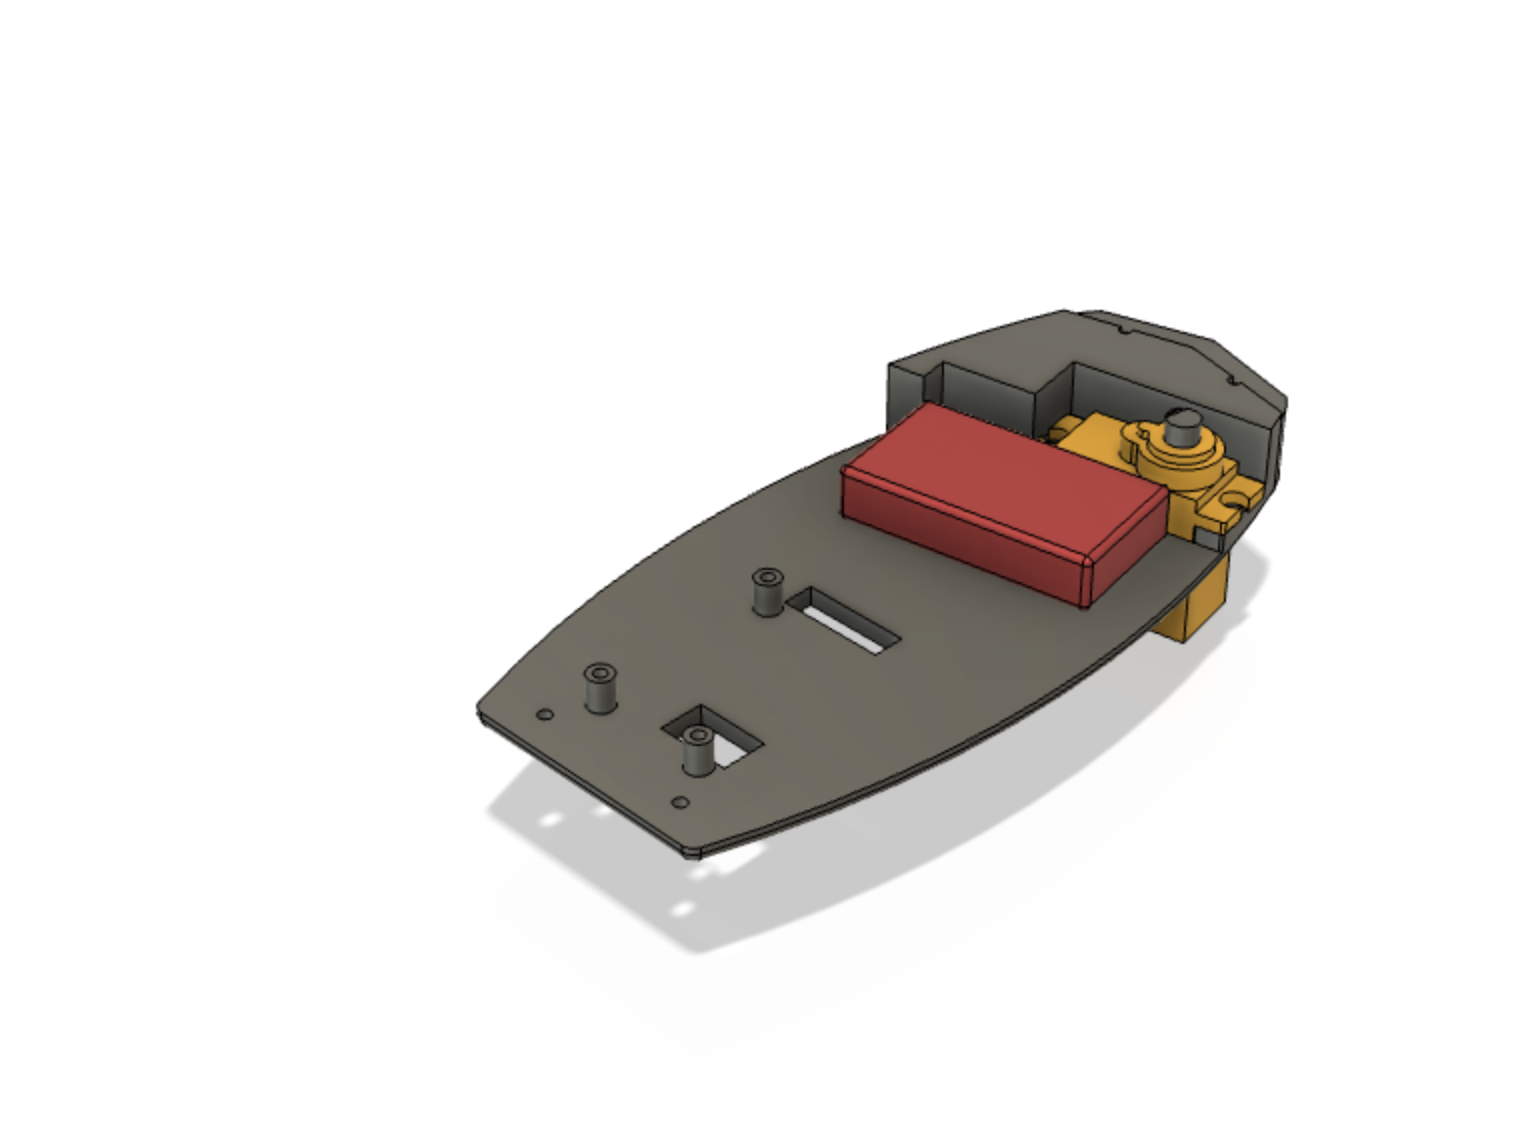
LiPo Amigo pro, theGalleon batteryonto theback, connecting up thebatteryto theLiPo Amigo Pro - There are mounting screws for the
LiPo amigo Pro, though it can just float around in the compartment - Place the
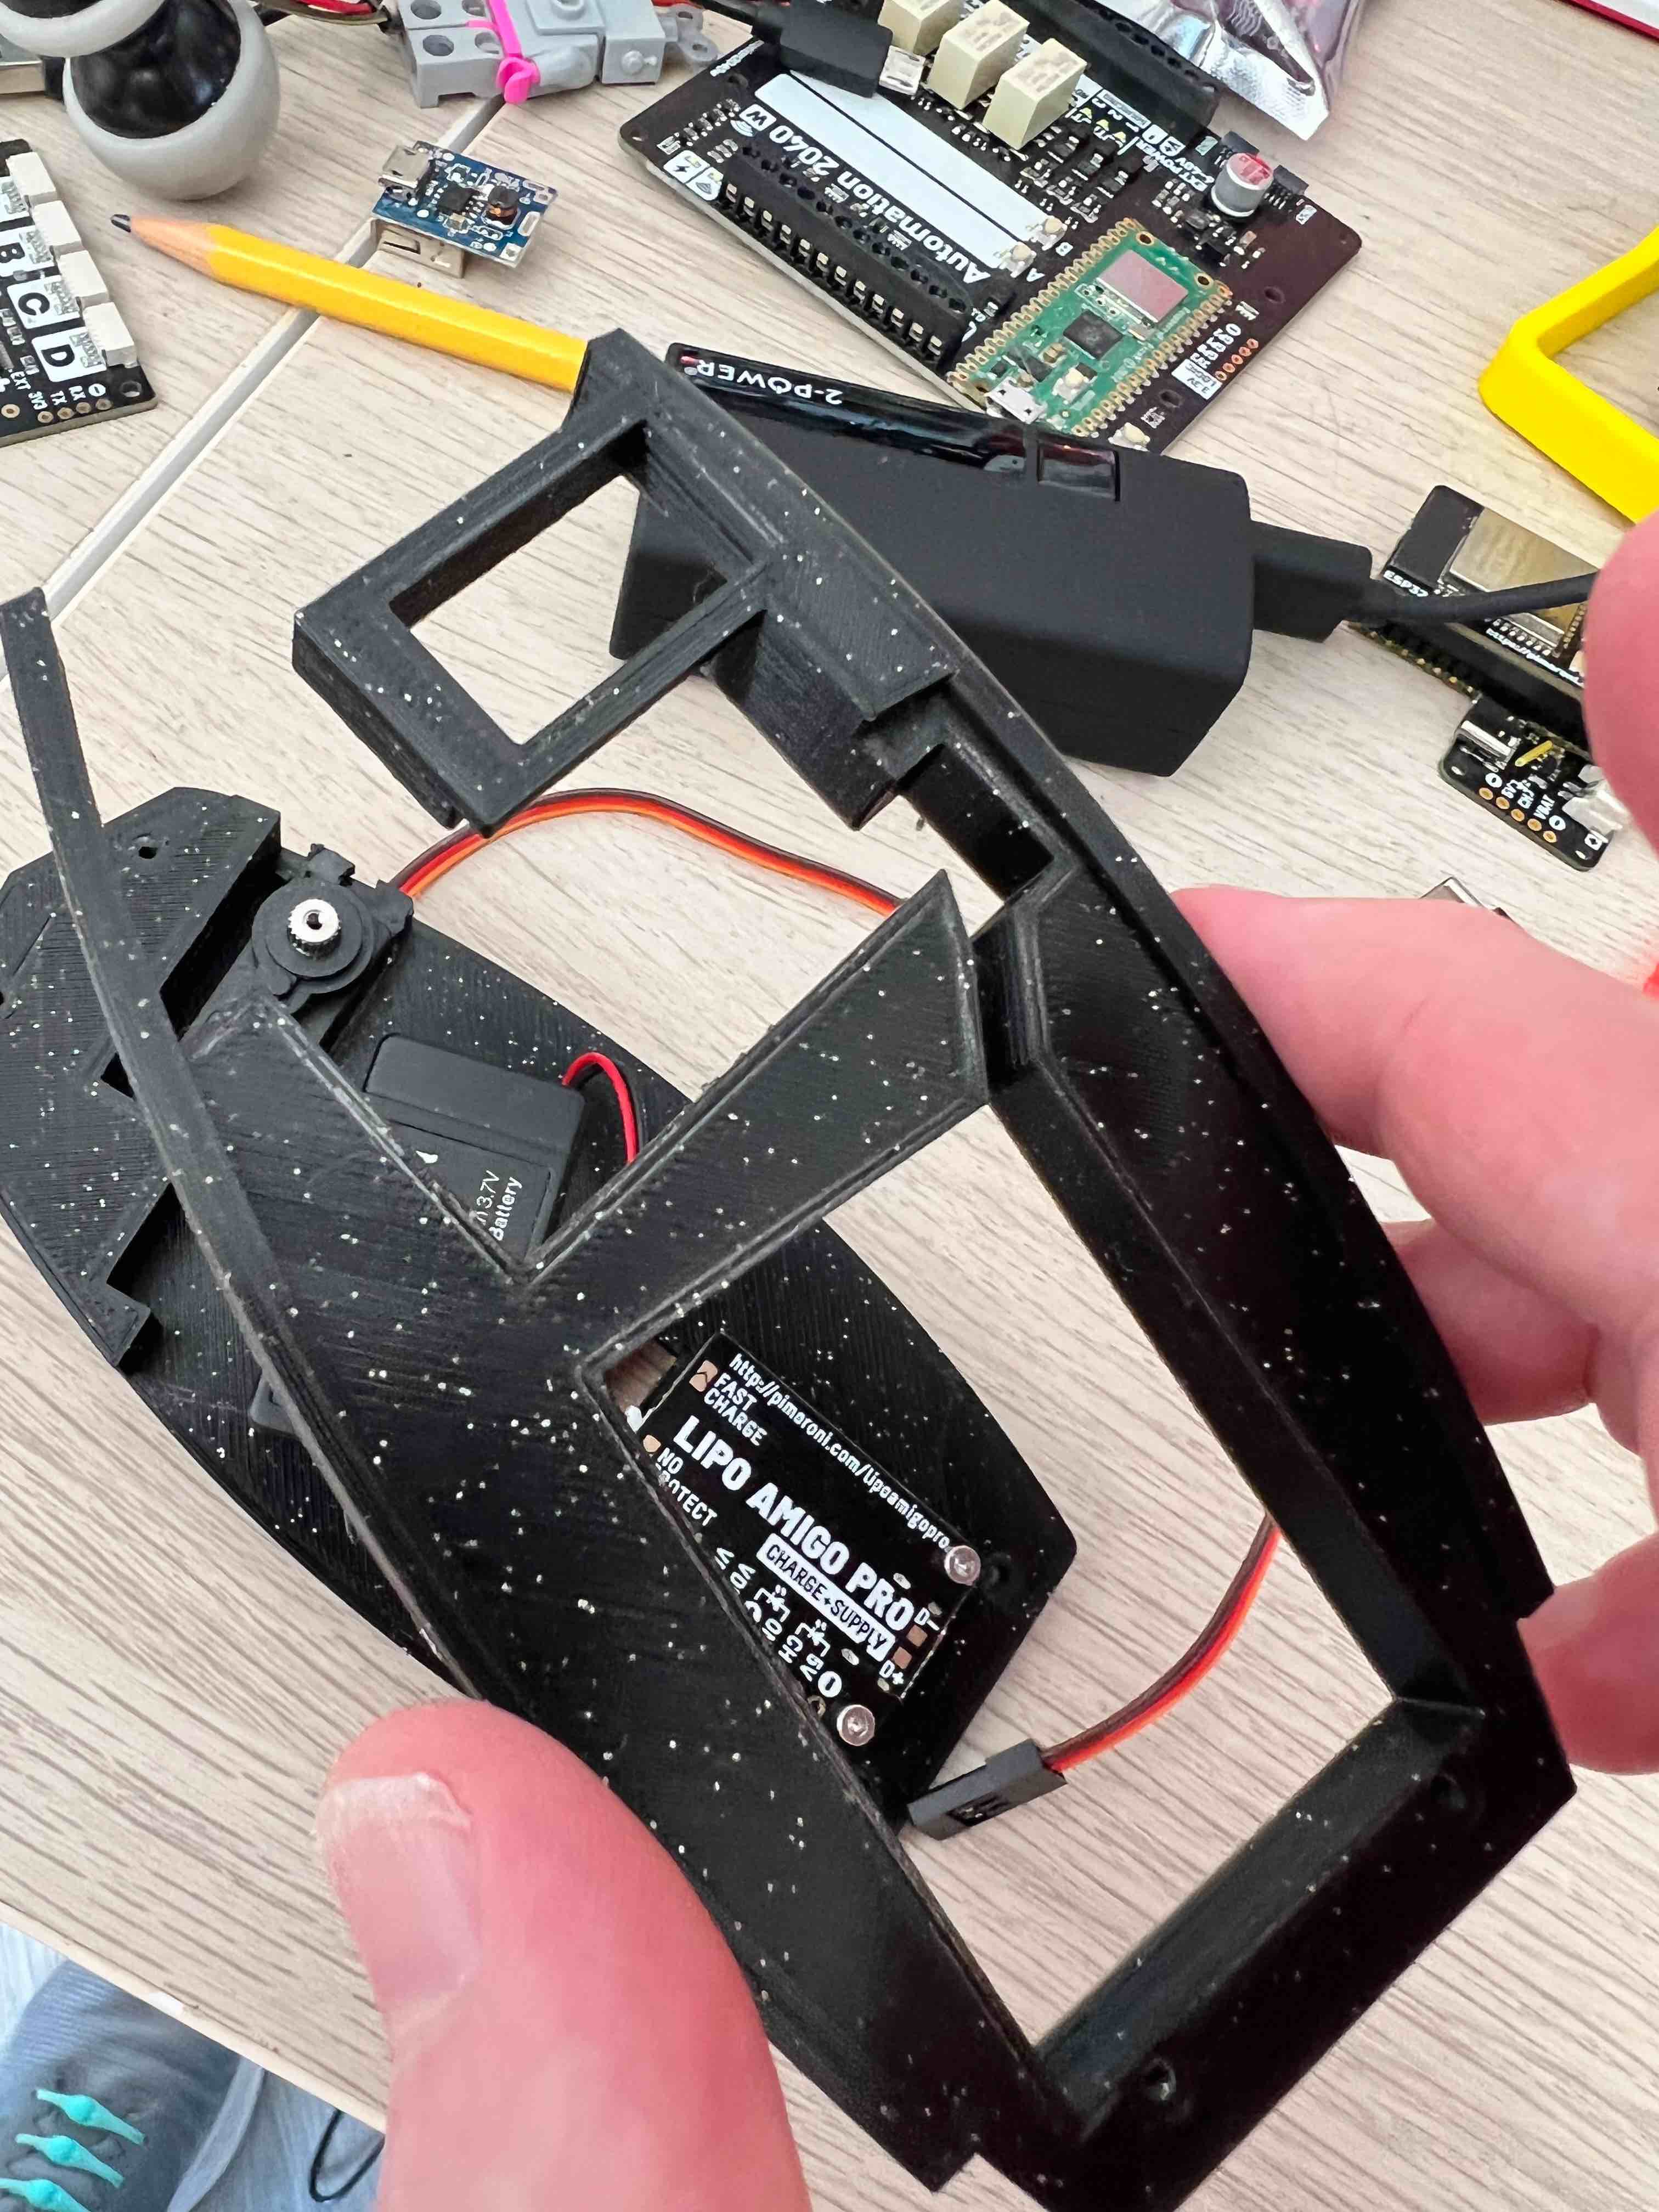
middle sectionon top of thebase - Place the
left armandright armon the underside of theTopsection - Place the
middle layeron top of theleft armandright arm - Push the
servocable through the hole in thetopsection andmiddle layer - Place the
Pico Won to thetopsection with the pins facing up - Solder the wires onto the
Pico Proto boardas described above and push this onto thePico W - Push the
Display packon top of thePico Proto board - Connect the
Servoto the3 pin dupont cable - Connect the
JST-PHpower cable from thePico Proto boardto thedeviceconnector of theLiPo Amigo Pro
Electronics
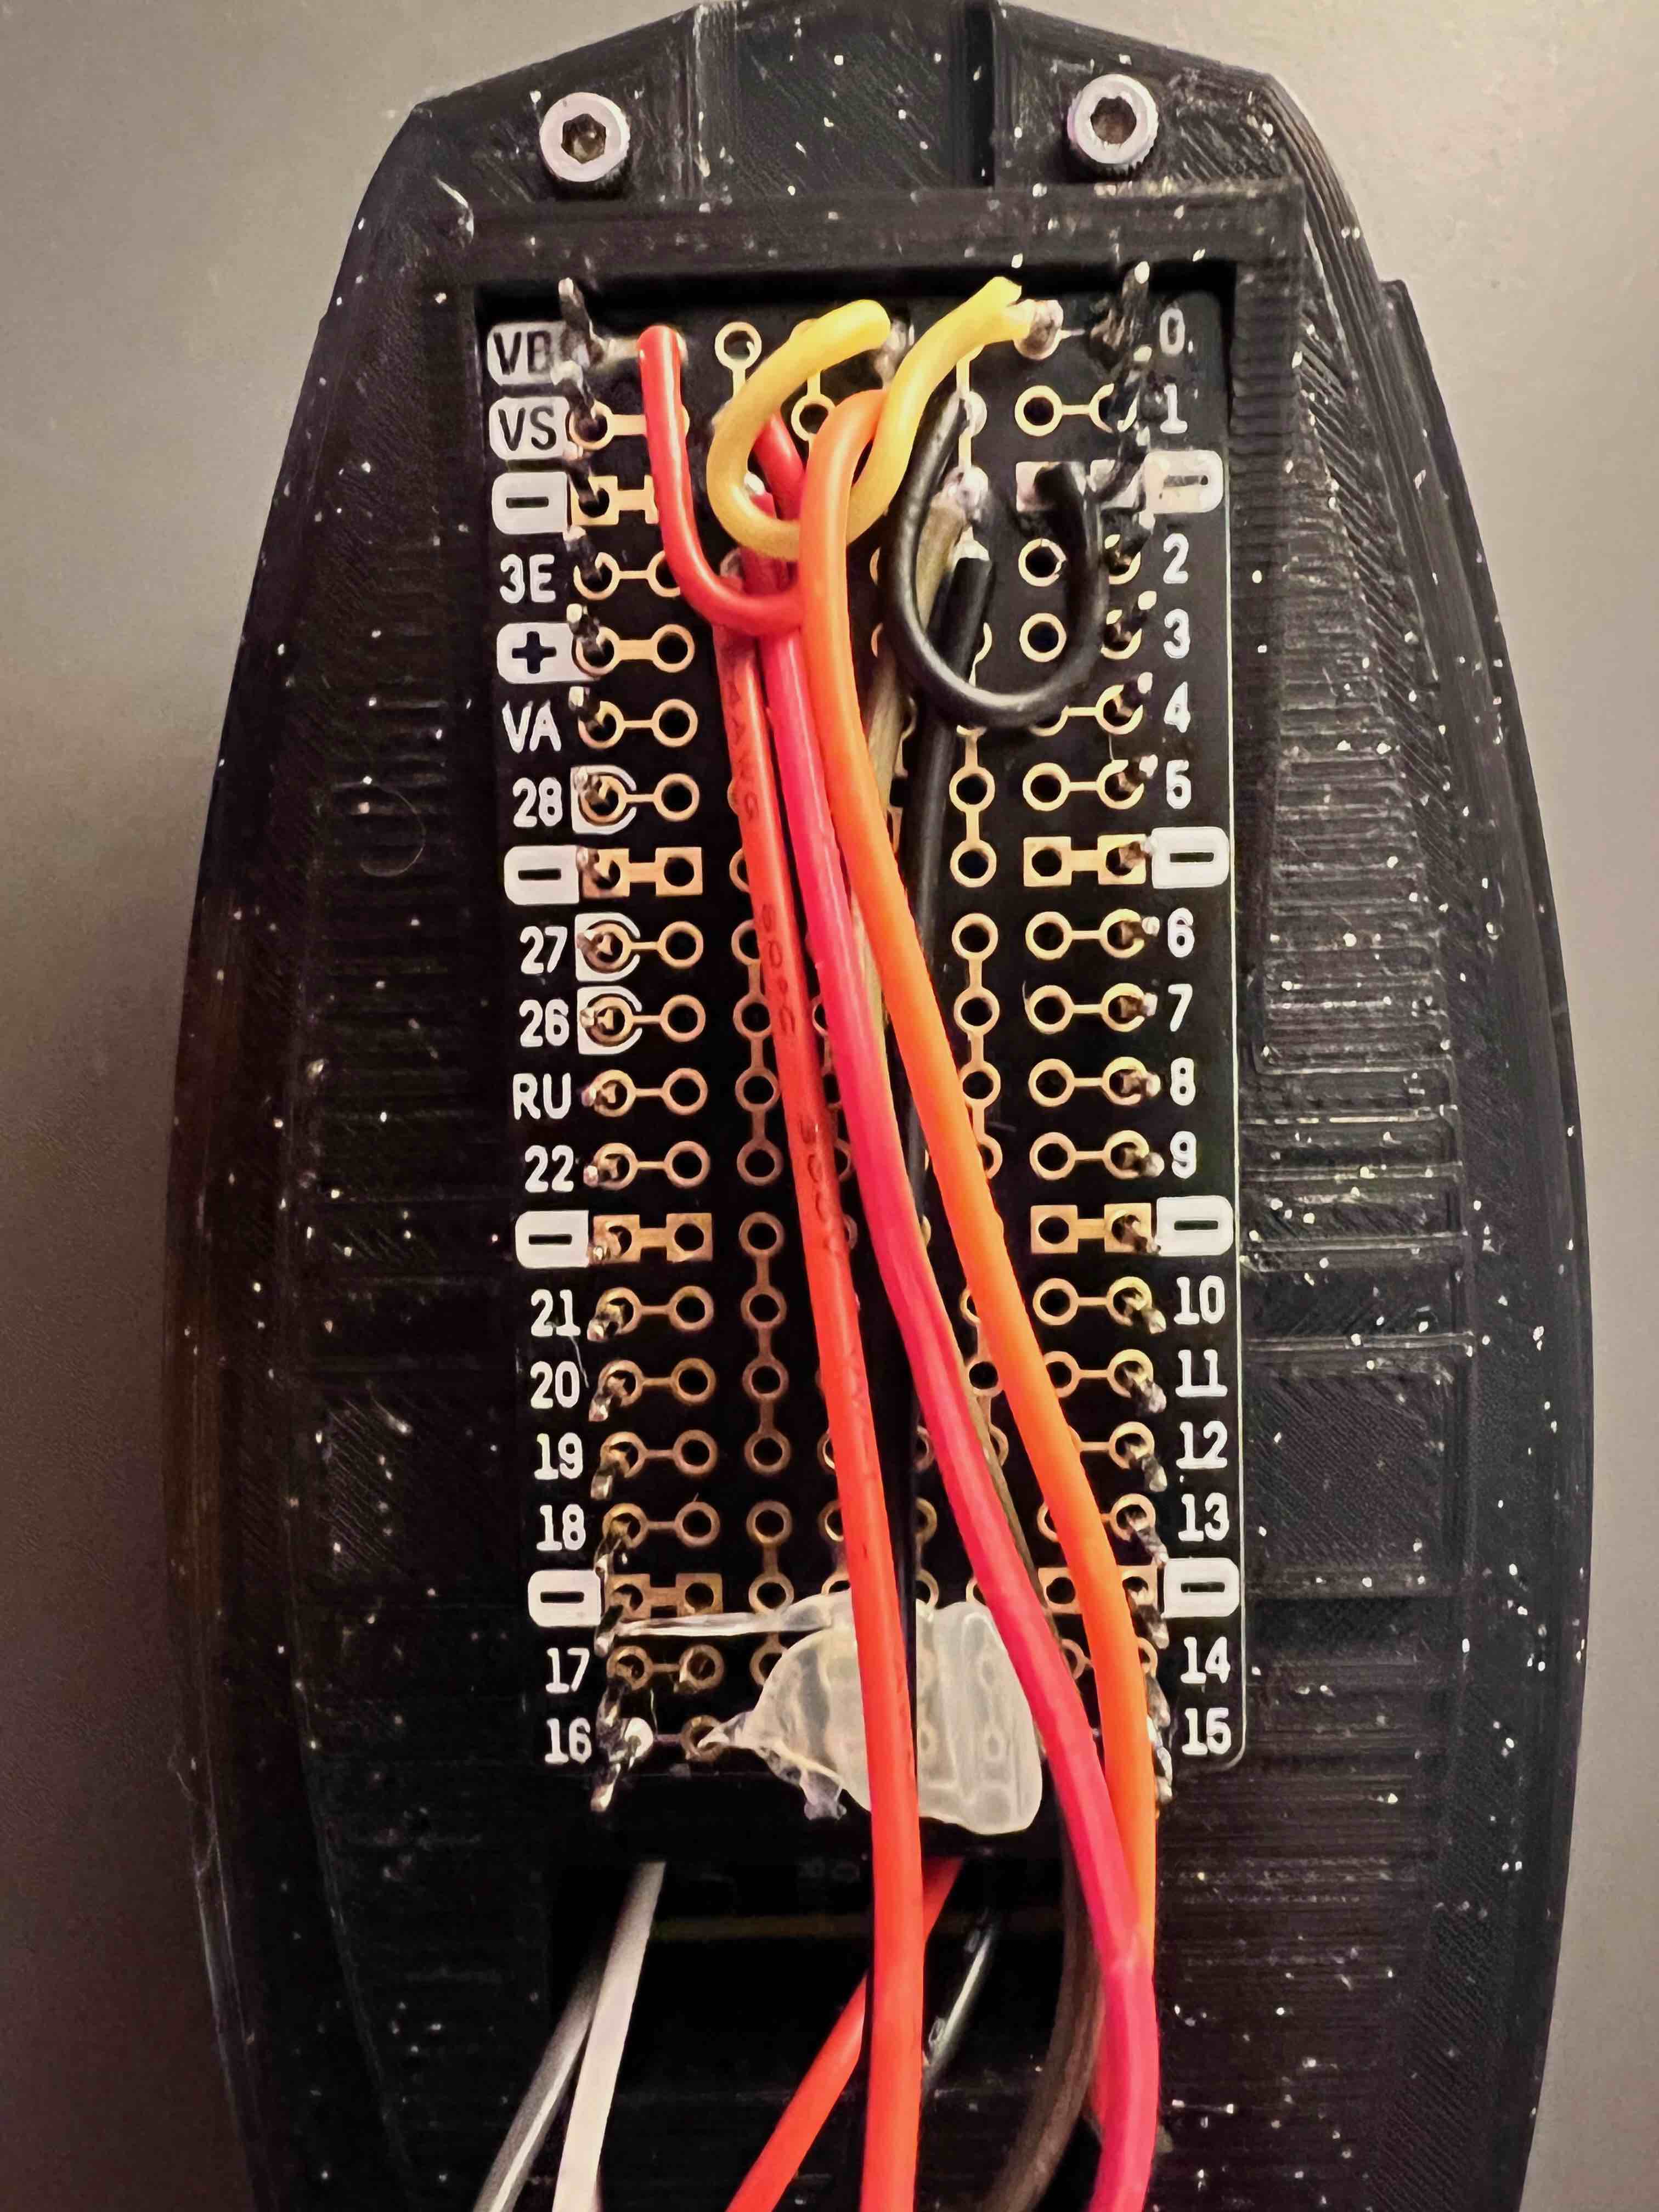
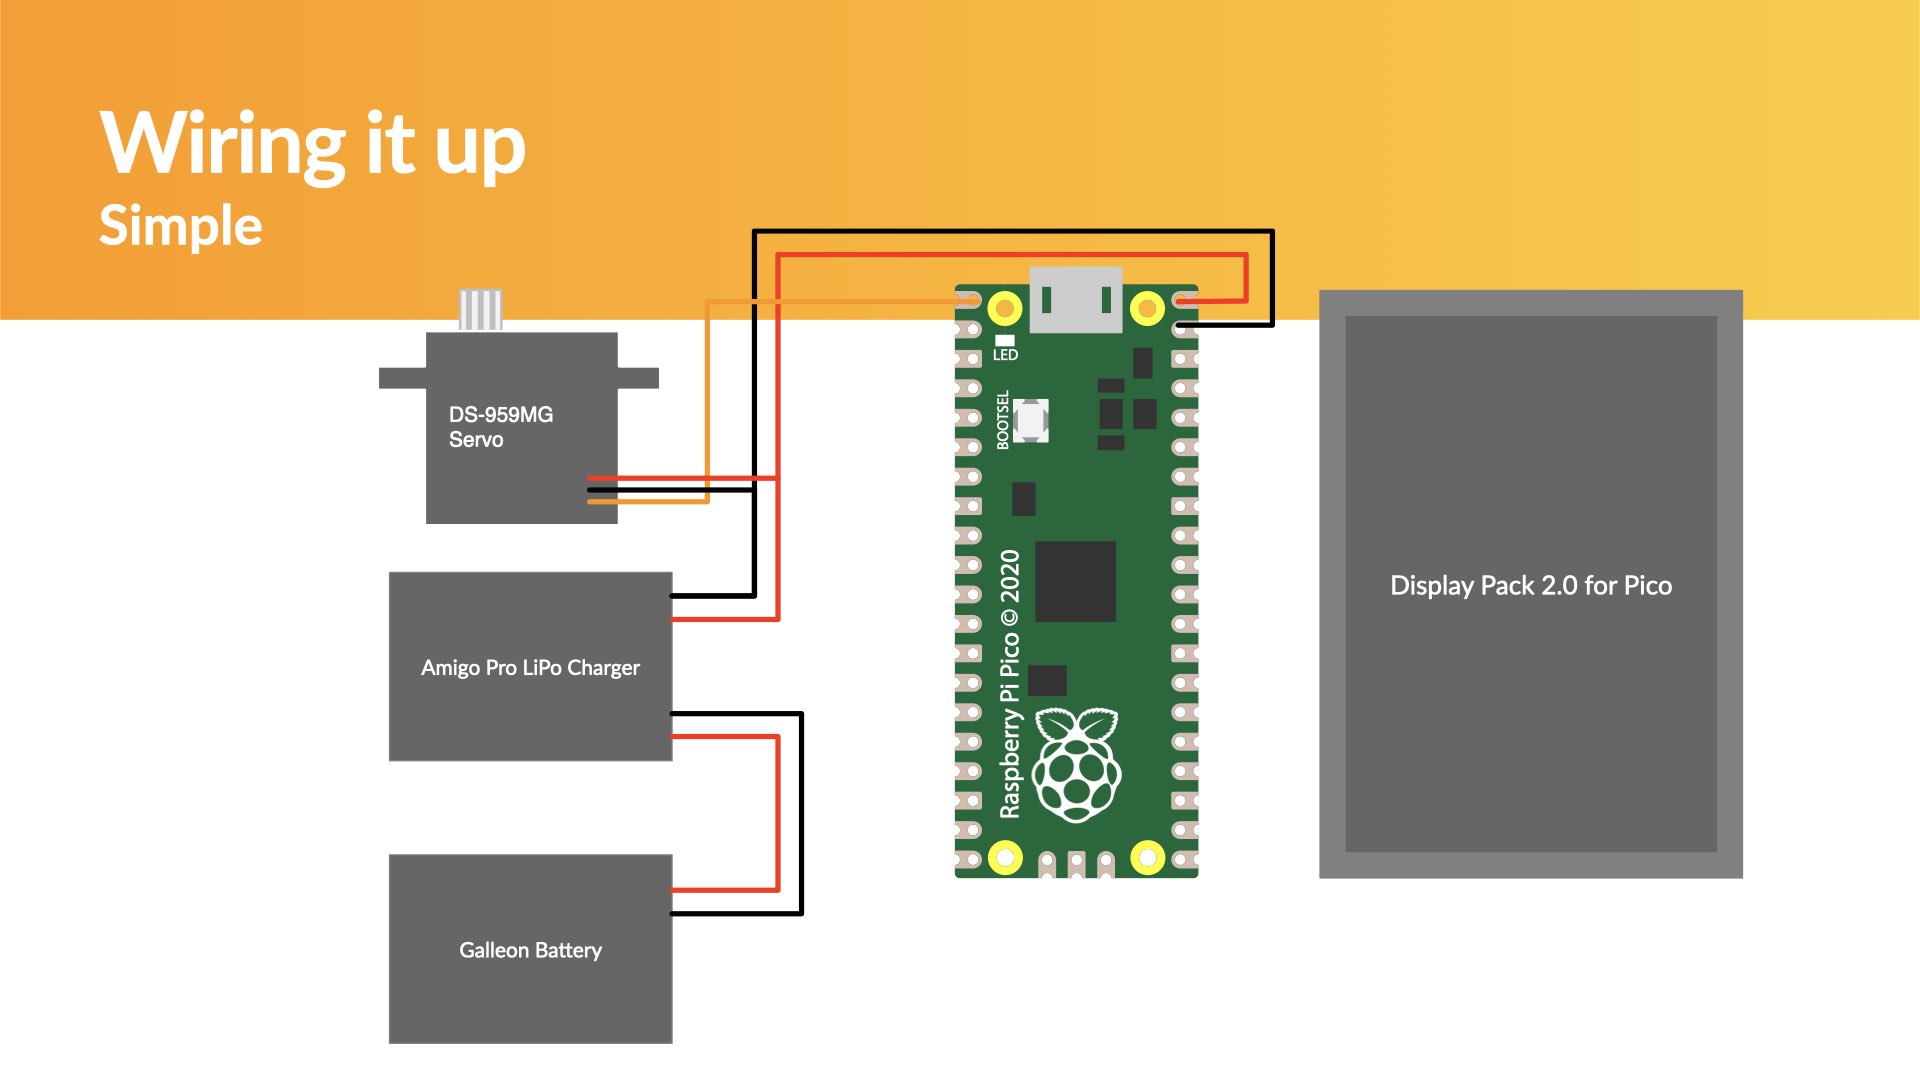
Although this picture of the wiring looks a little complicated, its actually pretty straight forward:
- The
VCCandGNDfrom thedeviceconnector the LiPo Amigo Pro connects to the VBus and GND of the Pico - The
VCCandGNDfrom thedeviceconnector the LiPo Amigo Pro connects to the Servos 5V and GND - The Pico
GPIO Pin 0connects to theServo signal pin - The
Display packpushes on top of thePico Wwith thePico Proto boardsandwiched inbetween - The
Pico Proto boardVCCandGNDconnect to theJST-PHconnector - The
JST-PHconnector from thePico Proto boardconnects to theLiPo Amigo Pro
MicroPython code
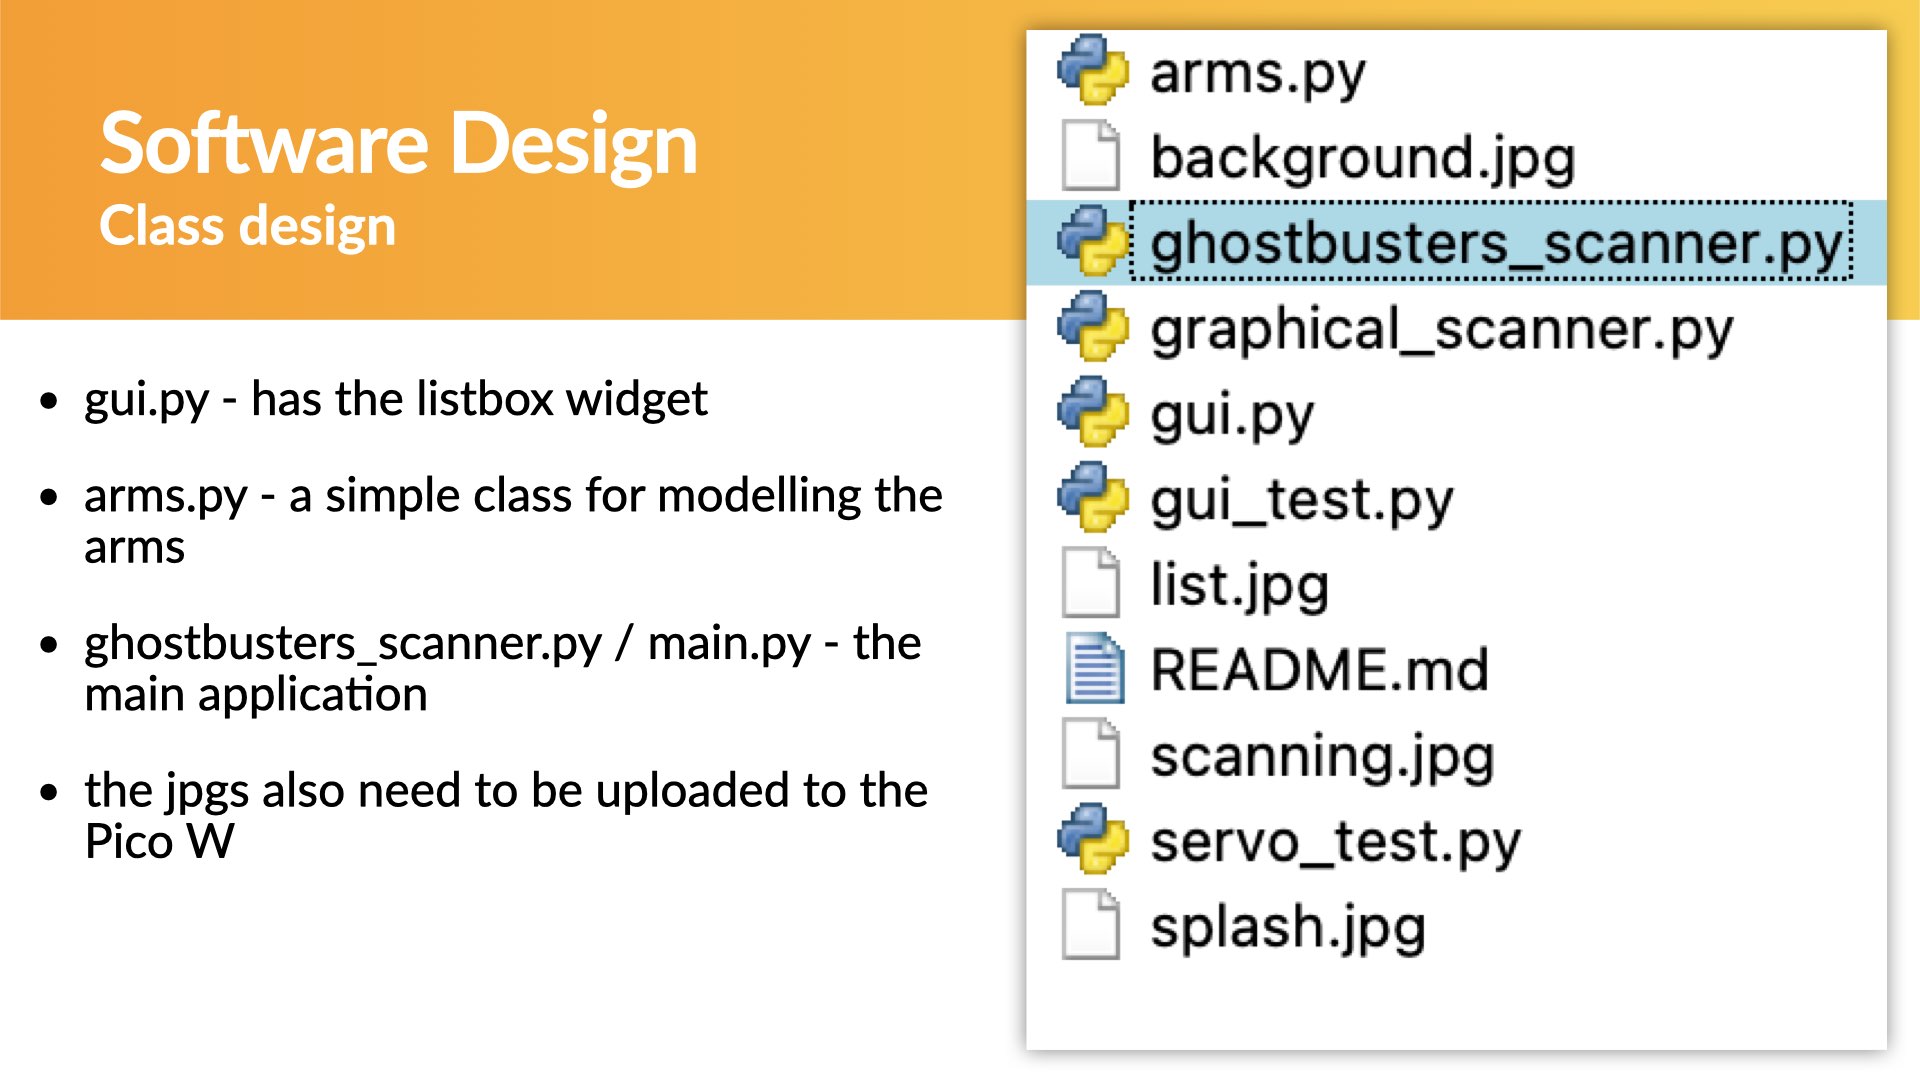
The files you need to copy to the pico can be found here: https://github.com/kevinmcaleer/ghostbusters_wifi. The files you need to upload to the Pico W are:
arms.pybackground.jpggui.pylist.jpgscanning.jpgsplash.jpg
User Interface
The user interface is made up of a couple of simple screens:
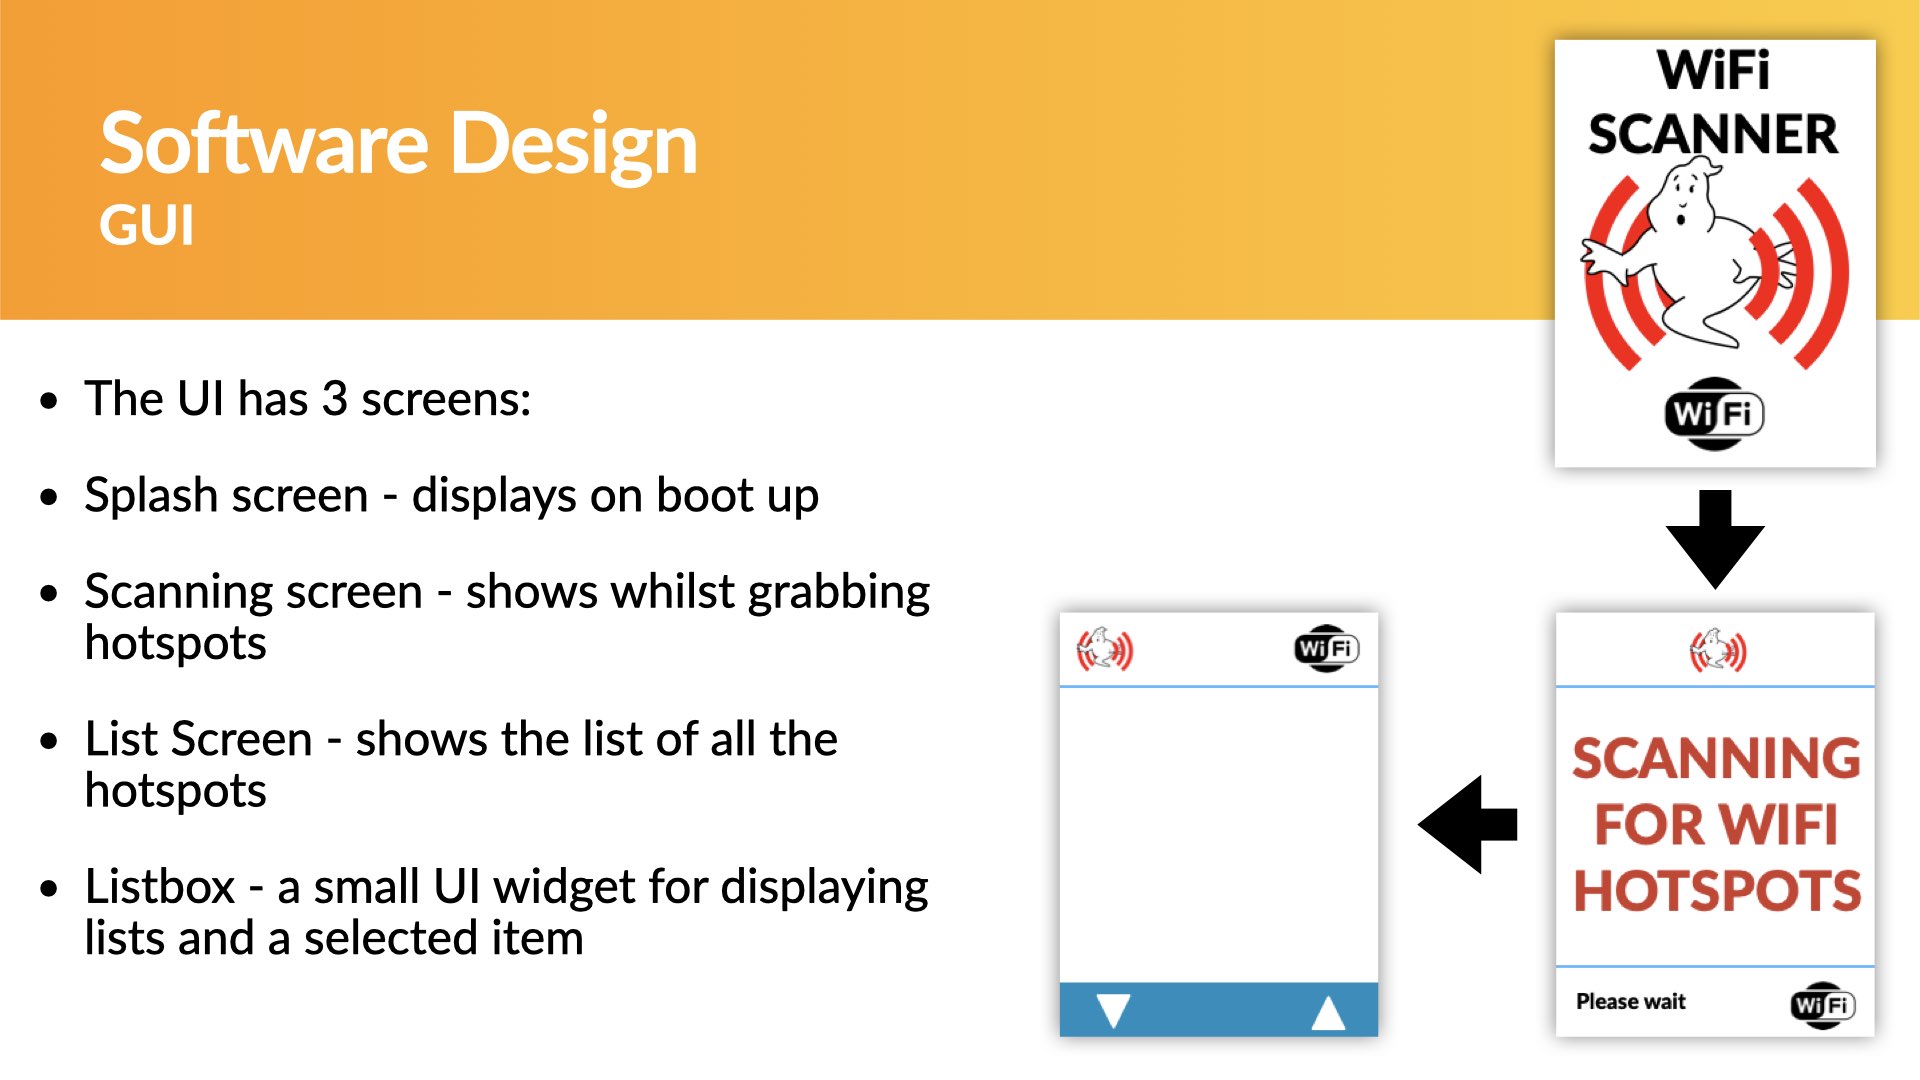


Use the Y and X buttons on the Pico Display Pack 2.0 to move the list selection up and down.
Press the A button to reset the program.
STL files
You can download the STLs for 3d printing here:
top.stl- Top Sectionback.stl- Backmiddle_section.stl- Middle Sectionback_layer.stl- Back Layerhandle.stl- Handleleft_arm.stl- Left Armright_arm.stl- Right Arm
The arms are best printed in white PLA+, the rest of the parts can be printed in black PLA+.
3D Models
Here are the 3D printable STL files:
STL List
| File | Name | Description |
|---|---|---|
| top.stl | top | |
| back.stl | back | |
| middle_section.stl | middle section | |
| back_layer.stl | back layer | |
| handle.stl | handle | |
| left_arm.stl | left arm | |
| right_arm.stl | right arm |



Comments