KevsRobots Learning Platform
Computer Vision on Raspberry Pi with CVZone
56% Percent Complete
Overview
Getting Started
Face, Hand and Posture Detection
Face Detection
This lesson breaks down the process step-by-step, from capturing live video feeds to processing and displaying detected faces in real-time
By Kevin McAleer, 2 Minutes
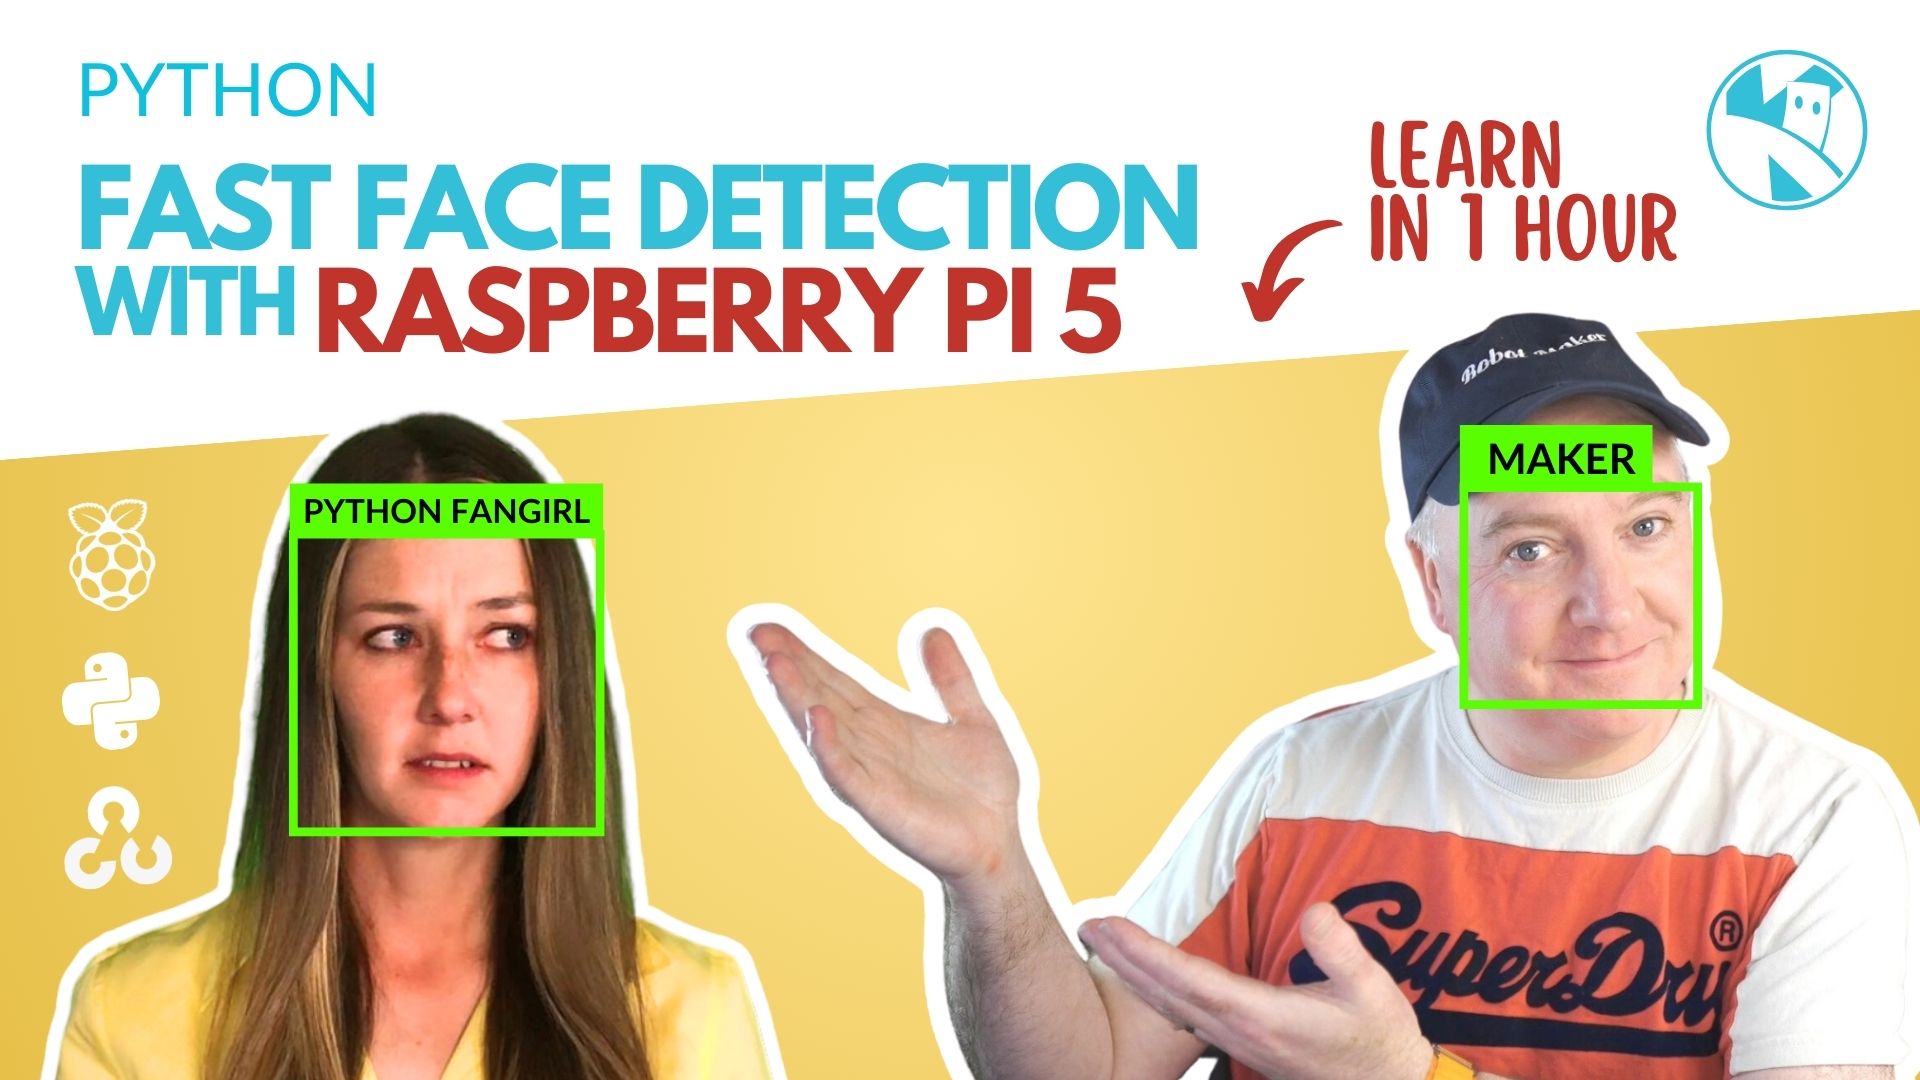
Face Detection
Face detection is the process of identifying and locating faces in images or videos. In this lesson, we’ll harness the power of CVZone, a computer vision library, to detect faces in real-time using a Raspberry Pi.
-
Capture video from the camera:
import cv2
cap = cv2.VideoCapture(0)
Here, we’re utilizing the OpenCV (cv2) library to capture live video feed from the default camera (indexed as
0). TheVideoCapturefunction initializes the camera and prepares it to stream frames. -
Use CVZone to detect face:
import cvzone
from cvzone import FaceDetectionModule
face_detector = FaceDetectionModule.FaceDetector()

while True:
    success, img = cap.read()
    img, list_faces = face_detector.findFaces(img)
    cv2.imshow("Face Detection", img)
    if cv2.waitKey(1) & 0xFF == ord('q'):
        break
In this section, we:
- Initialize the face detection module from CVZone.
- Continuously read frames from our camera using the
cap.read()method. - Process each frame to detect faces using
face_detector.findFaces(img). - Display the processed frame with marked faces using
cv2.imshow(). - Allow the user to break out of the loop and end the program by pressing the ‘q’ key.
Going Beyond
-
Multiple Face Detection: The provided code can detect multiple faces in a frame. The
list_facesvariable contains details about all detected faces. -
Enhance Visualization: You can further customize the appearance by adjusting the color, thickness, and style of bounding boxes around detected faces.
-
Integrate with Other Modules: Once a face is detected, you can integrate it with other functionalities such as face recognition, emotion detection, or facial landmarks detection to add more depth to your application.
-
Optimization: To improve performance on Raspberry Pi, consider reducing the frame size or using a lower resolution camera, optimizing the model parameters, or integrating with other acceleration techniques.
Remember, the beauty of computer vision lies in its vast potential for customization and integration. Take the basics you learn here and let your creativity drive your projects!
You can use the arrows ← → on your keyboard to navigate between lessons.
Comments