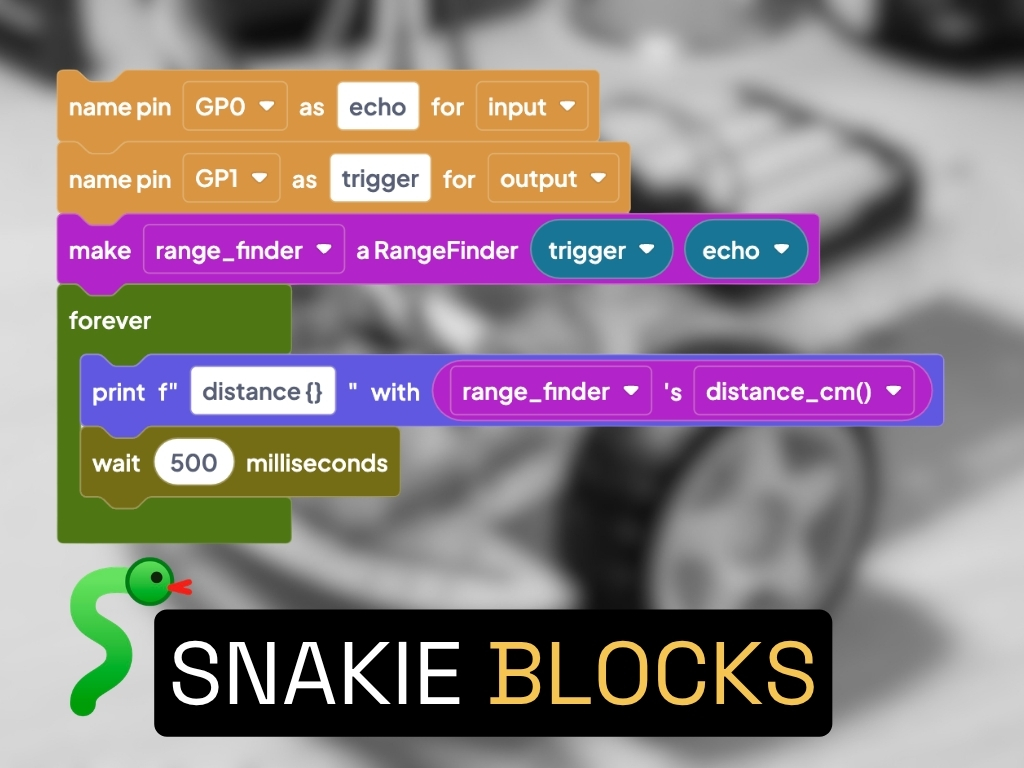
My Robot Dodges Obstacles, and I Never Coded It
Can you build a real robot — one that senses the world and reacts to it — without writing a single line of code? A Raspberry Pi Pico, an MX1508 motor driver, a 3.3V ultrasonic rangefinder and four AA batteries, with every bit of the logic snapped together as blocks in Snakie. Here's the full build, the wiring detail that catches most people out, the failure that stopped it dead, and what the generated MicroPython actually looks like underneath.
20 September 20267 minute read
By Kevin McAleer
Share this article on
Table of Contents
My Robot Dodges Obstacles, and I Never Coded It
Can you build a real robot — one that senses the world and reacts to it — without writing a single line of code? A Raspberry Pi Pico, an MX1508 motor driver, a 3.3V ultrasonic rangefinder and four AA batteries, with every bit of the logic snapped together as blocks in Snakie. Here's the full build, the wiring detail that catches most people out, the failure that stopped it dead, and what the generated MicroPython actually looks like underneath.
Video
For every project I create, I often make a corresponding YouTube video. Sometimes, there might be more than one video for a single project. You can find these videos in this section.
Explore more through this this dedicated video.
Ahoy there makers!
Can you build a real, working robot — one that senses the world around it and reacts to what it finds — without writing a single line of code? Not a simulation, not a drag-and-drop toy that lives on a screen. A real robot, with a real sensor, made of cheap parts, doing a real job.
I set myself one rule before I started: if I had to open the code view even once to make it work, it’s a toy, and I’d say so.
This post is the standalone write-up for the video — the parts, the wiring (including the one detail that quietly kills Picos), how the whole brain of the robot got built by snapping blocks together, the failure that nearly ended it, and what’s actually sitting underneath those blocks. If you’d rather watch it happen, click here.
Why block coding has a reputation
Block-based coding — the kind that’s been teaching kids to program in schools for years — has always felt to me like it stops at the simulator. It’s genuinely good at teaching the ideas: sequence, loops, conditionals, all the things that trip people up when they meet them as text for the first time. But it builds something, and then that something mostly just stays on the screen.
That’s the reputation. The thing I wanted to test is whether it has to be true.
Snakie — my MicroPython editor — has a Blocks feature that snaps together exactly like the block languages you’d recognise. The difference is what happens underneath: every block writes real MicroPython. Not a simplified teaching dialect, not a stand-in that gets translated somewhere else later. The actual code that runs on the Pico.
Which is an easy thing to claim and a harder thing to prove, so I built a robot with it.
The build
Deliberately, there’s nothing exotic here:
- A flat, generic 2WD robot chassis kit
- Two yellow “TT” gearbox DC motors and wheels, plus a caster at the back
- An MX1508 dual motor driver board
- A Raspberry Pi Pico
- An HC-SR04P ultrasonic rangefinder (the 3.3V-native variant) on a breadboard next to the Pico
- Four AA batteries
- A handful of dupont jumper wires
Every part of that, hardware and software, is open — which is more than most boxed “programmable” robot kits can say, and it costs less than they do too.
Wiring the motors
First job is getting the MX1508 wired to both motors and to the battery pack. It’s four wires for the motor pair on this board, and there’s a gotcha that isn’t really a gotcha at all: get a motor’s two wires the wrong way round and it just spins backwards. That’s the entire consequence. No smoke, no damage. Swap the pair over and it’s sorted.
It’s worth knowing precisely because it’s harmless — when your robot drives in a circle instead of a straight line, this is the first thing to check, and it’s a ten-second fix rather than a debugging session.
Wiring the rangefinder — the bit that matters
Here’s the detail I’d want someone to tell me before I wired mine up.
I’m using the HC-SR04P (sometimes sold as HC-SR04L), which is the 3.3V-native version of the classic ultrasonic sensor. Its signal levels track the supply voltage, so powered at 3.3V it talks the same language as the Pico and goes straight onto the GPIO pins with nothing in between.
The standard HC-SR04 — the cheaper, far more common part that comes in most kits — does not. Its echo pin outputs a 5V pulse, and the RP2040’s GPIO is 3.3V logic that is not 5V tolerant. Wire that straight into a Pico and you risk damaging the board.
If you’ve got a standard HC-SR04
You need a simple voltage divider on the echo line to drop 5V down to a safe 3.3V — commonly a 1kΩ / 2kΩ resistor pair. Trigger is an output from the Pico, so it’s fine as-is; it’s echo, coming back into the Pico, that needs the divider. This is the one step you genuinely can’t skip.
Building the brain, without typing
This is the actual point of the exercise.
The whole robot’s logic came down to four kinds of block:
- Read distance — poll the ultrasonic sensor
- Compare distance — check the reading against a threshold
- Motor control — forward, stop, reverse, turn
- Loop — wrap the lot so it runs continuously
The shape of the program is about as simple as obstacle avoidance gets: read the distance; if it’s closer than the threshold, stop, reverse a touch, turn, and carry on; otherwise keep driving forward. Wrap the whole thing in a loop so it never stops doing that.
Snap those together and that’s the entire brain of the robot. Not one character typed.
Then it drove straight into a book
It did not work first time, and I’m glad it didn’t.
The robot set off towards the box at full speed and simply didn’t slow down. It hit it squarely and kept pushing, wheels spinning, entirely convinced there was nothing in front of it.
The problem wasn’t the logic — it was the sensor reading. The robot wasn’t ignoring a distance it should have acted on; it was acting perfectly correctly on a reading that was nonsense. And that’s the failure mode worth internalising, because a bad sensor reading is far more dangerous than no sensor reading at all. No reading is obviously broken. A bad reading looks like a perfectly valid number, and the loop believes it.
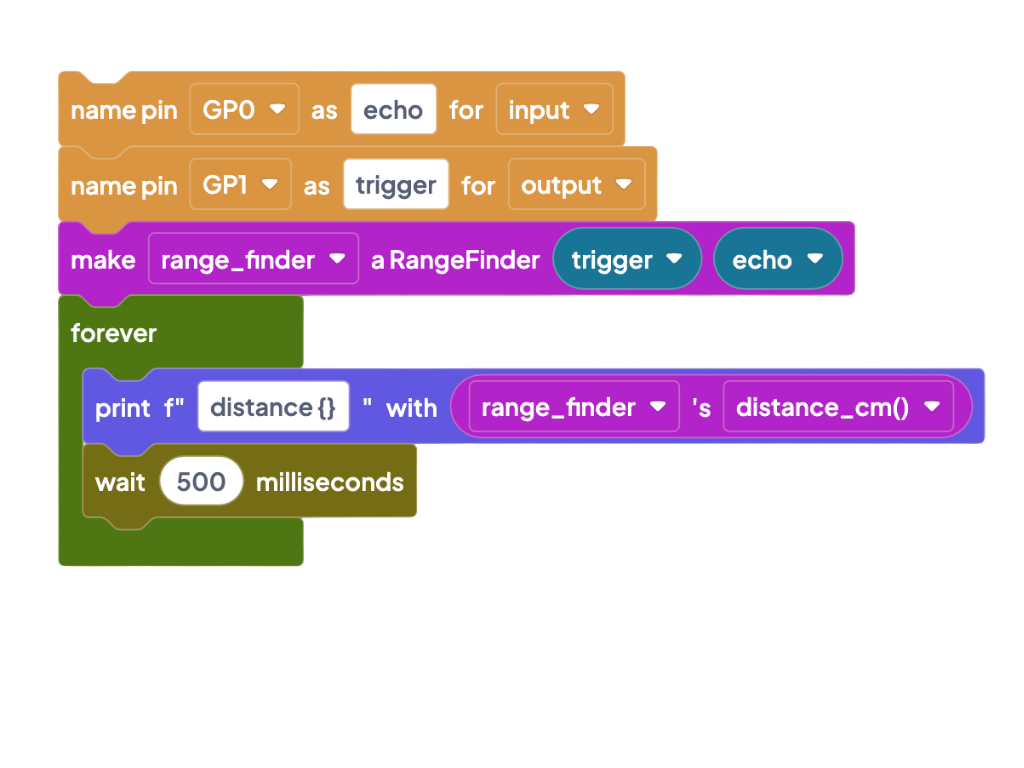
If you’re building this and your robot confidently drives into things, don’t start by rewriting your avoidance logic. Print the distance first and find out what the robot actually thinks it’s seeing. The usual suspects are a loose or mis-pinned echo line, trigger and echo swapped, the wrong GPIO chosen, or power sag from tired batteries.
With the sensor reading properly, the same blocks — completely unchanged — drove the robot up to the book, stopped it short, reversed, turned, and carried on past.
The reveal: what’s actually underneath
This is the bit I’d been waiting for. Flip Snakie from the Blocks canvas to the code view, and what’s sitting there is a MicroPython source file: the GPIO setup, a distance-reading function, motor control functions, and the same loop — as real code.
It isn’t simplified and it isn’t pretend. It’s the same logic and the same real MicroPython I’d have written by hand if I’d built this the old way. Which means the blocks aren’t a destination — they’re a door. You can build the thing in blocks, open the code, read how it works, change one line, and keep going. The project doesn’t hit a ceiling the moment you outgrow the blocks.
That’s the whole thesis: block coding doesn’t have to be a dead end that stops at a simulator. Done right, it’s an on-ramp into real code running on real hardware.
So, the rule
I didn’t build a simulation of a robot. I built a real one, out of cheap parts, with a real Pico and a real sensor — and it broke in a real way, and I fixed it, and the code driving it right now is code I can open up, read, and keep editing by hand whenever I like.
If you’ve never written a line of code in your life, I think that’s a pretty honest way in. It’s not a toy you’ll outgrow in a week.
Parts list
| Part | Notes |
|---|---|
| Raspberry Pi Pico | Any Pico or Pico W will do |
| HC-SR04P ultrasonic rangefinder | The 3.3V variant — see the wiring note above |
| MX1508 dual motor driver | Cheap, tiny, plenty for two TT motors |
| 2× yellow TT gearbox motors + wheels | The standard hobby pairing |
| Caster wheel | Usually included in chassis kits |
| Flat 2WD chassis kit | Generic — nothing specific required |
| 4× AA battery holder | Powers the motor driver |
| Breadboard + dupont jumper wires | For the sensor and Pico |
Software: Snakie — the Blocks feature is built in.
If you build this — or build something else entirely with Blocks — I’d love to see it. Let me know in the comments what you’d make.
Happy building!
This page is awesome - Show some love!




Comments